|
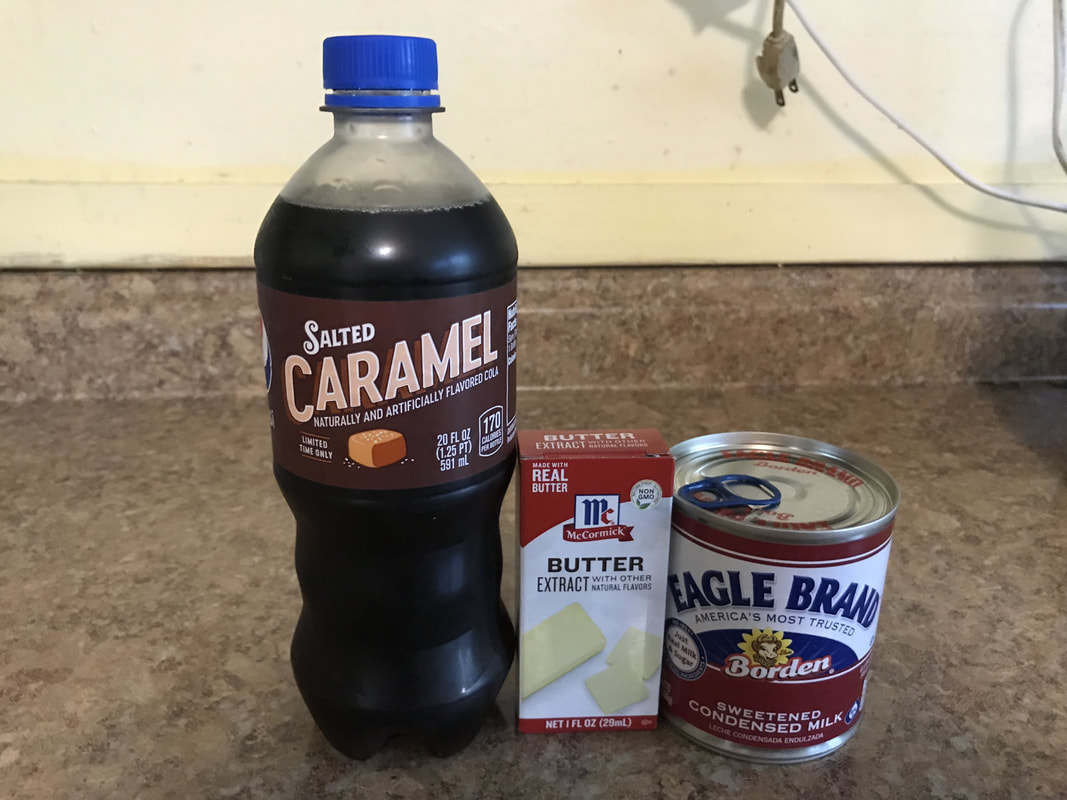
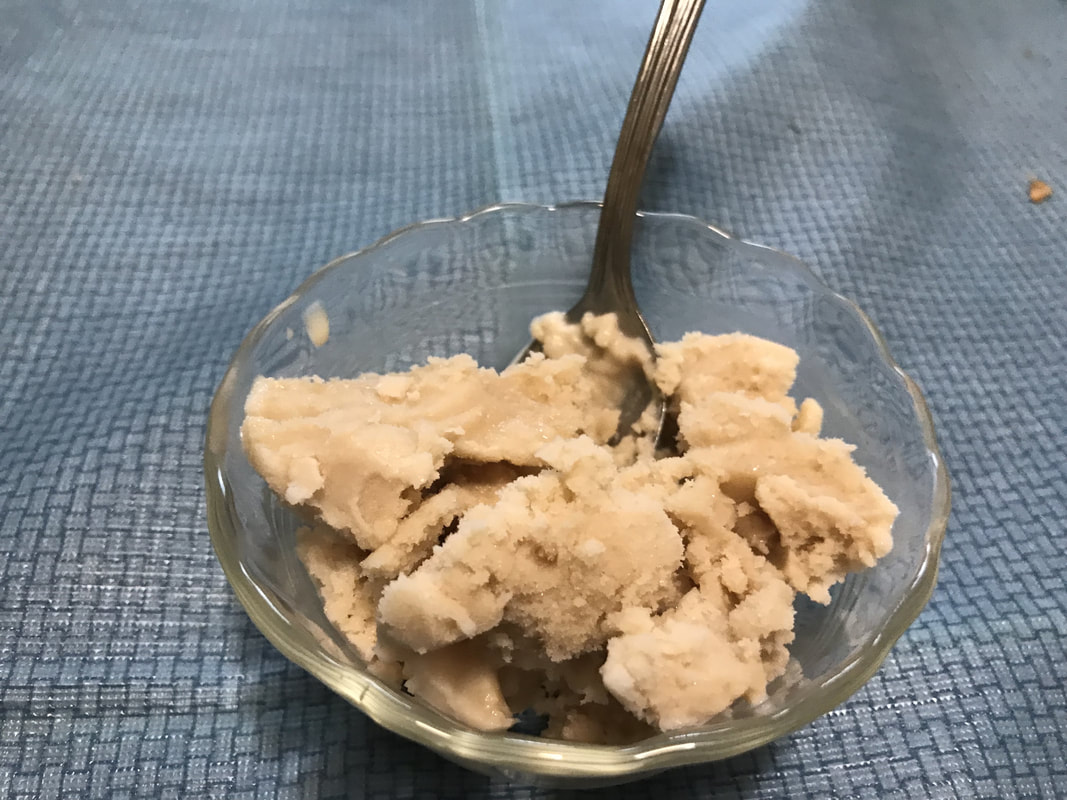
If it's made with milk, can caramel be turned into a sorbet? Why, yes it can! I used Salted Caramel Pepsi Soda, but that was a limited edition flavor last fall and can't be found as of now. But I put an alternative salted caramel drink in the link below that I think will work. It's espresso, albeit salted caramel flavored, but it should do the trick! I love when the big soda companies come up with limited edition flavors but I don't love the fact they're mostly sold in 12-packs. I can barely make enough recipes with a 6 pack of beer, for Christ's sake! But I took the opportunity to buy a single serving of the salted caramel soda in the coolers they have near the checkout counters. This was last fall, when no one eats sorbet or ice cream, so I left the bottle uncovered until this summer. So how does it taste? I didn't actually sip the soda before I turned it into a sorbet but from reviews I read online of people that have, they said it had a fruity taste and a caramel aftertaste. I found this simple 3-ingredient soda pop sorbet recipe but I didn't want to use vanilla extract, which has nothing to do with caramel. Sure I could've ordered caramel extract, but that's kinda obvious. So I used butter extract(which is a thing) instead and let me tell you, it brought out the caramel flavor and took some of the sweetness out of it. This sorbet has a one note taste of a combination of caramel and carbonated drink, but long after I shot this video, I decided to put some magic shell on top of the sorbet(flavored coconut butter works too!) and now I'm more inclined to actually take it out of my freezer and eat it. Like most sorbets and other frozen desserts that are easy to scoop, it melts quickly, so you better eat it fast, but not too fast so as to give yourself brain freeze! That's quite the culinary tightrope to walk on! My dad didn't like the sorbet because he said it tasted like candy. Well, technically, caramel is candy and is used in candy bars, so he's right about that astute observation. HELPFUL LINK: CARAMEL DRINK: www.amazon.com/Starbucks-Doubleshot-Espresso-Salted-Caramel/dp/B06X9RZWPN/ref=sr_1_7_a_it?ie=UTF8&qid=1531669968&sr=8-7& You will need: For the cooking equipment: A large bowl An ice cream maker An ice cream tub For the sorbet: 20 oz. caramel drink(see HELPFUL LINK) 14 oz. chilled, sweetened condensed milk 2 tsp. butter extract 1. Mix all the ingredients into a large bowl. 2. Turn the ice cream maker on and pour the sorbet mixture into the bowl of the maker. Let the sorbet churn for 12-14 minutes. 3. Turn the ice cream maker off and scoop the sorbet into an ice cream tub. Put the lid on the tub and place the tub in the freezer overnight, or at least 4 hours.
2 Comments
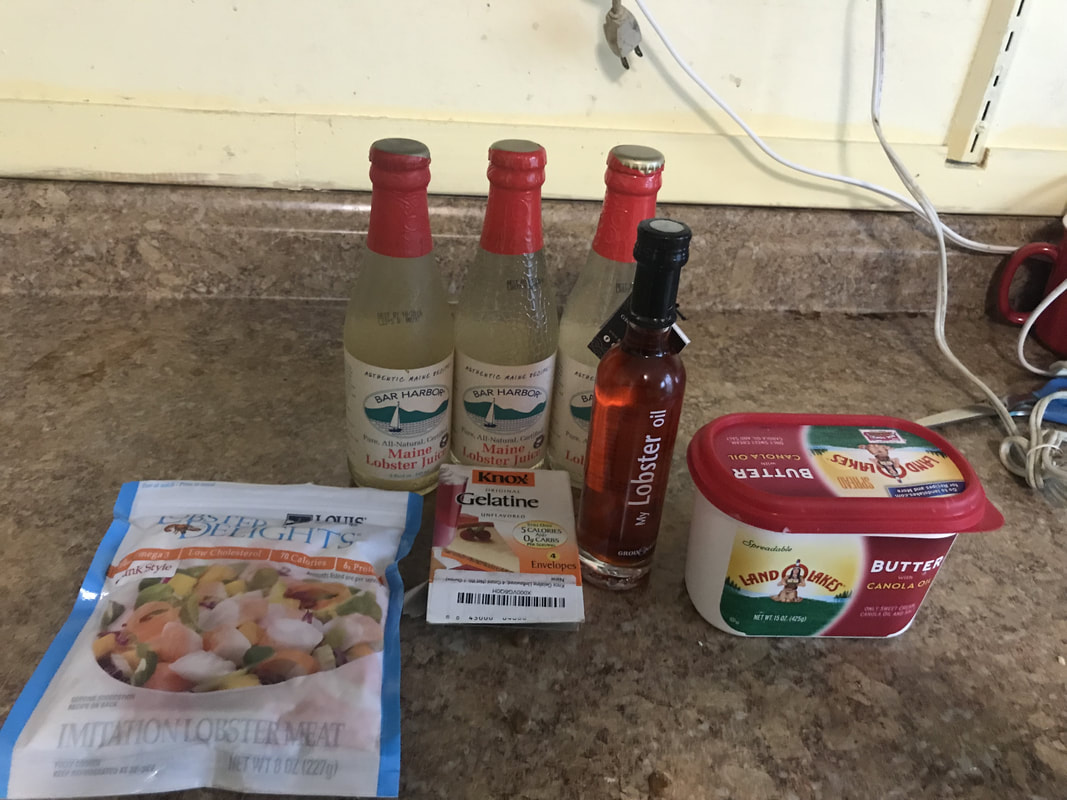
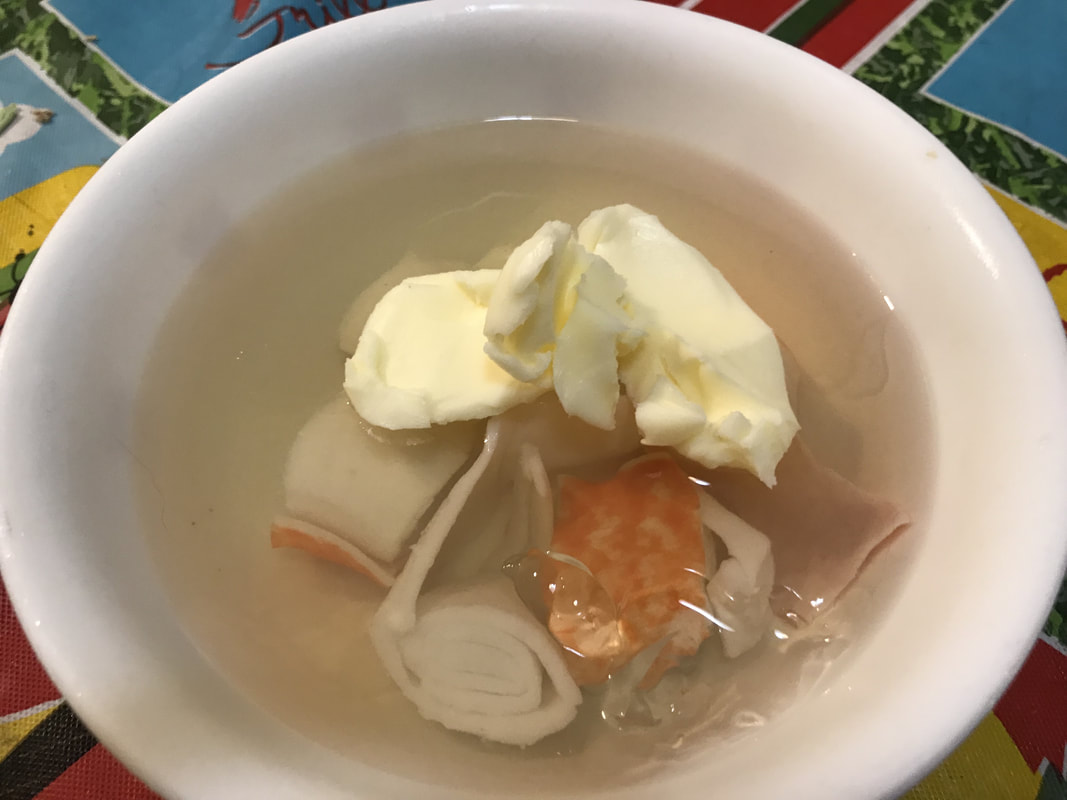
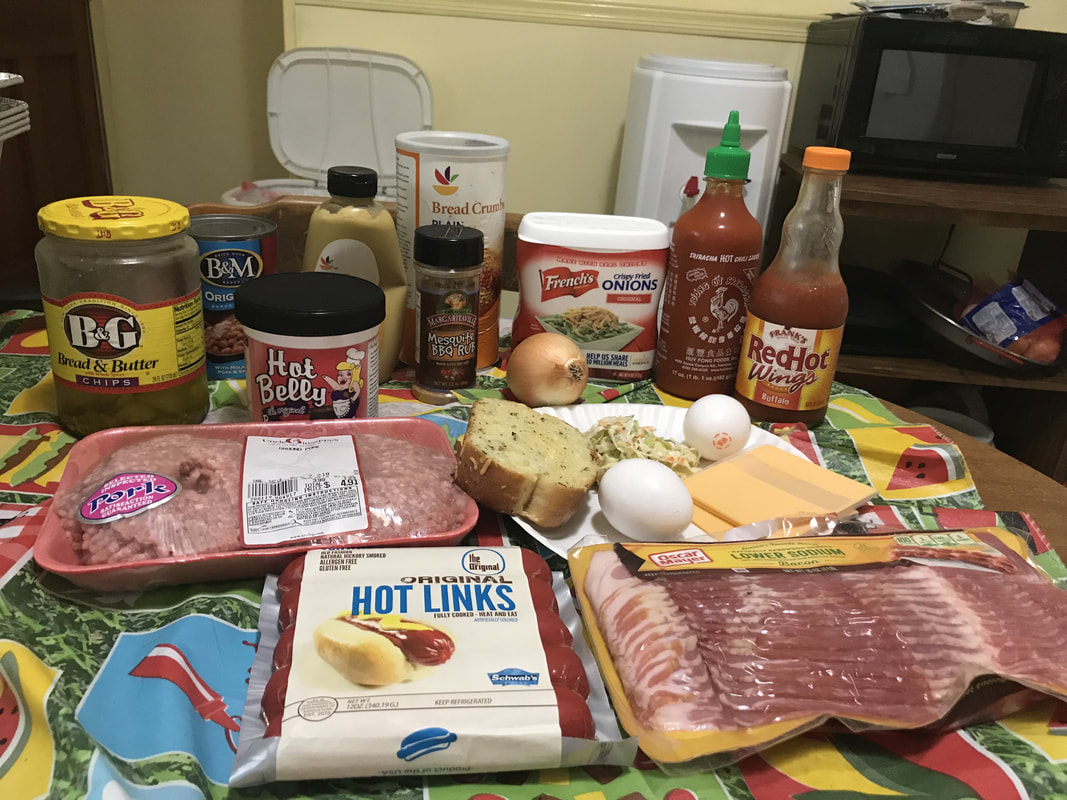
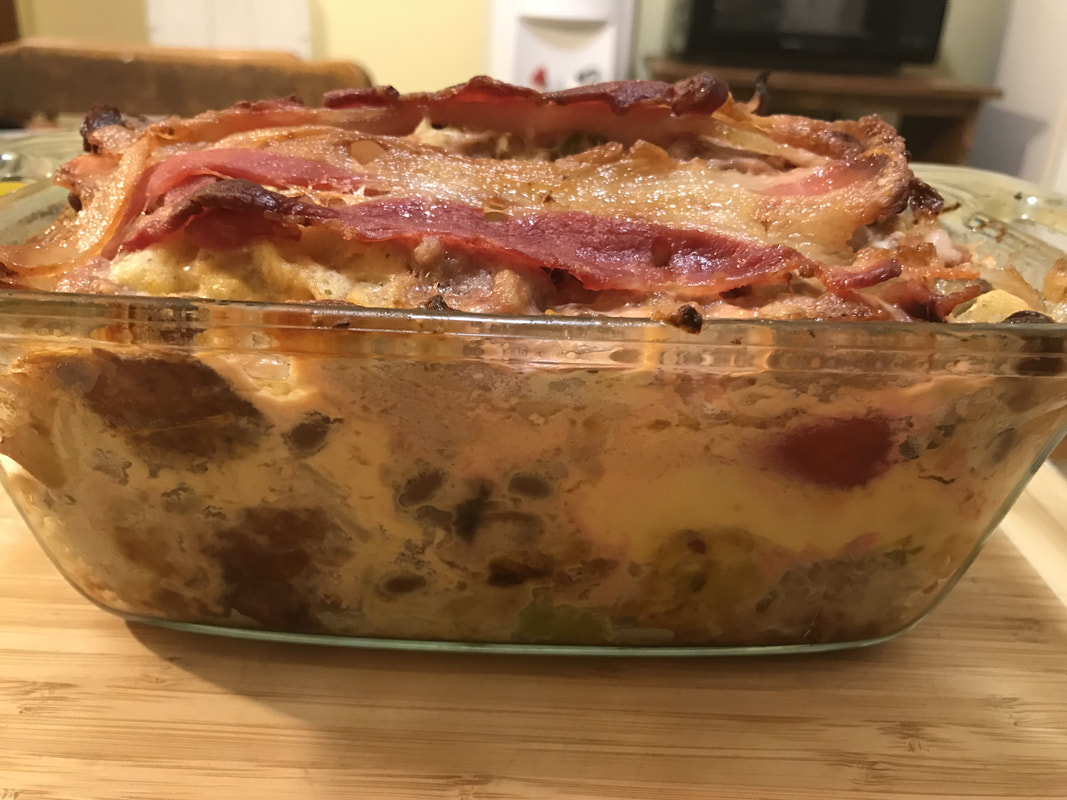
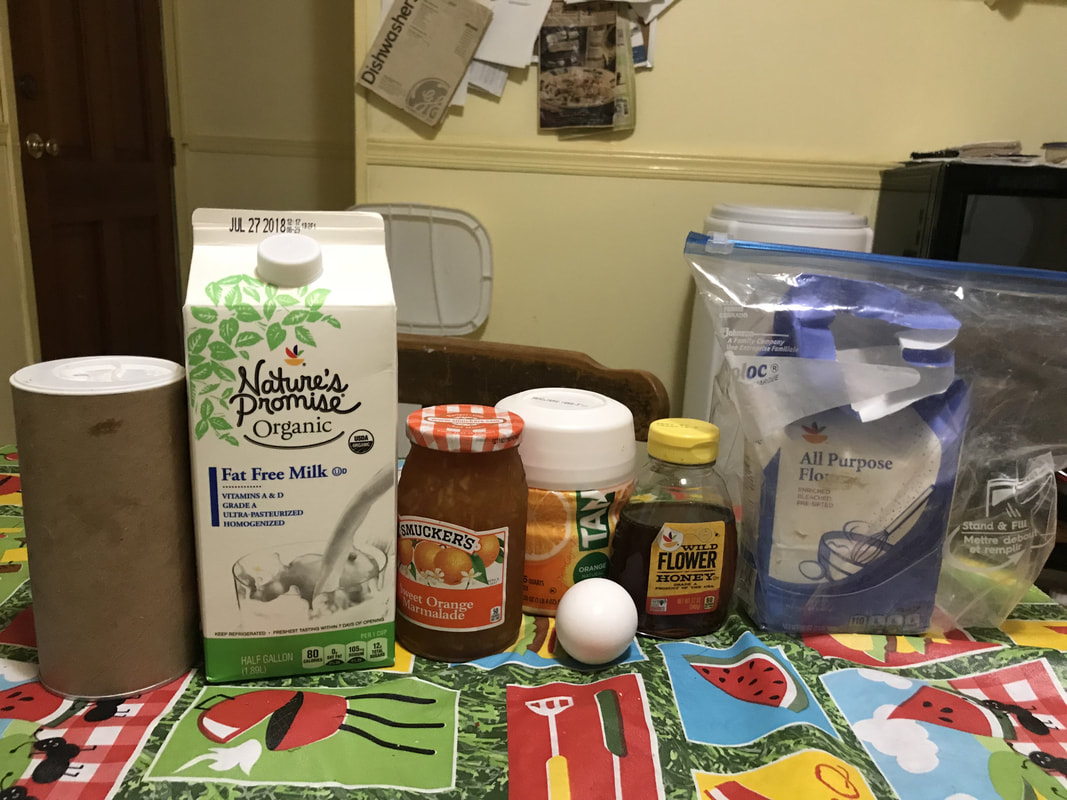
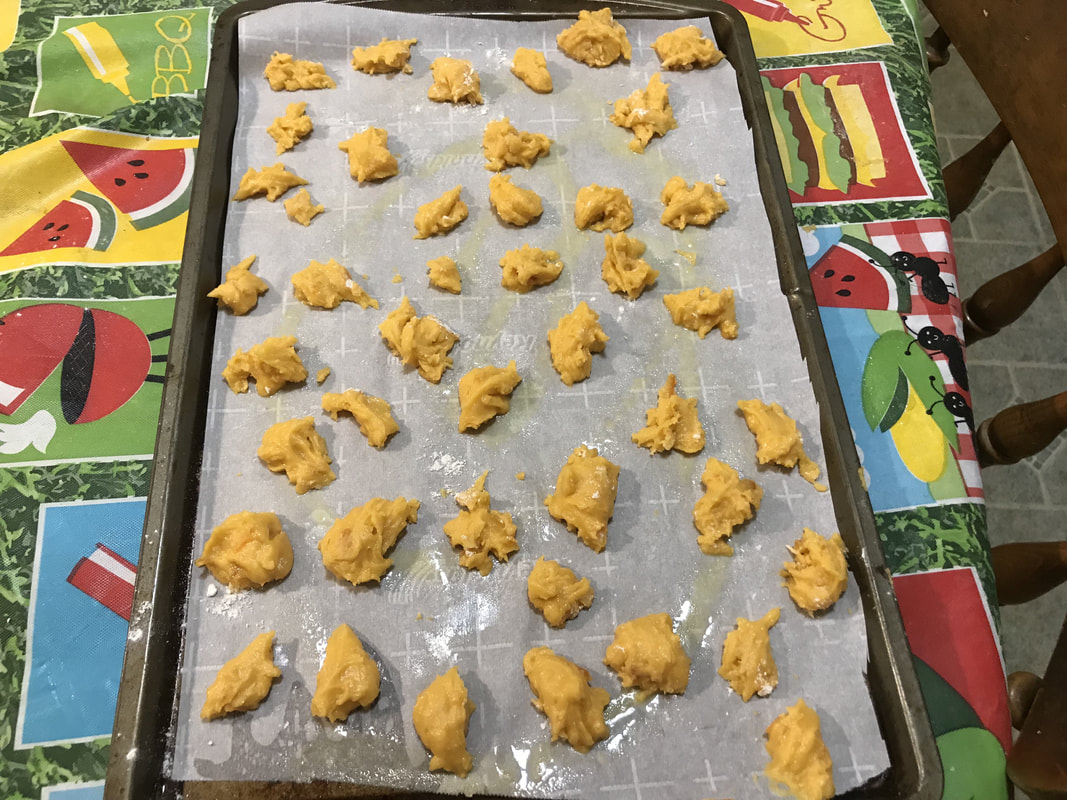
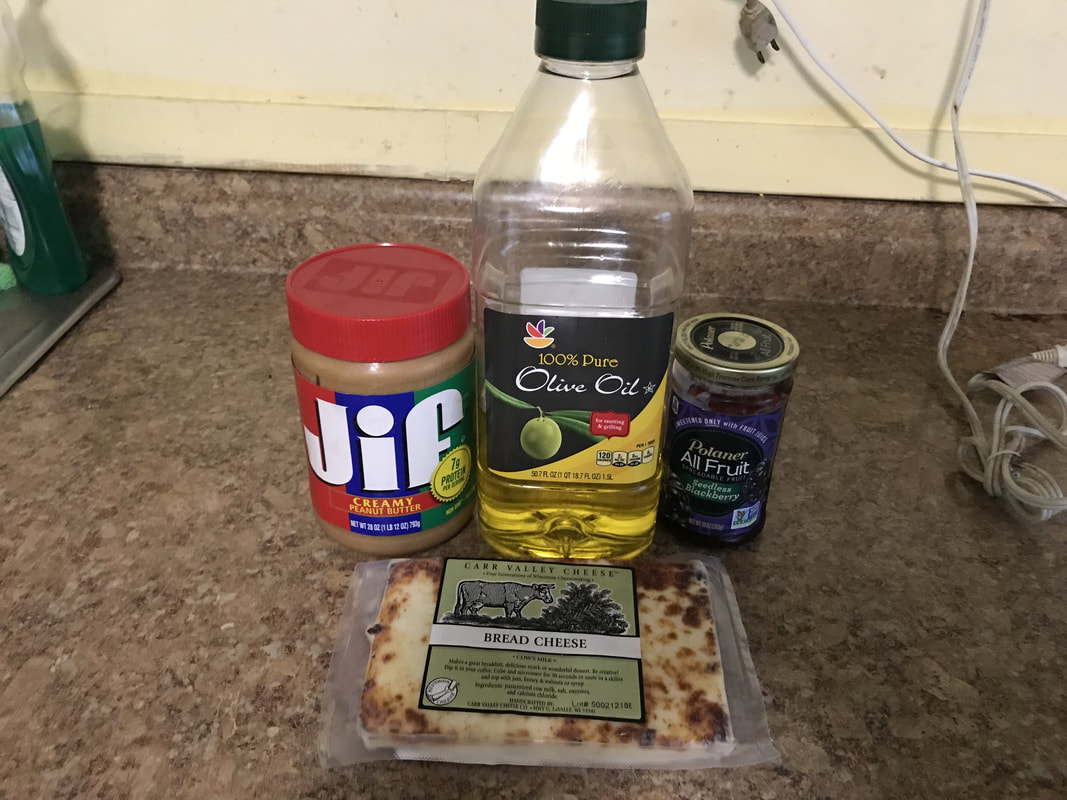
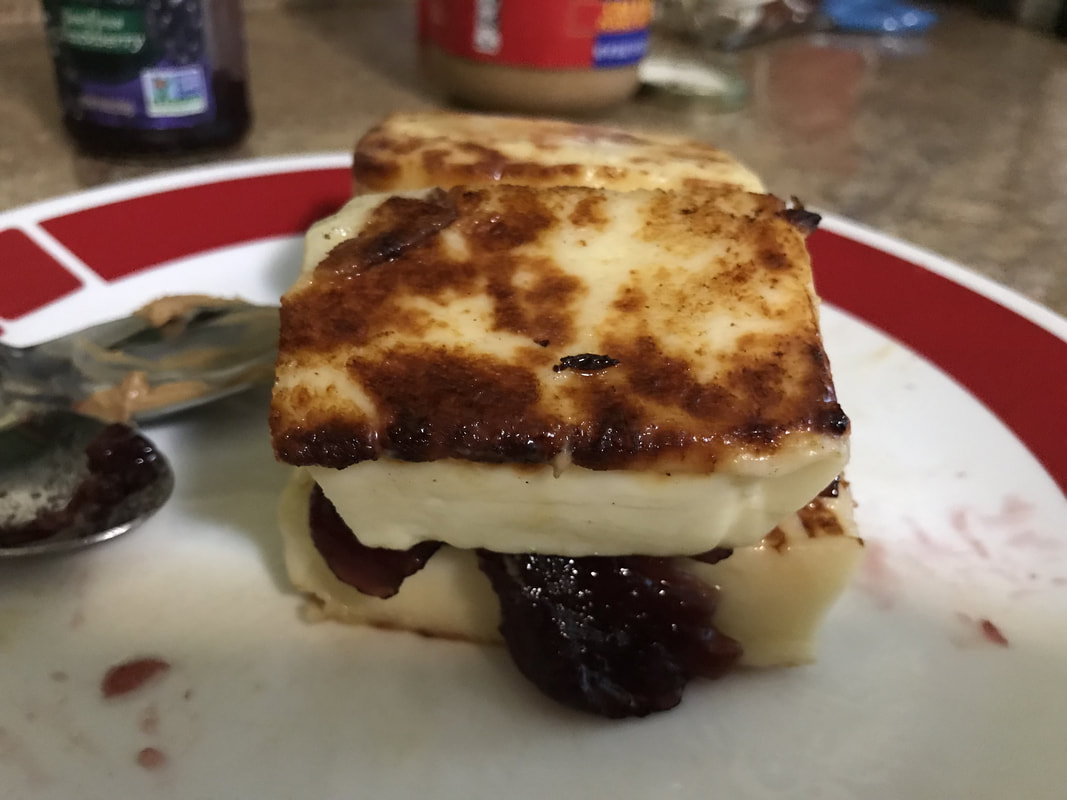
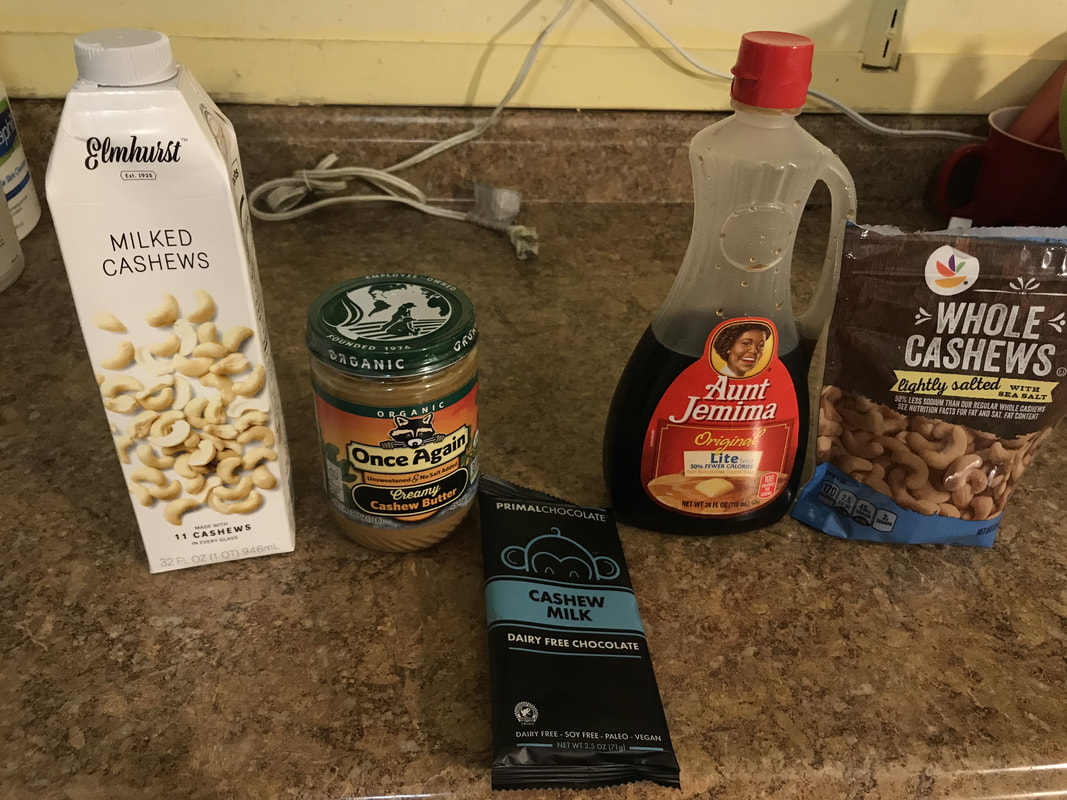
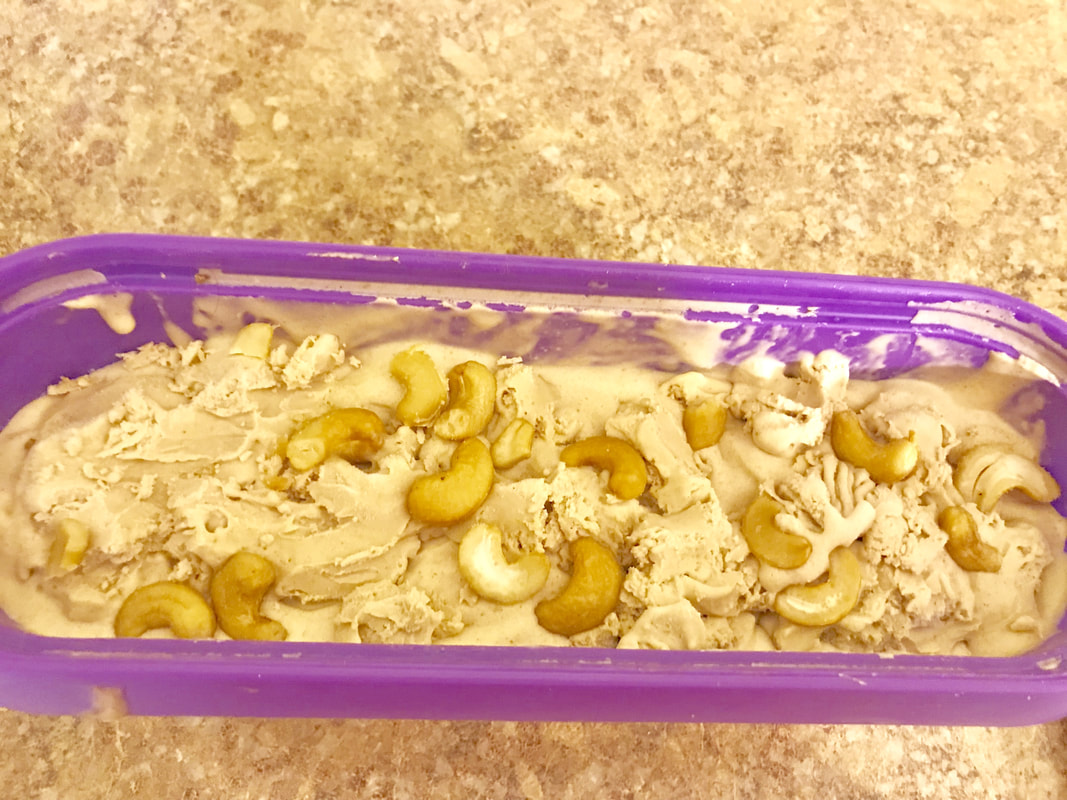
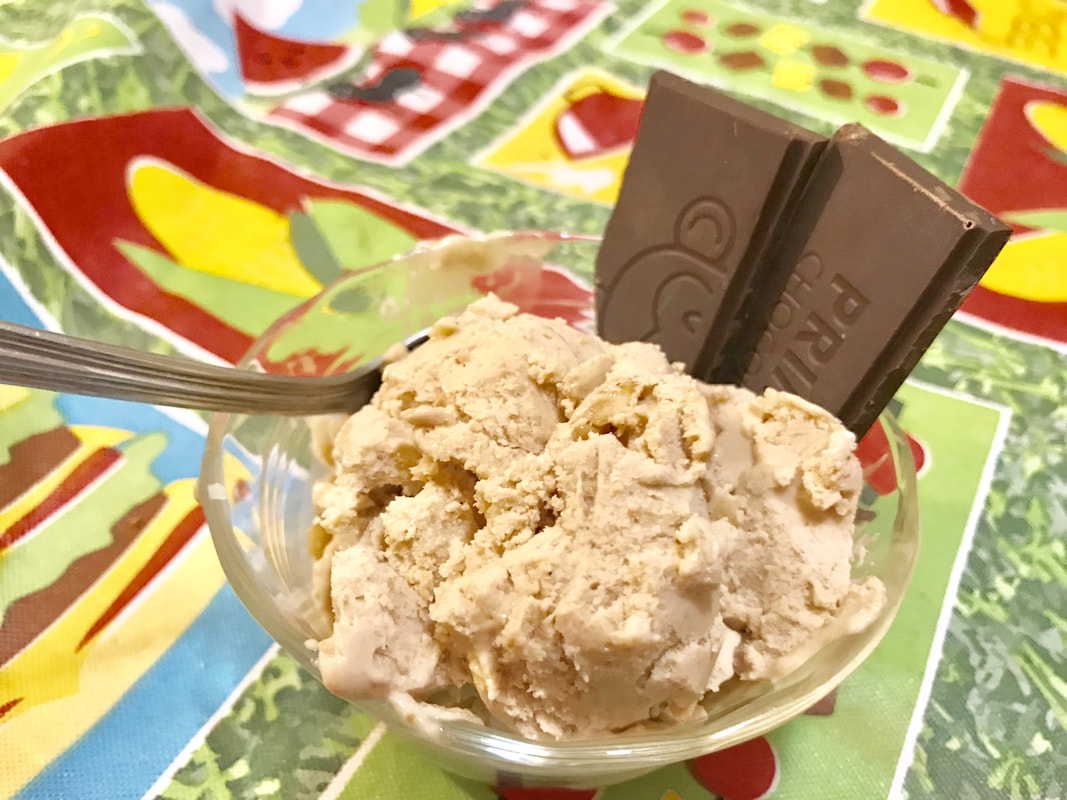
There's a reason why Red Lobster doesn't have lobster juice gelatin on their menu- it tastes disgusting! So why am I even posting this recipe? Well, for starters, I have nothing else better to do on a Sunday afternoon than just be on my phone all day. Just kidding(not really)! This is what I call a really weird recipe that just didn't taste good and maybe this will be a cautionary tale for anyone that thinks any juice can be turned into gelatin, because that is simply not the case. I just didn't bother with the commentary after trying the sauteed lobster gelatin, it just ruined my appetite. It didn't smell too great either, something akin to gasoline. The unsauteed lobster gelatin tasted alright, especially with butter on top of it. I used fake lobster meat in this recipe because the only real lobster I could find was some lobster tails that were $22 for two of them that maybe would've provided 2 oz. of meat after boiling them. I have an aversion to killing live lobster. I'll eat bugs but I will not kill a lobster for food. 8 oz. of fake lobster meat is less than $8 and I'm sure as the decades roll on and species go extinct, we'll be eating fake turkey at Thanksgiving too! For some reason, the lobster juice bubbled almost immediately and the gelatin dissolved almost instantly when the time came to put it into the juice. I didn't get my dad to try this since I was done with this recipe and I knew he'd spit it out too. When I spit something out, that means it's really bad! But if it's my dad, well, then it's funny! HELPFUL LINKS: Lobster Oil: www.amazon.com/Groix-Nature-Lobster-Oil-3-38/dp/B00QQUQYAI/ref=sr_1_1_a_it?ie=UTF8&qid=1531074162&sr=8-1& Lobster Juice: www.amazon.com/Bar-Harbor-Juice-Maine-Lobster/dp/B00N447RGO/ref=sr_1_1_a_it?ie=UTF8&qid=1531074174&sr=8-1& You will need: For the cooking equipment: A frying pan and spatula A plate A medium saucepot 2 small bowls Aluminum foil For the jello: 8 oz. lobster meat(real or fake) Lobster oil(see HELPFUL LINKS) 12 oz. room temperature lobster juice(see HELPFUL LINKS) 4 oz. lobster juice that's been refrigerated overnight 1 packet of unflavored gelatin Butter for garnish(highly recommenaded Serve with toast 1. Divide the lobster meat into two-4 oz. portions. One of them won't be sauteed in lobster oil. 2. Pour lobster oil into a frying pan and heat the oil up by turning the stove on. 3. Put 4 oz. of lobster meat into the pan and sautee them for 15-30 seconds. Place the sauteed lobster onto a plate and put the plate in the fridge for 5-10 minutes to let the meat chill. Make the gelatin in the meantime. 4. Pour 12 oz. of lobster juice into a medium saucepot. Put the stove on medium heat. 5. Heat the juice until you see bubbles around the edges of the saucepan. DO NOT BOIL THE JUICE! Boiling destroys gelatin's ability to set, making the use of this ingredient null and void. 6. Lower the heat when you see bubbles around the edges. 7. Add the 1/2 cup of cold lobster juice. 8. Sprinkle the unflavored gelatin all around the top of the juice. Stir the gelatin into the juice until it's fully dissolved, which should be quick. 9. Pour the mixture into 2 small bowls. Place aluminum foil on top of the bowls let the jello set in the fridge for 2-3 hours. 10. Top the jello with butter and serve with toast. Celebrate the 4th of July with a meatloaf that is literally full of pork, spicy sauces, and the trappings of a BBQ! There's a burger restaurant in California called Slater's that made a 'Merica Burger 3.0 a couple of years ago that was the inspiration for this meatloaf. I took creative liberties by using ground pork instead of ground bacon in the meatloaf, because that's a lot of salt to put into one meatloaf if it was made from the latter. I couldn't find bacon American cheese, so I just used the plain type, though it was at my local supermarket at one point. Everything else in the meatloaf was pretty similar to the 'Merica Burger. Really creative burgers like that provide good fodder for meatloaf recipes, let me tell you! I put just enough sriracha and hot sauce in the meatloaf so that it wouldn't overpower it. You definitely taste bacon and pork obviously. Surprisingly, this meatloaf doesn't cut very well, as the plated meatloaf, well, it looks like tumbleweed and not so much a loaf. The two things I've never had before in this meatloaf were Texas toast and hot links. Texas toast is basically toast that tastes like garlic bread. The hot links were spicy but not too much- water helped quell the spiciness in my mouth, along with the cheese and coleslaw in the loaf. My dad said this meatloaf wasn't spicy at all, but to be fair, I didn't give him any piece of the hot links. If I did, he probably would've spit it out. HELPFUL LINKS: Bacon Grease: www.amazon.com/Bacon-Grease-BELLY-PALEO-COOKBOOK/dp/B01M0WNCO0/ref=sr_1_3_a_it?ie=UTF8&qid=1530470959&sr=8-3& Hot Links: schwabmeat.com/shop/schwab-s-old-fashion-hot-link-sausages.html You will need: For the cooking equipment: A frying pan A large bowl A loaf pan Nonstick cooking spray For the meatloaf: 1/2 an onion Bacon Grease(see HELPFUL LINKS) 2 beaten and whisked eggs 1/2 cup baked beans 1/2 cup coleslaw 1/2 cup bread and butter pickles 1/2 cup French-fried onions 3 tbsp. honey mustard 1/2 tsp. hot sauce 1 tsp. Sriracha Pinch of BBQ rub 5 slices of Texas toast Breadcrumbs 1 lb. ground pork 2-3 slices American cheese 2-3 hot links(see HELPFUL LINKS) 2-3 slices bacon 1. Turn the stove on and melt some bacon grease. Put the onion into the frying pan and saute until they're translucent. Put the sauteed onion into the large bowl. 2. Add the next 9 ingredients into the large bowl. 3. Crumble up the Texas toast slices and put them into the large bowl. Pour some breadcrumbs in as well. 4. Add the ground pork to the large bowl and mix all the ingredients up until you get a firm meatloaf mixture. 5. Spray a loaf pan with nonstick cooking spray. Put half the meatloaf mixture into the loaf pan. 6. Top the meatloaf mixture that's in the loaf pan with the American cheese. Top the cheese with the hot links and cover the hot links with the rest of the meatloaf mixture. 7. Top the meatloaf with the bacon and bake the meatloaf in a 350 degree Fahrenheit oven for an hour or until the internal temperature of the meatloaf reaches 155 degrees Fahrenheit. Did you know that a cereal that taste likes oranges has only been made 3 times in the past 35 years? The first orange-flavored cereal to be made was Orange Blossom Cereal back in 1981. The second was OJ's Cereal. It came out in 1985 and stayed on the shelves for just 1 year. It wasn't very popular apparently. I didn't try either of these two because I wasn't born yet when they were made. The third is Cap'n Crunch Orange Dreamsicle back in 2015, which I was around for but I never saw it in supermarkets, only on my Instagram feed. It was a limited edition product. Though to be fair, this was a cereal that was orange AND vanilla flavored. I happened to have some Tang orange drink powder in my shelves from a previous video and one of those bottles makes 6 quarts of the drink. I plan on throwing it out but before I do, I just want to use it in some recipe, like cereal. I mean, if Kellogg's can sell Unicorn Cereal, then it's not out of the realm of possibility a cereal with an orange flavor can be made. But making cereal from scratch is hard and tedious. Even using a 1/4-tsp. measuring spoon, the pieces ended up looking like mini cookies, which isn't a bad thing either, considering there's Cookie Crisp cereal. I think this is the best tasting cereal I've ever made. It's sweet just like cereal normally is and definitely has an orange flavor to it. Not just artificially either, there's orange marmalade in the dough too! My dad said the cereal tasted like little anisette cookies, which sometimes do have an orange flavor in it. He then told me off-camera that all mass-produced cereals have air in it. This is something he learned from his dad, who used to own a pie/muffin/bakery business in NYC back in the '50s. Did you know blueberry muffins have air in them because otherwise the blueberries would fall to the bottom of the muffin instead of on top? Yea, his dad taught him that. You will need: For the cooking equipment: A large bowl 1/4-tsp. measuring spoon Parchment paper 2 baking trays Nonstick cooking spray For the cereal: 1 1/4 cups all-purpose flour 1/4 cup orange drink powder like Tang 1 egg 2 tbsp. milk 3 1/2 tbsp. orange marmalade 1/4 cup honey Pinch of salt 1. Put all the ingredients into a large bowl and mix them up until you get a crumbly dough that isn't sticky. You may have to add more flour to the dough to get to that consistency. 2. Put parchment paper on two baking trays and spray the paper with nonstick cooking spray. 3. Form little dots from the cereal dough using a 1/4-tsp. measuring spoon onto the parchment paper. 4. Bake the cereal pieces in a 350 degree Fahrenheit preheated oven for 10 minutes. 5. Take the cereal out of the oven. After letting it cool, turn each cereal piece over to ensure that all sides of the cereal pieces get cooked and one side doesn't get burned. 6. Put back into the oven at the same temperature(350 degrees Fahrenheit) for 11-15 minutes. I encountered a strange cheese when I was grocery shopping- the label said "bread cheese" on it and the first thing that popped into my mind was a peanut butter and jelly sandwich. But then I realized bread cheese was a type of cheese and cheese + sandwich gives you a grilled cheese sandwich. Thus the grilled PB and J Bread cheese sandwich was born! So what exactly is bread cheese? It's a type of Finnish cheese squeaky cheese also known as juustoleipä, that's been baked so that the top of it looks like focaccia or garlic bread without the garlic. It tastes like really thick Swiss cheese but it doesn't melt immediately when grilled, making it a perfect base for this sandwich. Unlike most grilled cheese sandwiches, where the sandwich is assembled before being placed into a frying pan, it's better to grill the cheese and then assemble the sandwiches. Otherwise, the peanut butter and jelly will melt. :( This sandwich will definitely fill you up, that's for sure. But this cheese, like most cheeses, pairs better with jelly than peanut butter. That's why you don't see peanut butter on a cheese plate but something sweet like jelly, yes. The amount of jelly I put in the sandwich honestly wasn't quite enough for me so I dipped the cheese in additional jelly. I think this might be one of my favorite types of cheese. My dad said this sandwich would be perfect for a soiree, but honestly, nobody under 50 uses that word anymore. Makes 2 sandwiches You will need: For the cooking equipment: A frying pan and a spatula For the sandwich: 1 lb. Bread cheese Olive oil Peanut butter Jelly(I used blackberry jelly) 1. Cut the bread cheese into quarters. 2. Pour olive oil into a frying pan and spread the oil around the pan. Heat the oil up. 3. Once the oil is heated up, put the quartered cheese into the pan. Let it grill for 15-30 seconds before flipping it over on to the other side for and additional 15-30 seconds. 4. Put the grilled cheese onto a plate. Top two of the grilled cheese pieces with jelly and the other two with peanut butter. Top the peanut butter-topped cheese onto the jelly-topped cheese. Do you like the taste of cashews? Then you'll love the taste of this cashew milk ice cream that has cashew butter and actual cashews in it! To really be extra, have it with some cashew milk chocolate. Every nut can be turned into the following things:
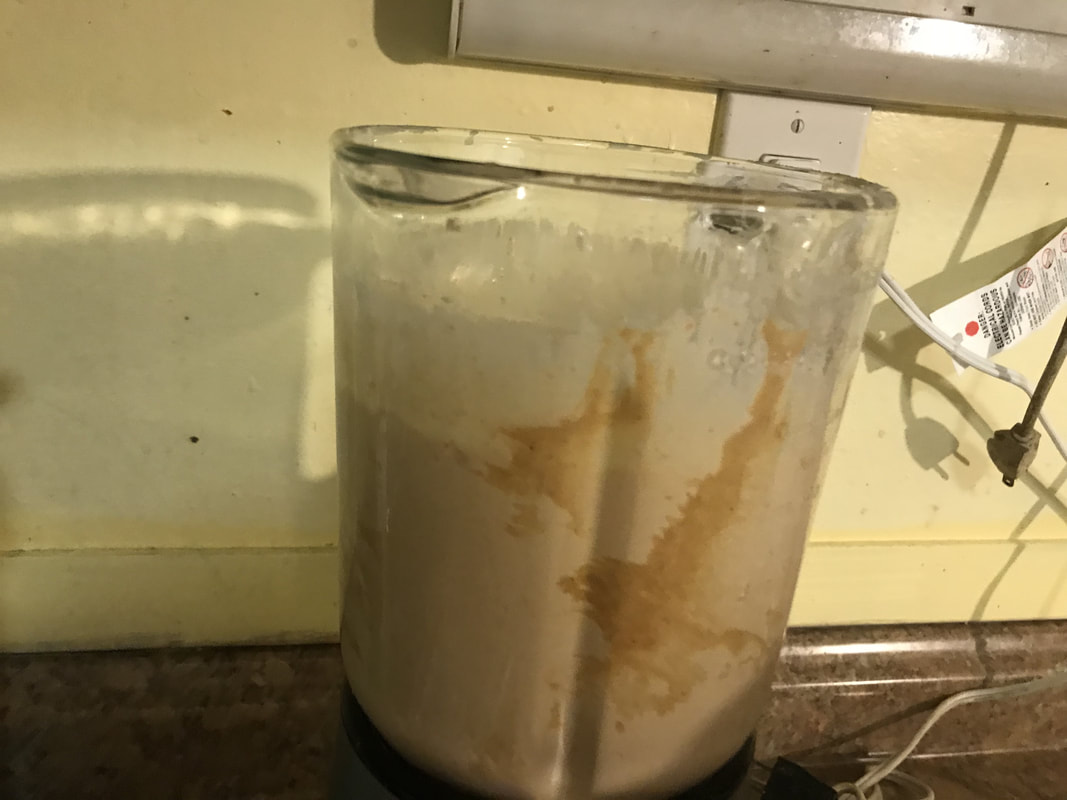
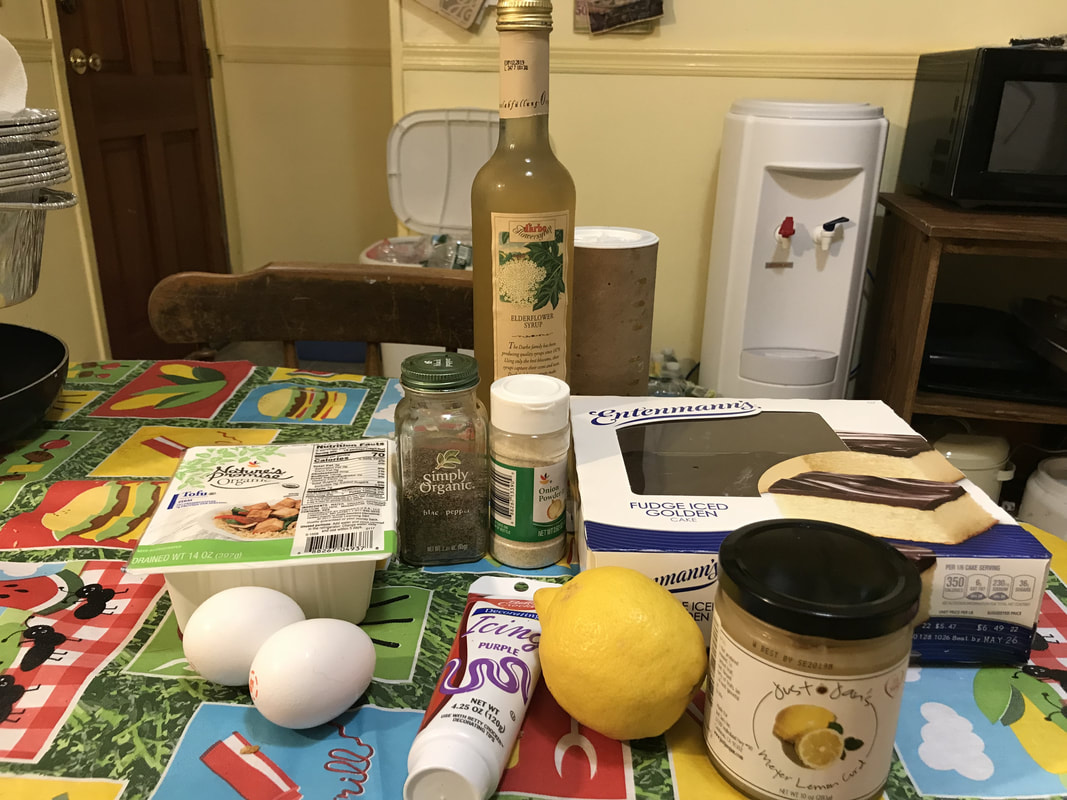
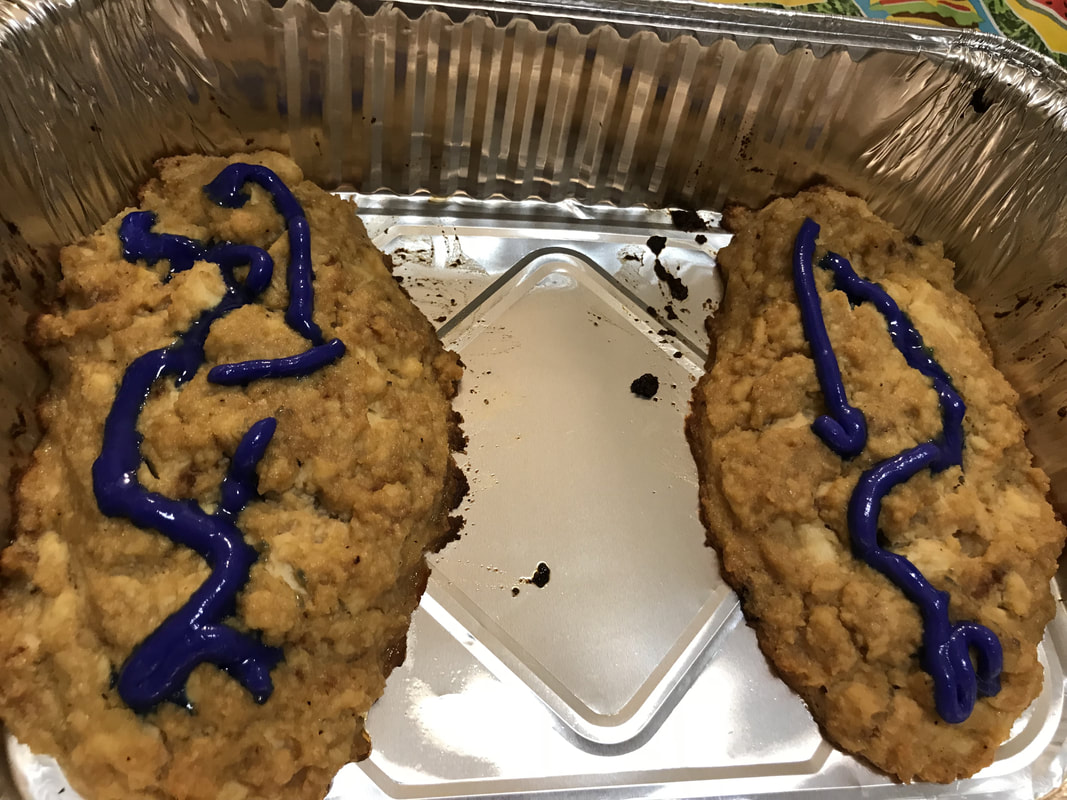
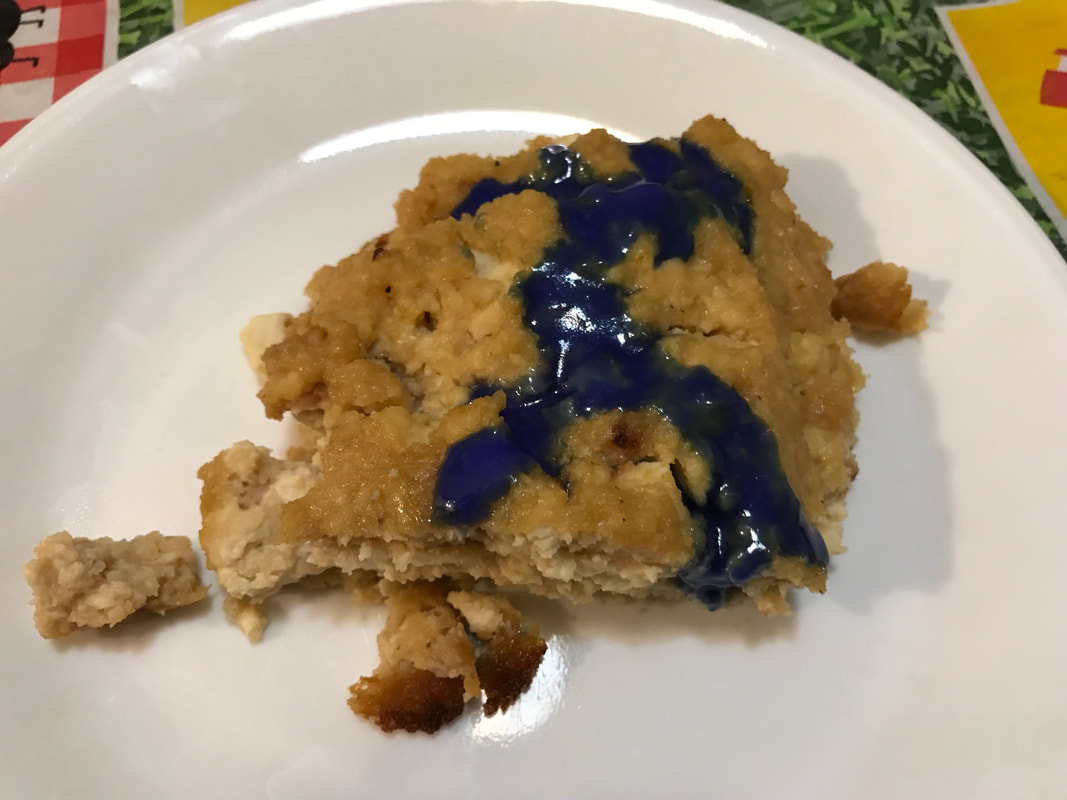
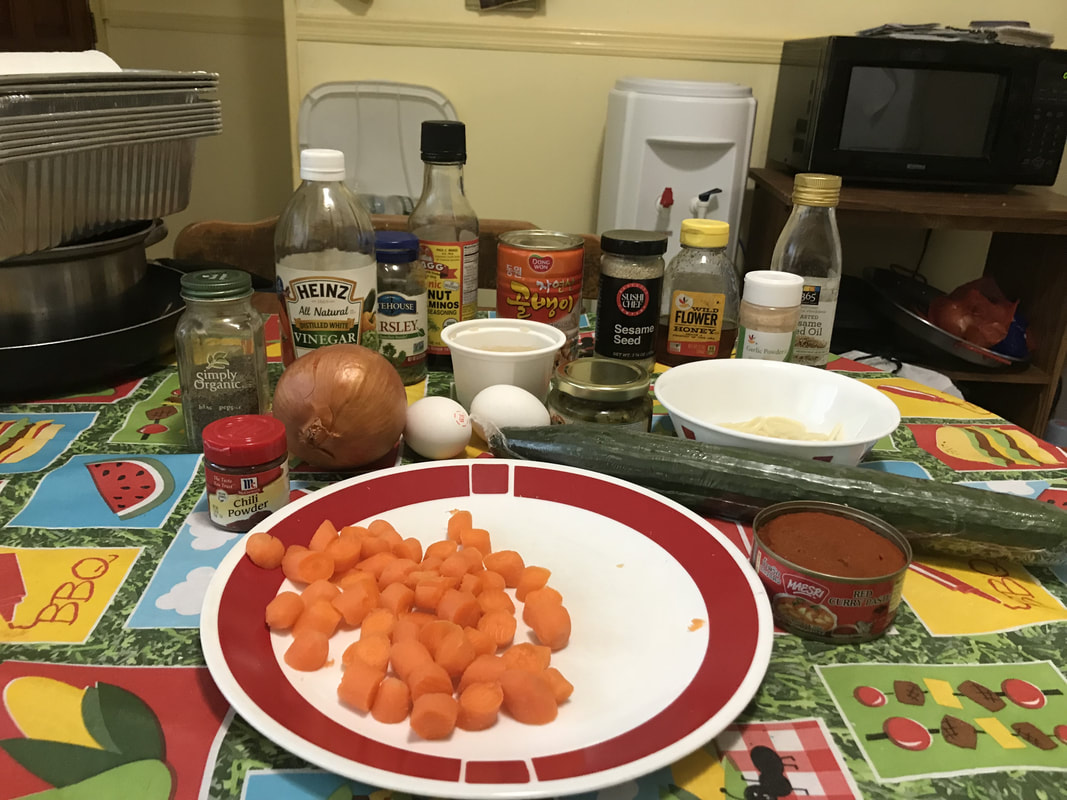
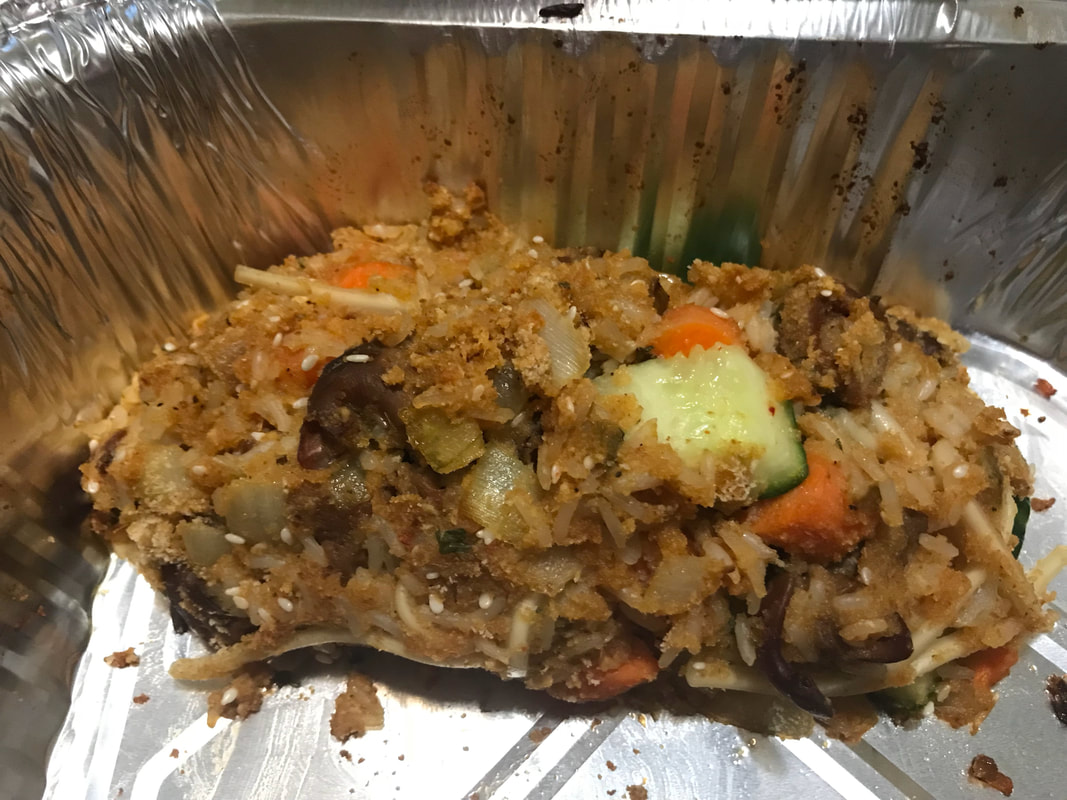
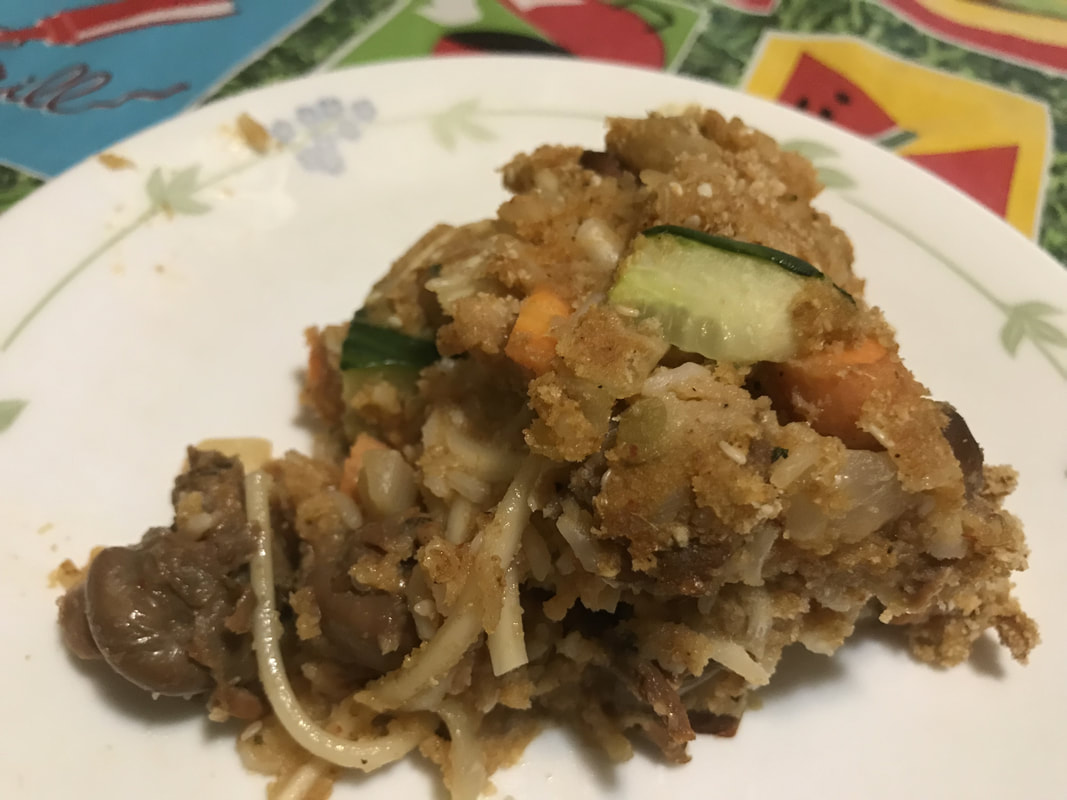
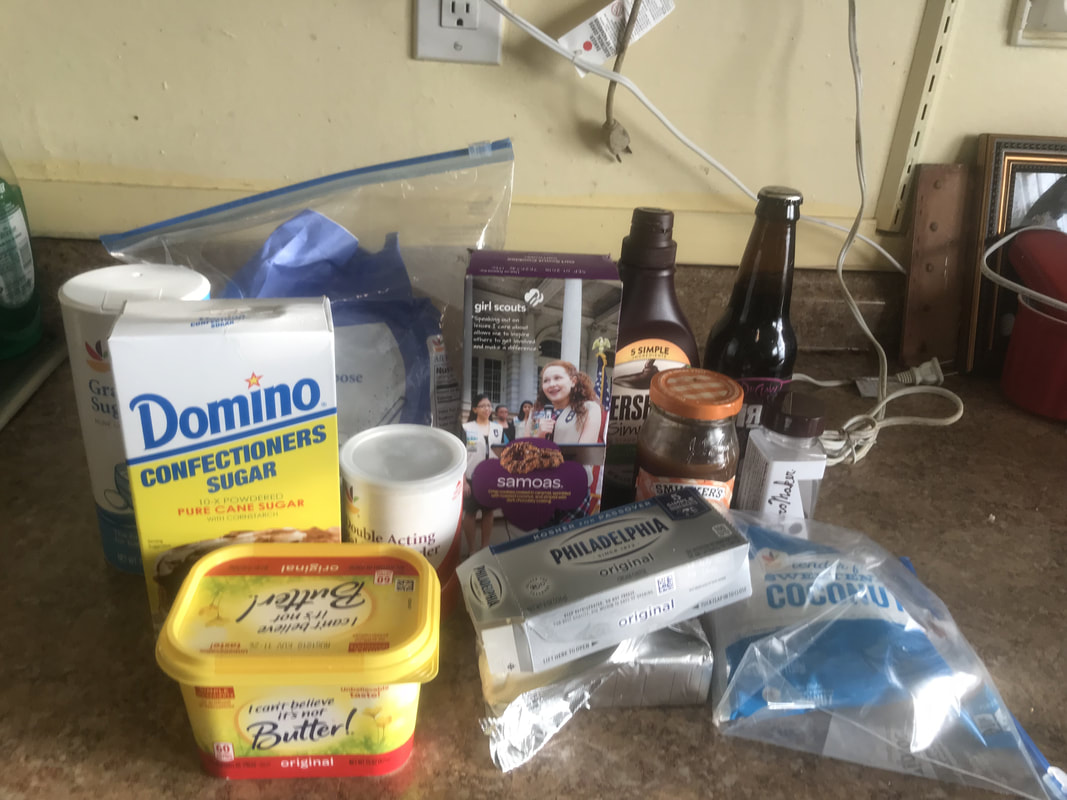
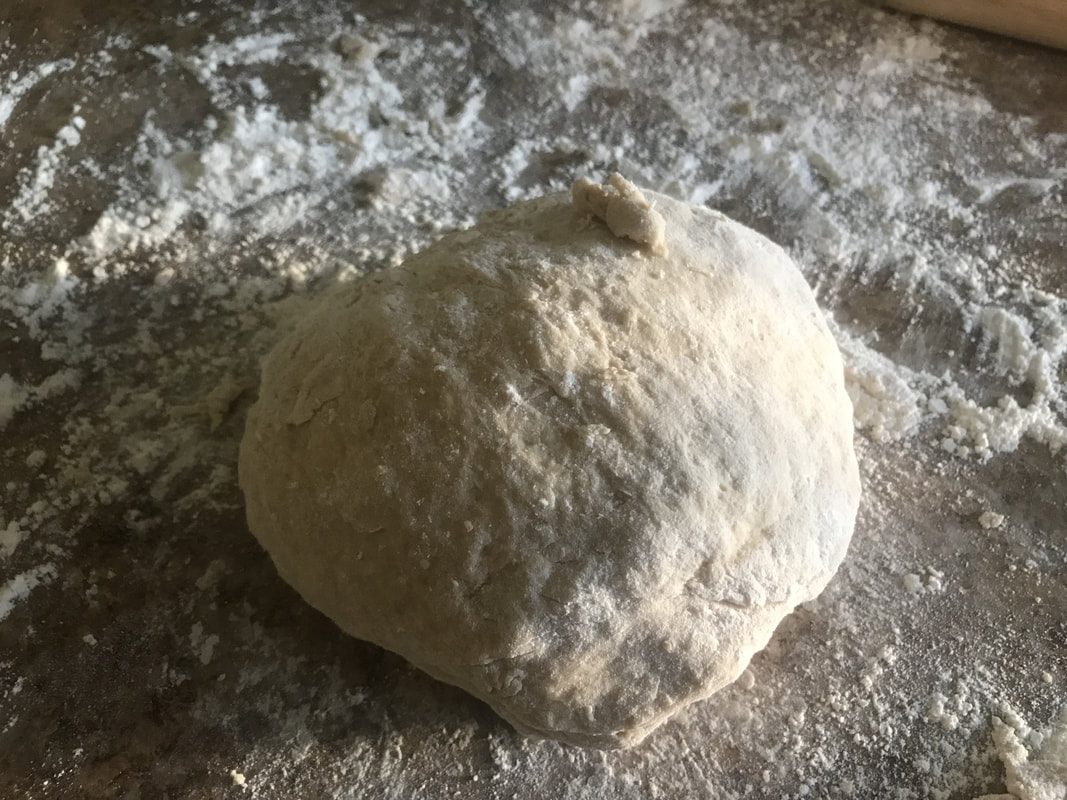
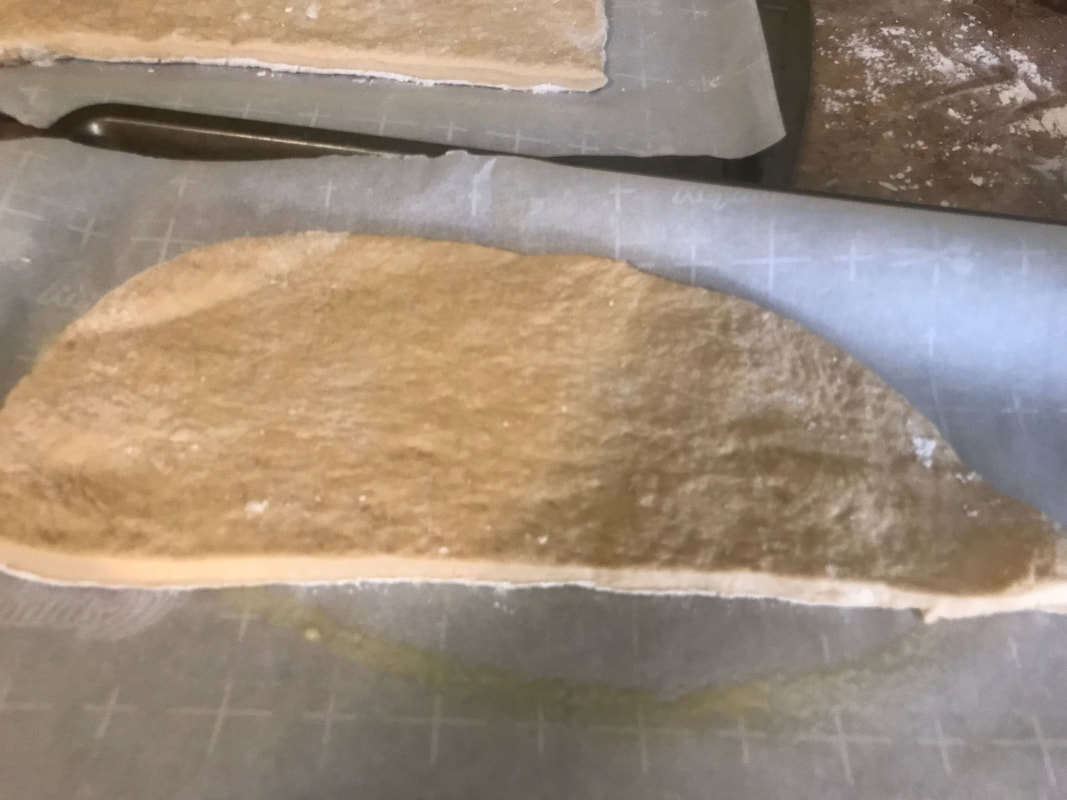
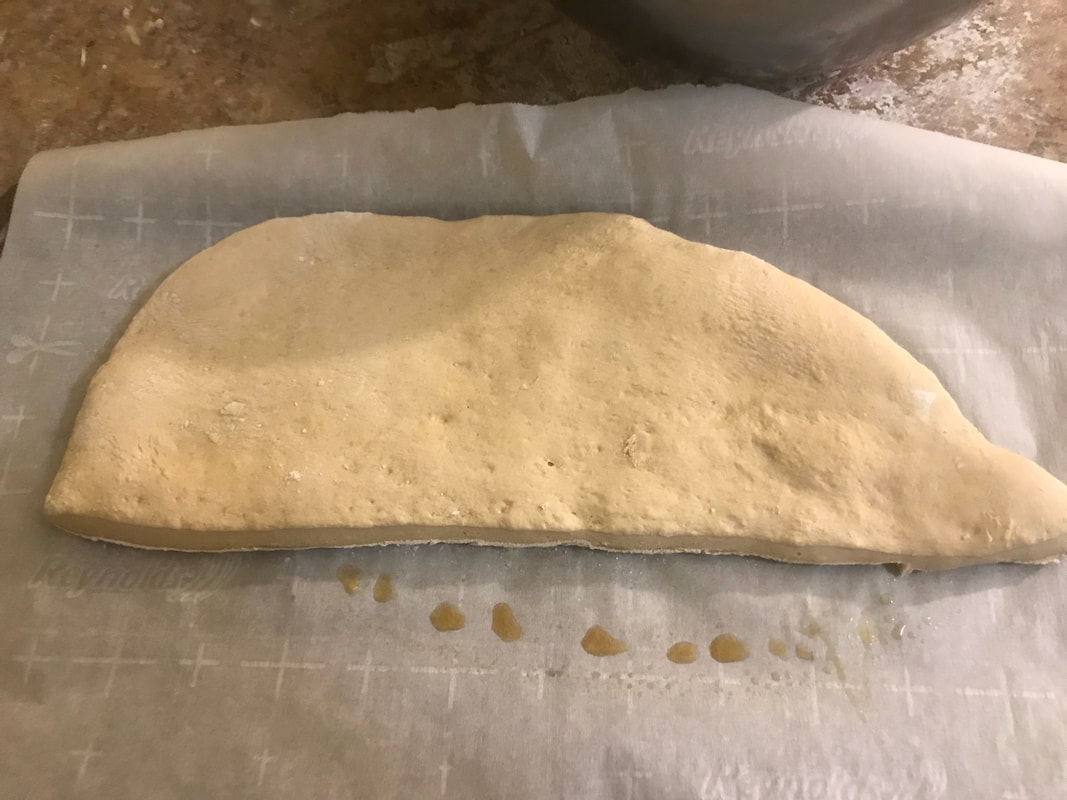
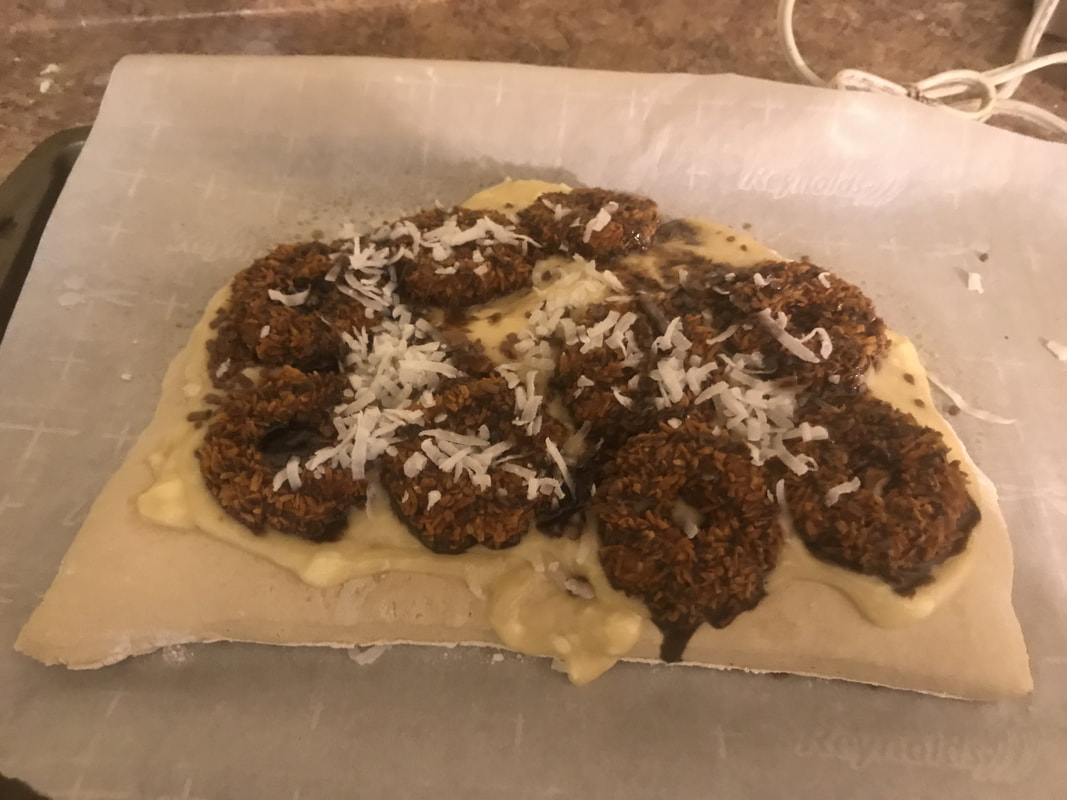
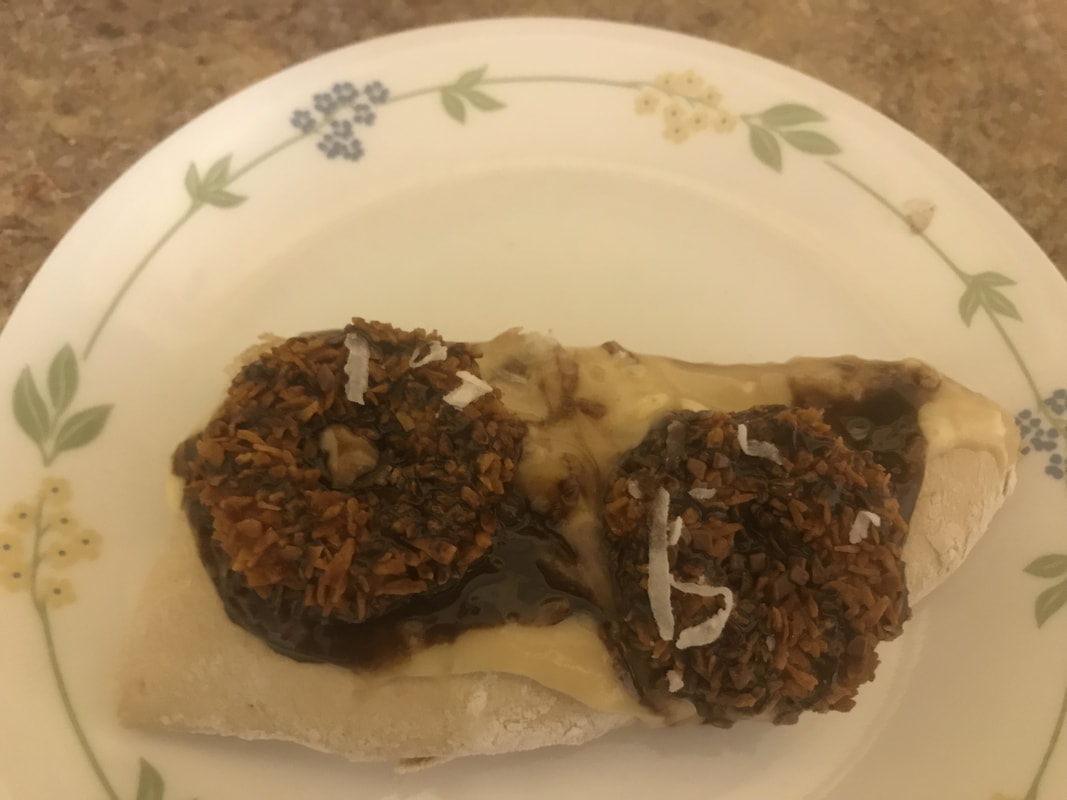
Yea, flour doesn't really apply to ice cream, but the milk and nut butter sure do! Cashews are unique in that they can also be turned into cream and cheese, but making both is a time-consuming process and unnecessary for the purposes of this recipe. Did you know cashews grow on apples in the rainforest? When cashews are harvested, they're detached from the apples it grew on and the apples are usually left for the livestock since they don't travel well fresh. If you do manage to find cashew apples in the states, it'll probably be in a Hispanic supermarket in the frozen food aisle. I tried using cashew apples in this recipe but I just couldn't stand the smell of the fruit after boiling it to remove the exterior wax. It smells like fruity gasoline to me. Yuck! The cashew butter I used had a rubbery aftertaste to it that was hidden by the sweetness of the maple syrup and the cashew milk chocolate. Me thinks it must've been the brand of cashew butter I was using since cashews don't have a rubbery aftertaste. The only drawback with this ice cream is that it's hard to scoop out immediately after removing it from the freezer, so you need to let it sit uncovered at room temperature for 15 minutes before attempting to scoop. I think the maple syrup makes it hard to scoop, so using granulated sugar probably would've been better. This ice cream is creamy and doesn't melt easily as much as dairy-based ones. My dad said this ice cream was nutty and likened it to Haagen-Dazs ice cream in that it's heavy, which is a pretty big compliment, especially coming from my dad! HELPFUL LINK: Cashew Milk Chocolate: eatingevolved.com/products/cashew-milk-primal-chocolate You will need: For the cooking equipment: A blender An ice cream maker An ice cream tub For the ice cream: 16 oz. cashew butter 2 cups cashew milk 3/4 cup maple syrup Whole, roasted cashews Cashew milk chocolate bar for garnish(see HELPFUL LINK) 1. Put the first 3 ingredients into a blender and blend on high for 3 minutes. 2. Turn the ice cream maker on and pour the blended ice cream mixture into the bowl of the machine. Let the ice cream churn for 11-13 minutes. 3. Add some cashews into the bowl of the machine and let the ice cream churn for an additional 2-3 minutes. 4. Turn the ice cream maker off and pour half of the ice cream into an ice cream tub. Top that ice cream with more cashews and top those cashews with the rest of the ice cream before topping that with additional cashews. 5. Put the lid on the tub and let the ice cream harden overnight in the freezer. Once it's frozen, let the ice cream soften at room temperature, unopened, for 15 minutes before scooping. 6. Top with a piece of cashew milk chocolate. This is the closest thing you'll get to the lemon-elderflower royal wedding cake from Prince Harry and Meghan's wedding. But hey, at least you can have it for dinner! I didn't anticipate making this video- I only made it because another recipe didn't turn out the way I hoped. But everybody on the Internet has been talking about the royal wedding for the past week practically, so I had to jump on the bandwagon. If Harry and Meghan released the actual menu from the wedding to the public, I probably would've made a meatloaf using those dishes instead, but the only thing they released was the recipe to their royal wedding cake, which is a lemon elderflower cake. So what does elderflower taste like? It's like a plasticky, spicy apple taste, but you barely taste it in this meatloaf, even though I used a good amount(1/4 cup) of the syrup and elderflower supposedly has a strong taste to it like rosewater, which I haven't tried. The appearance of the meatloaves quite frankly looked pretty plain. If I had edible flowers on hand, I would've topped the meatloaves with that but I didn't have the foresight to get any. However, I did have purple icing on hand and purple is associated with royalty, so I used that to top the meatloaves. The meatloaf tasted slightly citrusy and tart from the lemon zest and lemon curd but the icing provided a sweetness to the meatloaf that rounded out the otherwise bland, soft meatloaf. My dad surprisingly liked this meatloaf. HELPFUL LINK: Elderflower Syrup:www.amazon.com/Monin-Elderflower-Syrup-Bottle-750/dp/B004L6DIA8/ref=sr_1_2_s_it?s=grocery&ie=UTF8&qid=1526839113&sr=1-2& You will need: For the cooking equipment: A large bowl A cheese grater or zester A lasagna pan Nonstick cooking spray For the meatloaf: Pinch of onion powder 2 beaten and whisked eggs 1/2 a lemon 1/4 cup lemon curd 1/4 cup elderflower syrup(see HELPFUL LINK) Pinch of black pepper Pinch of salt A 19 oz. yellow cake 1 lb. chopped, drained, firm tofu Plain breadcrumbs Purple icing or edible flowers for garnish 1. Put the first 2 ingredients into a large bowl. Zest 1/2 a lemon using a cheese grater or fruit zester and put the zest into the bowl. 2. Add the next 4 ingredients into the bowl. 3. Separate the frosting from the yellow cake. Crumble up 3/4 of the yellow cake and put it into the large bowl. Eat or discard the frosting. 4. Add the tofu to the large bowl and mix all the ingredients up. If you don't get a firm mixture, add plain breadcrumbs to thicken the mixture a bit. 5. Spray a lasagna pan with nonstick cooking spray. Form 2 loaves. 6. Bake the meatloaves in a 350 degree Fahrenheit oven for 40-45 minutes. Let the meatloaves cool off at room temperature for 5 minutes. 7. Top each meatloaf with either edible flowers or purple icing. I had a can of whelk in my pantry and it was about to expire, so I decided to turn it into a meatloaf that tastes like a chewy, fishy version of sesame chicken. Where did I find said can? At an Asian supermarket over a year ago(it's in a closed can, so it lasted a while, it's not like it was expired- I'm not that stupid). Finding ingredients for this meatloaf other than whelk was a bit of a challenge, as it's not a very common ingredient. It's called the poor man's abalone by California fishermen because it's cheap unlike abalone, but I'd really love to make an abalone meatloaf soeday. I did find a Korean dish that utilizes whelk in the form of a cold salad, so that was my inspiration for the meatloaf- golbaengi-muchim. But this meatloaf is cooked because nobody likes a cold meatloaf, even me. So what does whelk taste like? It's very chewy, tastes like a mixture of seaweed and shrimp, and is reminiscent of conch(which is related to whelk), only better tasting for some reason. I was surprised there weren't that many whelk in the can but whelk are large sea snails. It didn't have a foul odor either, unlike some canned proteins like corned beef. Actually, it didn't have any odor. This meatloaf was probably 70% other stuff and only 30% actual meat, but that's the appeal to this recipe. My dad spit out the whelk after he politely said on camera it tasted like it came from the ocean and was rubbery. He said it could've been cooked longer, but I have to disagree. Nothing would've made the whelk soften given its shape. Plus it's not easy to break apart either. HELPFUL LINKS: Red Curry Paste: www.amazon.com/AROY-D-Red-Curry-Paste-OZ/dp/B06XBYK3CY/ref=sr_1_2_sspa?ie=UTF8&qid=1526220152&sr=8-2-spons& Whelk: www.amazon.com/SAJO-Korean-Whelk-14-1oz-SafeZone/dp/B07BJ7GG43/ref=sr_1_1_s_it?s=grocery&ie=UTF8&qid=1526219785&sr=1-1& You will need: For the cooking equipment; A large bowl A lasagna pan Nonstick cooking spray For the meatloaf: 1/2 an onion sauteed in sesame seed oil 2 beaten and whisked eggs 16 chopped up baby carrots 1/2 a chopped up long cucmber 1/2 cup cooked udon noodles 1/2 tsp. green chiles 1 tbsp. sesame seeds 1 tbsp. white vinegar 1 tbsp. coconut aminos or soy sauce 1 tsp. red curry paste(see HELPFUL LINKS) 2-3 tbsp. honey Pinch of chili powder Pinch of parsley Pinch of garlic powder Pinch of black pepper 1 cup cooked white rice 14 oz. can of whelk, drained(see HELPFUL LINKS) Breadcrumbs to hold the meatloaf together 1. Put the first 16 ingredients into a large bowl. 2. Break apart the whelk into smaller pieces with your hands and put them into the bowl. 3. Mix all the ingredients up. If the mixture is still liquidy after mixing them up, add a lot of breadcrumbs and mix until you get a firm meatloaf mixture. 4. Spray a lasagna pan with nonstick cooking spray. Form 2 loaves. 5. Bake the meatloaves in a 350 degree Fahrenheit oven for 20 minutes. This dessert pizza has all the components of Samoa Girl Scout Cookie: chocolate, caramel, and coconut. People create recipes with Girl Scout cookies, particularly either Thin Mints, Tagalongs, or Samoas, but you've never seen one turned into a pizza- until now! The dough had a mind of its own- it kept needing more and flour just so it wouldn't stick to my hands. Then when I went to flatten it, it kept retracting to its original thick, flattened state, thus resulting in a really chewy crust. Good thing I made a ton of caramel frosting to wash that crust all down. The best pizza doughs use yeast but that takes forever and I just want to mix up all the ingredients once and forget the rest, so I used beer, which is related to yeast. But if you don't want alcohol in your pizza, you can always used milk- thanks to the baking powder, the dough's gonna rise anyway as its baking in the oven. For some reason, the softened cookies reminded me of those Lunchable dessert pizzas when I was a kid where they gave you enough stuff to make 2 pepperoni "pizzas" but only enough materials for 1 dessert "pizza". Spoiler alert: I ate the dessert pizza before the pepperoni ones. The crust reminded me of all those Friday nights when I was a teenager when my sister and I would watch DVDs from Blockbuster while waiting for some dessert pizzas from Domino's Pizza to show up later than 30 minutes(so much for that guarantee they showed on TV- the delivery guy always confused our address, which ends in "Street" with another of the exact same name a mile away that ends in "Drive". Where's good urban planning when you need it?) that had to be ordered over the phone and not through an app. And this was when Domino's solely made pizza and not other stuff along with pizza. 6 things in that paragraph do not exist today:
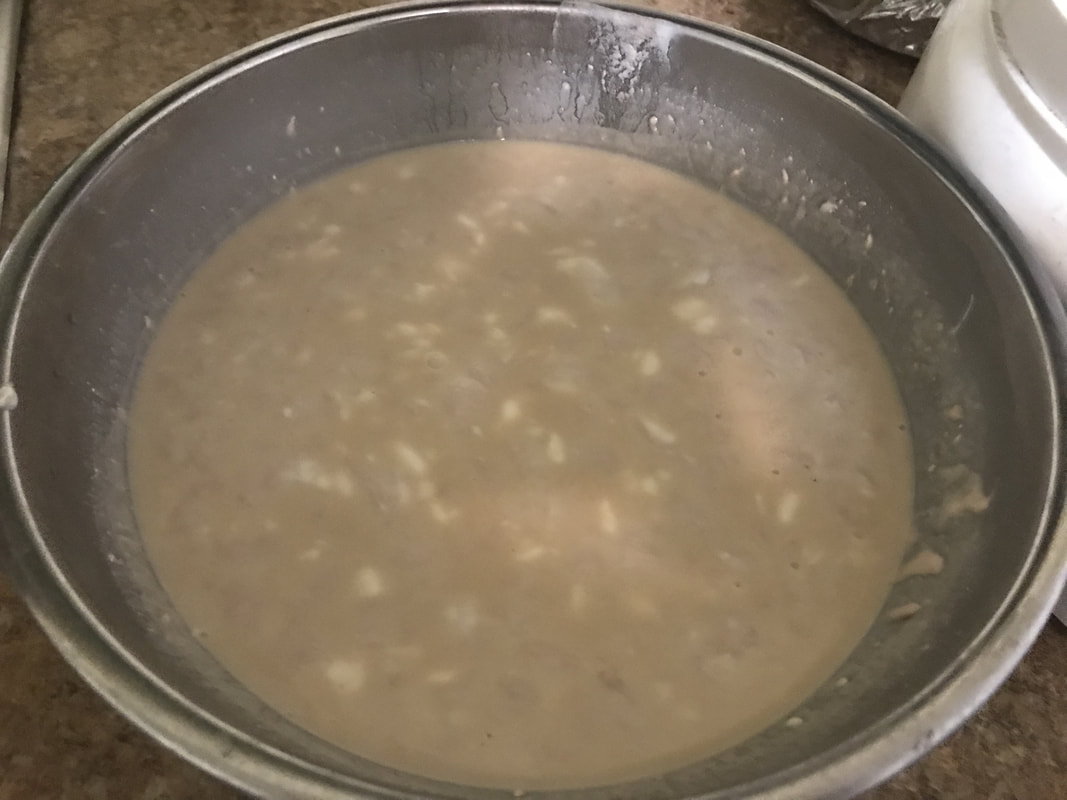
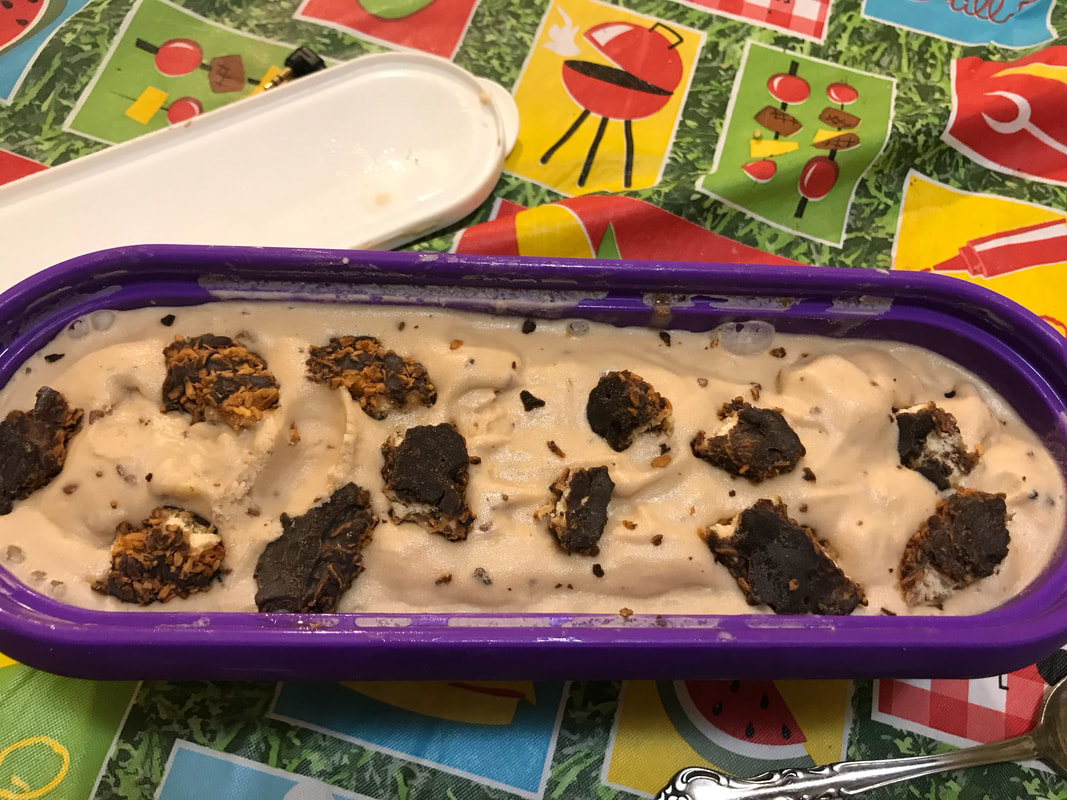
My dad didn't try this pizza because it has beer in it and chocolate, which keeps him up at night. Makes 6-8 slices of pizza You will need: For the cooking equipment: 2 large bowls A rolling pin Parchment paper Nonstick cooking spray 2 baking trays For the crust: 3 cups all-purpose flour 2 tsp. baking powder A litte over 1/4 cup granulated sugar 12 oz. chocolate caramel coconut beer or milk Additional flour for the countertop For the caramel frosting: 1/4 cup softened butter 8 oz. softened, plain cream cheese 1 cup confectioners' sugar Caramel sauce To top the pizza: The caramel frosting Samoa Girl Scout cookies Chocolate sprinkles Shredded coconut Chocolate syrup To make the crust: 1. Mix the dry ingredients in a large bowl before adding the beer or milk. 2. Combine all ingredients until you get a dough ball. 3. Flour your countertop or surface and pour the dough onto the floured countertop or surface. Knead the dough until it's no longer sticky. You're going to need a lot of flour so if your hands get sticky, just add flour to them and pour more flour onto the dough ball. This might take 10-15 minutes. 4. Flour a rolling pin and flatten the dough ball as much as possible. It's normal if it wants to retract to its original shape, just keep flattening it. 5. Cut the flattened dough in half. 6. Place parchment paper on 2 baking trays and spray the parchment paper with nonstick cooking spray. 7. Put each crust onto a baking tray and bake the crusts in a 350 degree Fahrenheit oven for 18-20 minutes. 8. Let the crusts cool at room temperature for 10 minutes before decorating them. To make the frosting; 1. Mix the butter and cream cheese together in another large bowl. An electric mixer would really help! Then add the confectioners' sugar and caramel sauce. 2. Mix everything until you get a frosting that's not liquidy for at least 2 minutes. If it still is, just add more confectioners' sugar to the frosting. To decorate the pizza: 1. Put caramel frosting on the crusts, leaving 1 inch on the edges uncovered. 2. Top the frosting with the Samoa cookies, the chocolate sprinkles, the shredded coconut, and the chocolate syrup, all in that order. 3. Bake the pizzas in a 350 degree Fahrenheit oven for 1-2 minutes. Here's a new way to enjoy those yummy chocolate caramel coconut Girl Scout cookies- in a frozen yogurt! Chocolate caramel coconut beer optional. They sell Samoa Ice Cream at my local supermarket so there was no point in making something I can just buy in its finished form. Not everyone has chocolate coconut caramel beer but with a frozen yogurt recipe, you don't have to have the beer in it. You can find chocolate yogurt, caramel yogurt, and coconut yogurt in many supermarkets these days, so I decided to combine all 3 types of yogurt and turn it into a frozen dessert! Given my experiences with making ice cream in the past, I anticipated that the frozen yogurt would be hard to scoop but I was pleasantly surprised how easy it was. The key is that you need to use yogurt with fat in it- fat-free yogurt(who eats that s--- anymore!?) will only result in a frozen dessert that's hard to scoop. And if it's hard to scoop, I'm less inclined to eat it. Ain't nobody want to wait 15 minutes for their ice cream to thaw out enough to be scoopable! The frozen yogurt tasted malty from the beer, but coconut was also another flavor detected along with chocolate. Caramel not so much. My dad didn't try this recipe due to the beer in it. Even if I forgone the beer, he still wouldn't have eaten it due to the chocolate in it. You will need: For the cooking equipment: A medium saucepot A large bowl Aluminum foil An ice cream maker An ice cream tub For the frozen yogurt: 12 oz. chocolate caramel coconut beer(optional) 8 oz. full-fat chocolate yogurt(I used Icelandic-style yogurt) 8 oz. full-fat salted caramel yogurt(I used Australian-style yogurt) 11 oz. full-fat coconut yogurt(I used French-style yogurt) 1/2 cup heavy whipping cream 1 cup granulated sugar 1 tbsp. light corn syrup Caramel sauce Shredded coconut Chocolate sprinkles At least 4 Samoa Girl Scout Cookies For the beer(optional); 1. . Pour the beer into a medium saucepot. Put the saucepot on the stove on low heat and let the beer reduce until there's only 8 ounces left. Reducing the beer cooks some of the alcohol out, which will enable the ice cream to freeze. For the rest of the frozen yogurt: 1. Put the next(or first if you're not using beer) 6 ingredients into a large bowl and mix all the ingredients up. It's ok if there's cream on top from the yogurt. 2. Put aluminum foil over the bowl and put it in the fridge for at least 2 hours, or overnight to let it chill, especially if you're using beer. 3. Put in some caramel sauce, shredded coconut, and chocolate sprinkles into the frozen yogurt base and mix all the ingredients up. 4. Turn your ice cream maker on and pour the frozen yogurt base into the bowl of the ice cream maker. Let the frozen yogurt churn for 15 minutes. 5. Break apart 4 Samoa cookies either with your hands or a knife into the smallest pieces possible. Put the chopped cookies into the churning frozen yogurt. Let the frozen yogurt churn for another 2-3 minutes. 6. Turn the ice cream maker off and pour half of the frozen yogurt into an ice cream tub. Top with more Samoa cookies(doesn't matter if they're chopped) and caramel sauce. 7. Cover the cookies with the rest of the frozen yogurt. Put the lid on the ice cream tub and place in the freezer for at least 6 hours, or overnight. |
Archives
October 2019
Categories
All
|


 RSS Feed