|
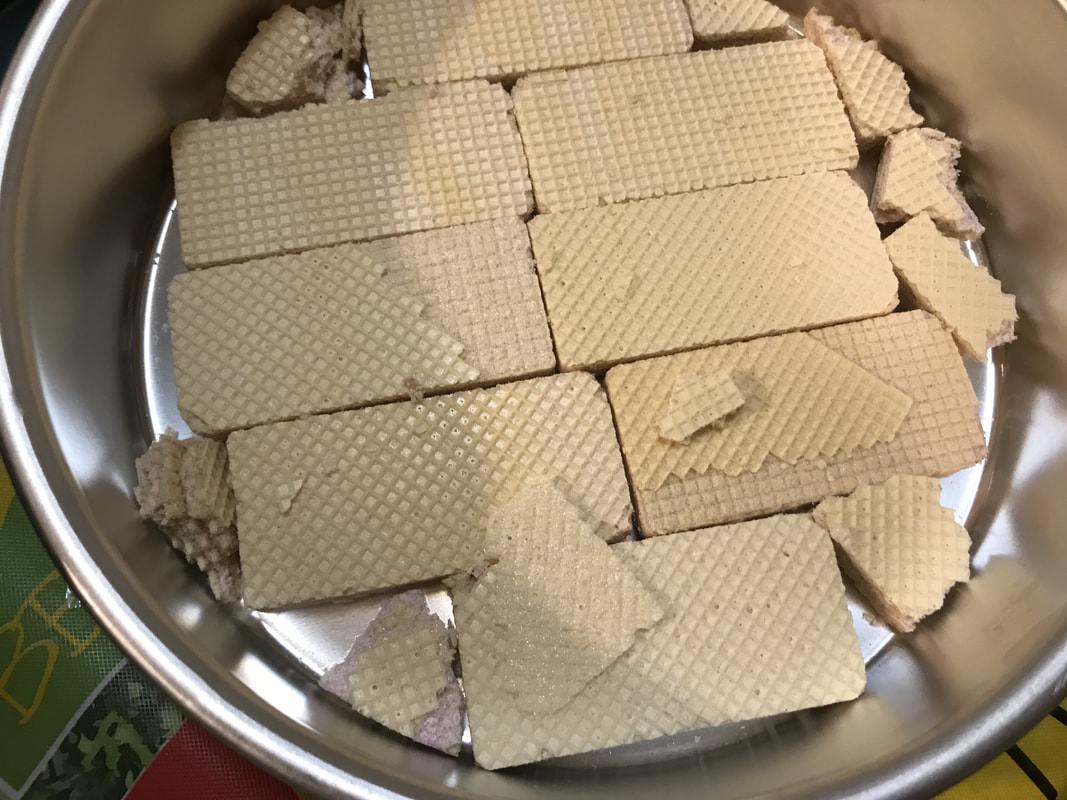
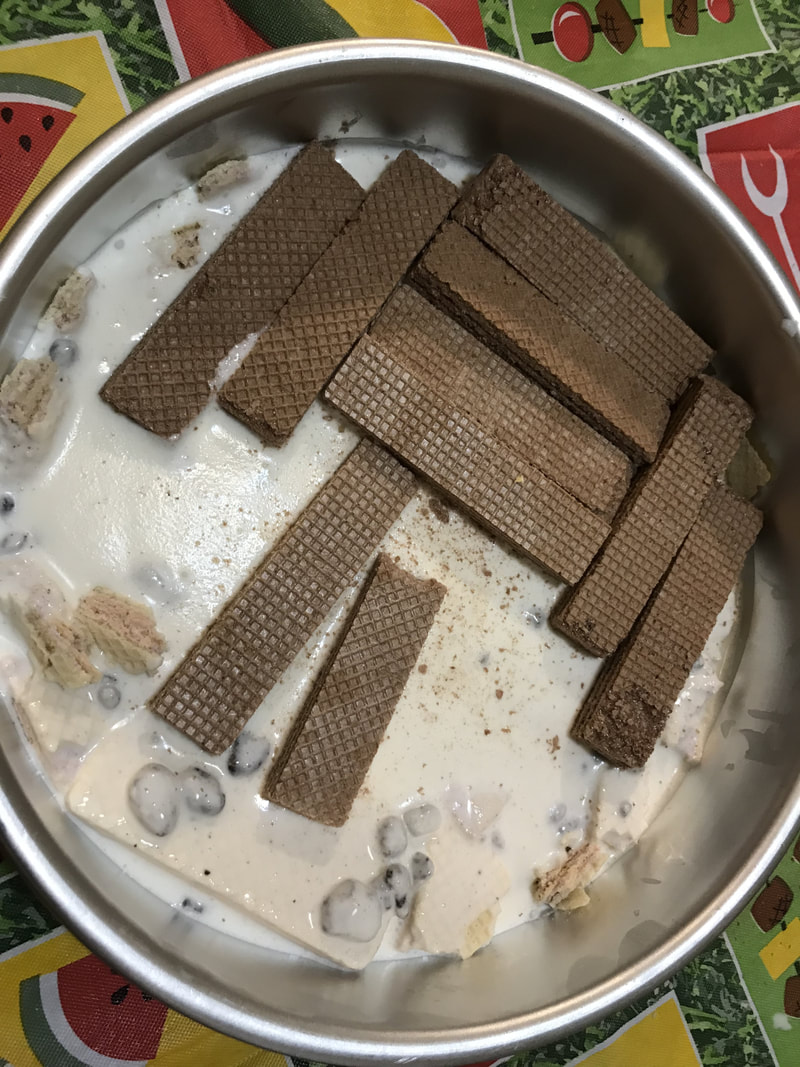
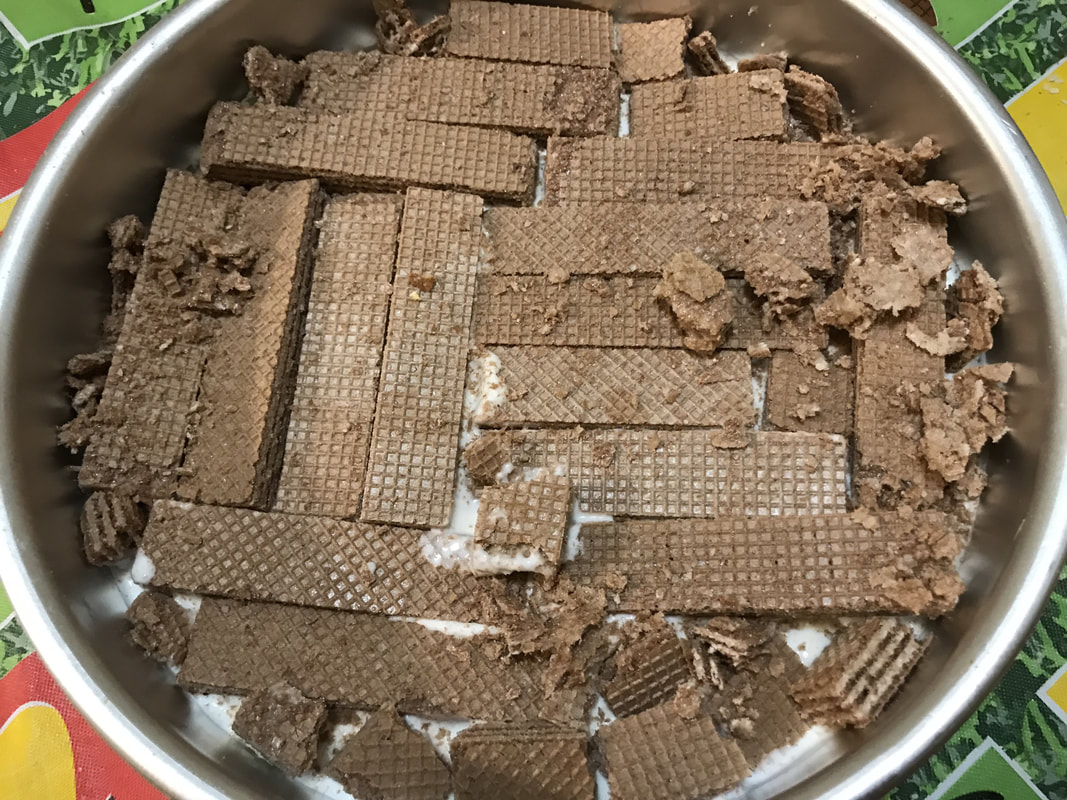
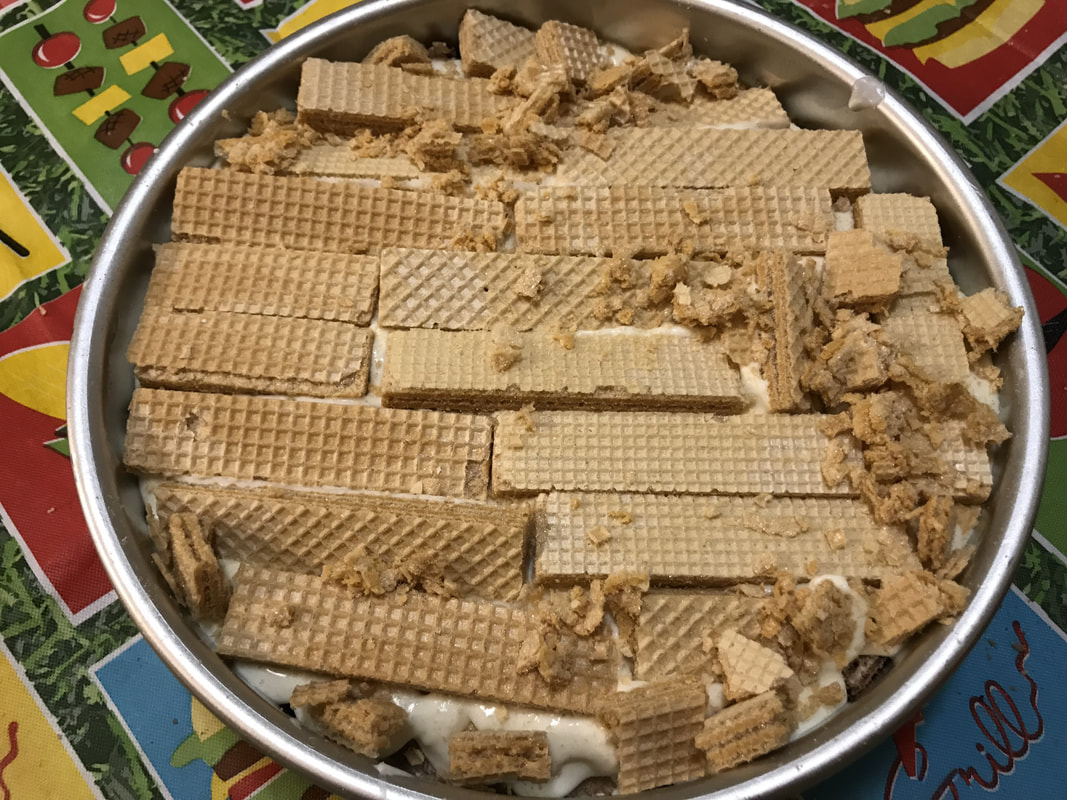
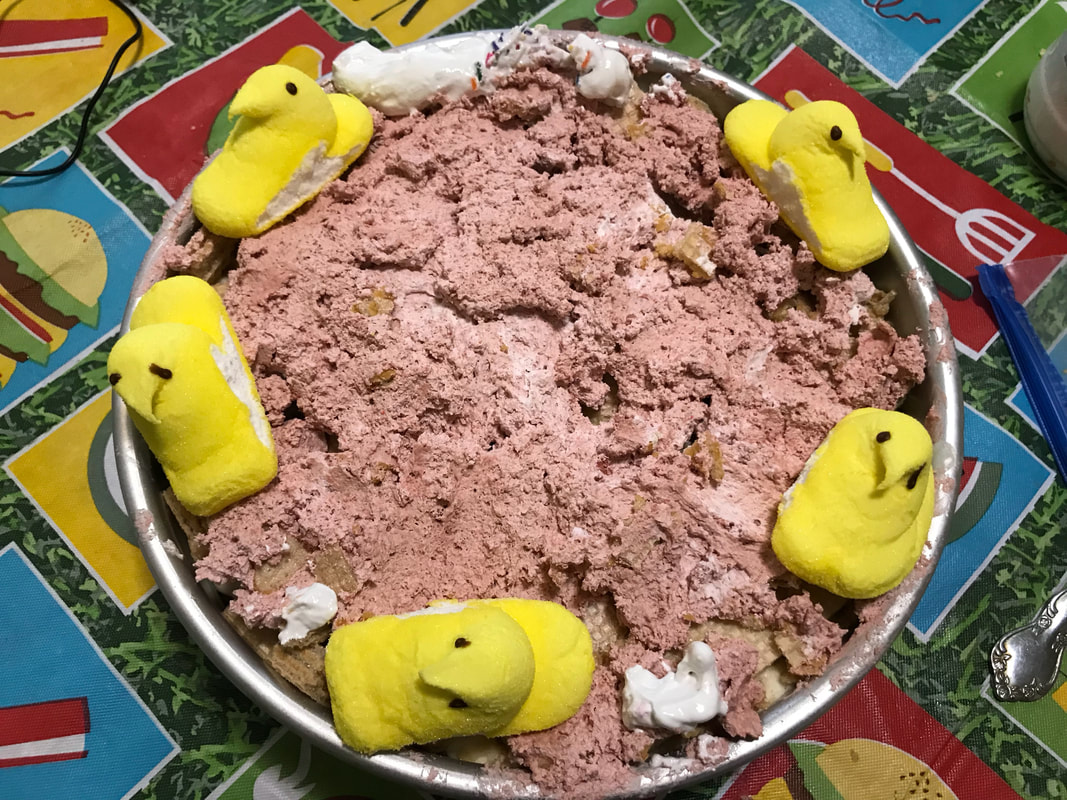
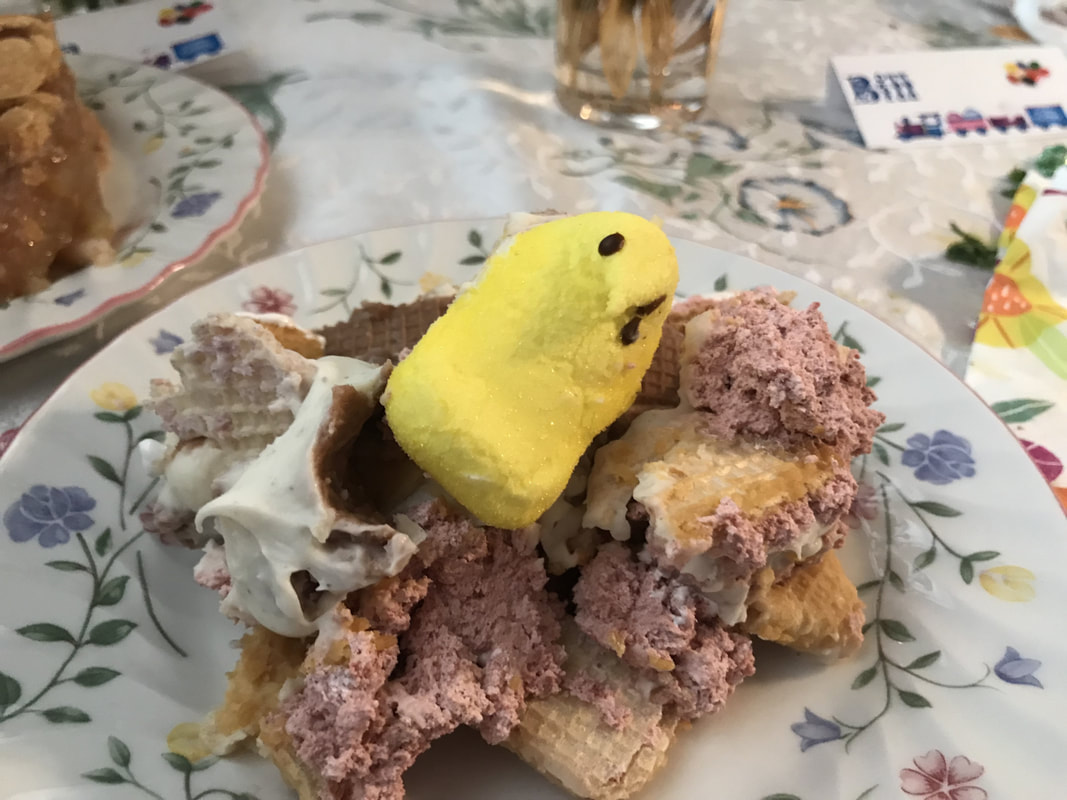
This no-bake cake has the perfect combination of wafer cookies and pudding! I'm astounded by the variety of wafer cookie and pudding flavors out there. Pudding and wafer cookies were made for each other, so it makes perfect sense to make a cake out of them. The only wafer cake cake(not a typo) I was able to find was something called oblatne, which is a Russian wafer cake made with really thin wafer cookies, like the kind you'd find at an Eastern European grocery. Personally, I like the American version of wafers, which are thicker. It's a good thing I didn't like the sesame brown rice wafer cookies I bought from an Asian supermarket(they tasted like coffee, which I hate), otherwise I would've had to 86 the red velvet pudding layer and that's no fun- I mean it's so artificially colorful! But I probably should've bought more Cool Whip- there wasn't enough frosting to cover the top wafer layer, so I had to improvise with some Peeps and marshmallow fluff to cover the exposed layers. The wafers definitely softened having been in the fridge overnight covered by pudding, but that kind of put an extra special touch to this dish. This cake is very rich and heavy but man it's addicting! I made this cake for my family's annual Easter celebration and people ate half of the cake. The other half lasted another 6 days before it was all gone(by me)! You definitely taste the red velvet frosting obviously. The taro and dulce de leche wafers not so much. But the coconut flavor is prominent from said flavored wafers. My grandpa tried the cake and he thought it was very good. Sadly, I didn't record him eating it on camera so you're going to have to take his word for it. HELPFUL LINKS: Taro Cream Wafers: www.amazon.com/Mei-Taro-Cream-Wafers-7-05/dp/B006RPBAX8/ref=sr_1_1_a_it?ie=UTF8&qid=1523208257&sr=8-1& Red Velvet Pudding Mix: www.amazon.com/JELL-Pudding-Red-Velvet-3-4/dp/B01FLO53CY/ref=sr_1_1_a_it?ie=UTF8&qid=1523203249&sr=8-1& You will need: For the cooking equipment: A deep cake pan A medium bowl A large bowl For the cake: 7 oz. Taro Cream Wafers(see HELPFUL LINKS) 4 oz. Oreo Pudding mix 3 1/2 cups heavy whipping cream 3 1/2 tbsp. confectioners' sugar 5 oz. Coconut Wafers 3 oz. White Chocolate Pudding mix 4.5 oz. Dulce de Leche Wafers 3.4 oz. Red Velvet Pudding mix(see HELPFUL LINKS) 8 oz. Cool Whip Peeps Marshmallow fluff 1. Put a layer of taro wafer cookies into the bottom of a deep cake pan. Break apart the cookies to fill in the edges of the layer in the pan. 2. Make the Oreo pudding according to the package directions in a medium bowl. 3. Measure out 2 cups heavy whipping cream and 2 tbsp. confectioners' sugar and put both into a large bowl. Mix until thickened to get whipped cream. 4. Mix the Oreo pudding with the whipped cream and pour it on top of the taro cream wafers. 5. Top the Oreo pudding mixture with a layer of coconut wafer cookies. Break apart the cookies to fill in the edges of the layer in the pan. 7. Make the white chocolate pudding according to the package directions. 8. Measure out 1/12 cups heavy whipping cream and 1 1/2 tbsp. confectioners' sugar and put both into a large bowl. Mix until thickened to get whipped cream.. 9. Mix the white chocolate pudding with the whipped cream and pour it on top of the coconut wafers. 10. Top the white chocolate pudding mixture with a layer of dulce de leche wafer cookies. Break apart the cookies to fill in the edges of the layer in the pan. 11. In a large bowl, mix the Cool Whip and red velvet pudding mix until you get a pink frosting. Cover the dulce de leche wafers with the frosting. 12. Cover the cake with aluminum foil and place in the fridge for at least 6 hours to let it chill and set. 13. Top any remaining visible dulce de leche wafers with Peeps and marshmallow fluff.
0 Comments
Leave a Reply. |
Archives
October 2019
Categories
All
|


 RSS Feed