|
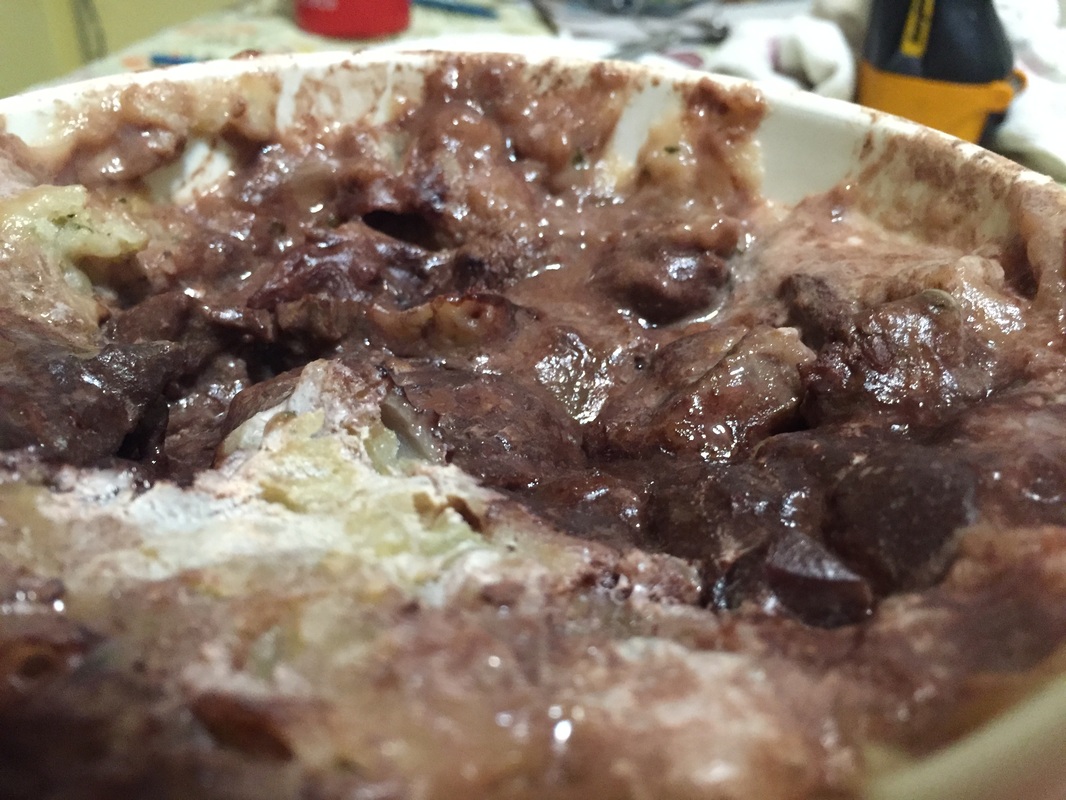
You may be wondering where in the world I managed to find pig kidneys for sale- it was at a local butcher shop. When I think of the term pudding, I think of two things:
I combined the two to get this recipe. Be forewarned, though: this is a pretty detailed(read: complicated) recipe- not only do you have to clean the pig kidneys(which reminded me of the dissections I never had to do in my high school biology class), you also have to brown the meat, make a sauce, AND create the pastry for the pudding! This seriously should be a final exam for students in a culinary program, since this recipe requires you to use many varied cooking techniques. You probably should allocate 6 hours of your precious time to make this recipe. My dad refused to try this recipe, but not for the reason you think: it's because I used cooking wine in the sauce and he had a bad experience at a restaurant once while on a date- the dish he ordered(I think it was veal Marsala) had wine in it and the chef put too much of it in the dish so it made him almost drunk and the girl ended up dumping him! But my dad also thought the smell of the pig kidneys was foul! It wasn't to me, but that smell leads me to my next point: you have to thoroughly clean the kidneys if you don't want the taste of urine in your mouth! Remember, these kidneys used to process urine in pigs! Seriously, nothing fazes me anymore when it comes to bizarre food. Like most offal you find at a butcher shop or supermarket, it's cheap. The 4 kidneys I bought cost only $2 in total! But when you read this recipe, you'll see it says to use 3 pig kidneys instead of 4. That's because I was planning on pan-frying the 4th kidney but it got pretty late(like 10 pm late) by the time the pudding was done steaming! Now I know why the British only make these types of puddings around holidays- it's long and hard(if you're thinking what I'm thinking as I'm typing this, please get your head out of the gutter! Humanity thanks you!)! This dish is based off the traditional British dish known as Steak and Kidney Pudding, which uses steak instead of lamb shoulder. Traditionally, you turn the pudding basin upside down when the pudding is done steaming but I only did that when I had leftover pudding a couple of days later- it held its shape somewhat. But in the video, I had my pudding upside down, eating from the pudding basin. Since I live in North America, I can't find suet(read: the raw fat off a cow's kidney) even at a local butcher shop, so I had to order vegetable suet online(see helpful link in the recipe), which strangely enough, looks like shredded mozzarella cheese! It was a tasty dish and if given the choice between eating kidney and liver, I'd always eat the former because at least kidneys don't taste like blood and iron! HELPFUL LINKS: Vegetable Suet: https://www.amazon.com/Atora-Shredded-Vegetable-Suet-200g/dp/B0170E6S9A/ref=sr_1_2_a_it?ie=UTF8&qid=1469985755&sr=8-2& Pudding Basin: https://www.amazon.com/Mason-Cash-Forest-Steam-British/dp/B00LB9I0RY/ref=sr_1_2?ie=UTF8&qid=1469985812&sr=8-2& Estimated total time: over 6 hours Makes 3 servings You will need: For the cooking equipment: Gloves to protect your hands from smelling like urine Kitchen shears A large bowl A frying pan A spatula A medium bowl A medium saucepot A rolling pin A pudding basin(see HELPFUL LINK) Nonstick cooking spray Aluminum foil A large saucepot 2 oven mitts A baking tray For the pudding: 3 pig kidneys Water to clean the pig kidneys in 1.1 pounds of lamb shoulder Olive oil for sautéing and browning 1 chopped up onion Garlic powder 1 tbsp. of parsley 1 tbsp. of all-purpose flour Pinch of salt Pinch of black pepper 5 oz. of red cooking wine 5 oz. of beef stock Salt and black pepper to taste(for the sauce) 10 oz. of all-purpose flour 1 1/2 tsp. of baking powder 1/2 tsp. of salt 1 tbsp. of parsley 4.5 oz. of vegetable suet(see HELPFUL LINK) Salt Black pepper 8 oz. of water for the pastry 1 s'mores or chocolate pudding cup To Clean the Kidneys 1. Put gloves on to protect your hands and cut the kidneys in half horizontally. If you get them from a butcher, they should already be cut somewhat enough for you to see the pink stuff inside the kidney. 2. Cut the white stuff and pink stuff that's inside the kidneys using kitchen shears. The white stuff and pink stuff make the kidneys smell like urine. Steps 1 and 2 should about 15 minutes per kidney. 3. Clean the dirt and impurities out of the kidneys by putting them in a large bowl and submerging them with water in the bowl. Salt the water. The water should turn red initially. Let the kidneys soak in the salted water and change the water every 30 minutes until the water is clear(I had to change the water just once- another hour down the drain). Preparing the Meat 4. Separate the meat and fat from the lamb shoulder using kitchen shears(but please clean the kitchen shears first!) and cut the lamb shoulder into pieces. 5. Pour olive oil onto a frying pan and spread the oil around the pan. Turn the stove on to heat the oil up. 6. Once the oil is heated up, saute the chopped up onion and garlic powder until the onion is translucent in color. Put the sauteed onions into a medium bowl. 7. After cleaning your large bowl, put 1 tbsp. of parsley, 1 tbsp. of all-purpose flour, salt, and black pepper into the large bowl. Mix all the ingredients together. 8. Coat the lamb shoulder and pig kidneys in the flour mixture in the large bowl. 9. Pour a little bit more olive oil into the frying pan and spread it around the pan once again. Turn the stove on to heat the oil up. 10. Once the oil is heated up, brown the lamb shoulder and pig kidneys using a spatula until they're no longer pink or red in color. Making the Sauce 11. Pour the red cooking wine into a medium saucepot. Bring the wine to a boil. Let the wine reduce for 2-3 minutes by continuing to let the wine boil. 12. After the wine has reduced, add the beef stock and reduce the heat to a simmer. Let the sauce simmer for 5 minutes. Add salt and black pepper to taste in the sauce just before the sauce is done simmering. Making the pastry 13. After cleaning your medium bowl and putting the sauteed onions into a smaller bowl, mix 10 ounces of flour, 1 1/2 tsp. of baking powder, and 1/2 tsp. of salt in the medium bowl to get a self-rising flour. 14. Add 1 tbsp. of parsley, salt, black pepper, and the vegetable suet to the flour mixture. While mixing all the ingredients together, slowly pour in 8 ounces of water. You want the dough to be slightly sticky. If the dough looks liquidy, add more flour. 15. Flour a clean surface like a kitchen countertop. Put the dough onto the floured surface. 16. Cut 1/4 of the dough and set it to the side. This will be the lid for the pudding. 17. Flatten the remaining dough using a rolling pin. Ideally, you want the dough to be circular. 18. Spray the inside of the pudding basin with nonstick cooking spray. Line the inside of the basin with the circular dough you just flattened. 19. Put the onions, kidneys, lamb shoulder, sauce, and s'mores or chocolate pudding into the lined basin. The basin I used was pretty small, so I only included a little bit of kidneys and more of the lamb shoulder, in addition to the sauce, s'mores or chocolate pudding, and onions. 20. Cover the basin with the dough you set aside. Steaming the pudding 21. Cover the basin with aluminum foil and cut off the excess foil. 22. Put the basin into a saucepot that's larger than the pudding basin. Pour water halfway up the outside of the basin. 23. Bring the water to a boil and cover the saucepot with its lid. 24. Once the water's boiling, let the pudding steam for 2-2 1/2 hours. Steaming the pudding means leaving the basin in boiling water and the water level will go down as it's boiling, so check the water level every 10-15 minutes. If the water level is too low, add more water. 25. Remove the basin from the saucepot using 2 oven mitts and put the basin onto a baking tray. At this point, you can let the pudding cool down a little bit and eat it out of the basin or you can turn the pudding basin upside down if you feel your pastry held up. 26. Either way you eat it, bon appetit!
2 Comments
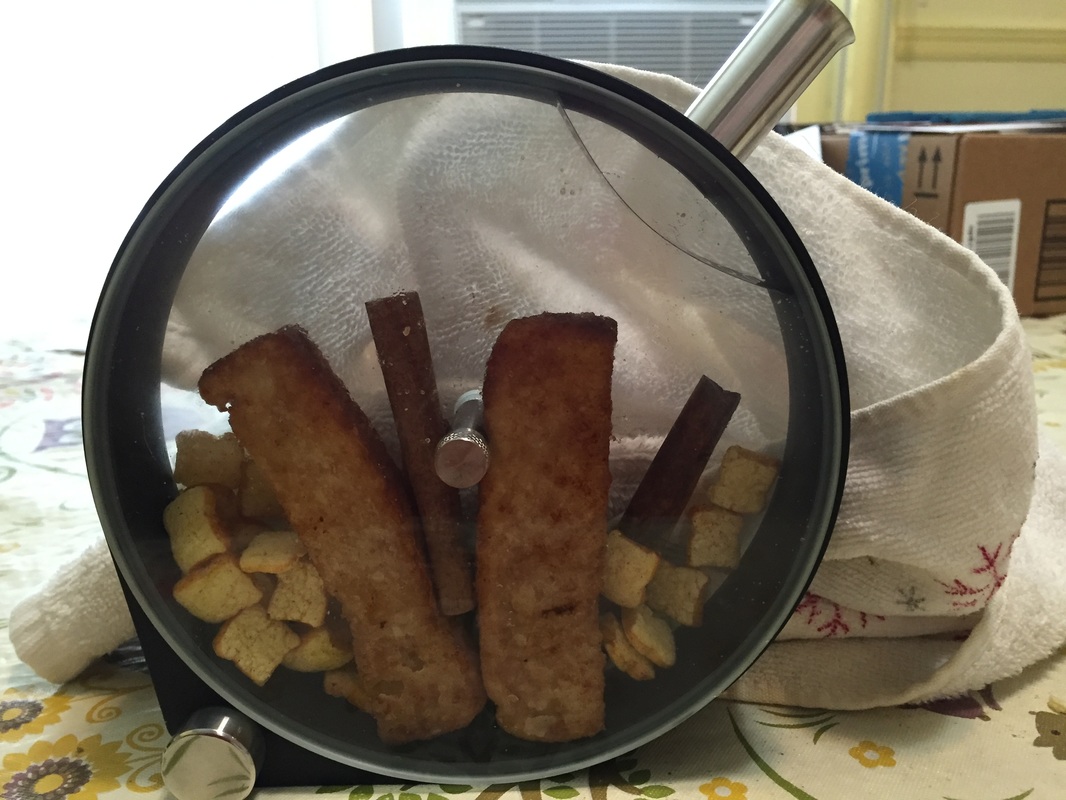
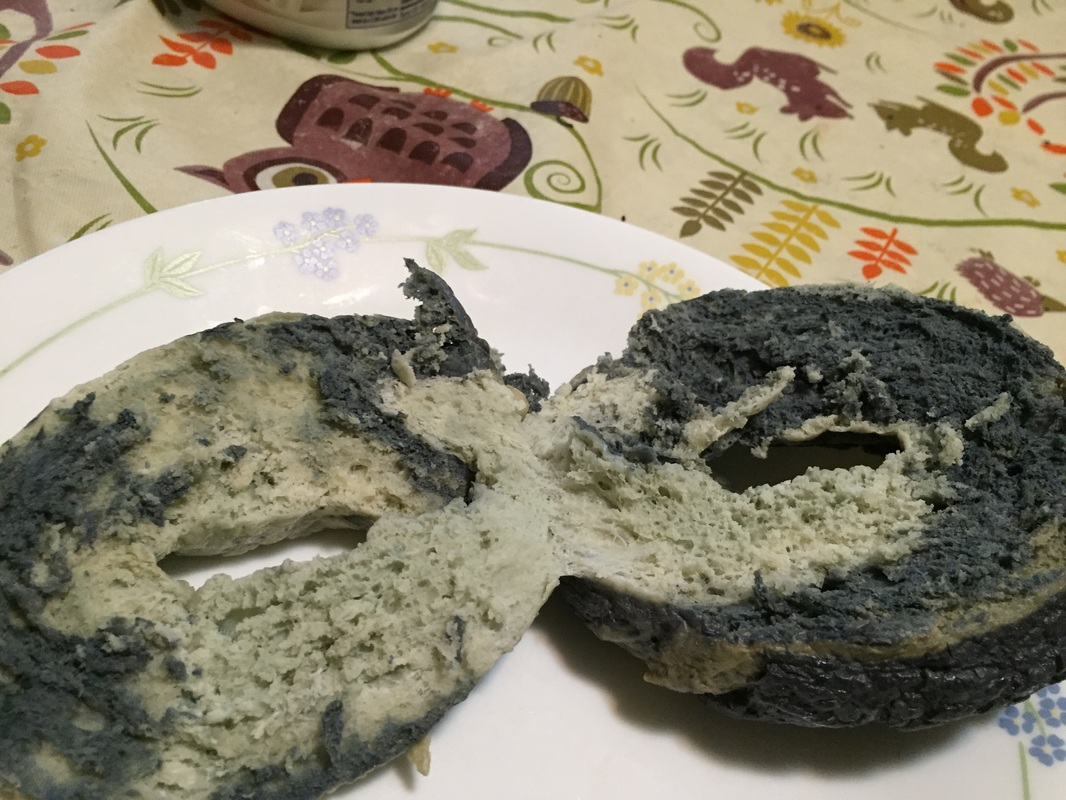
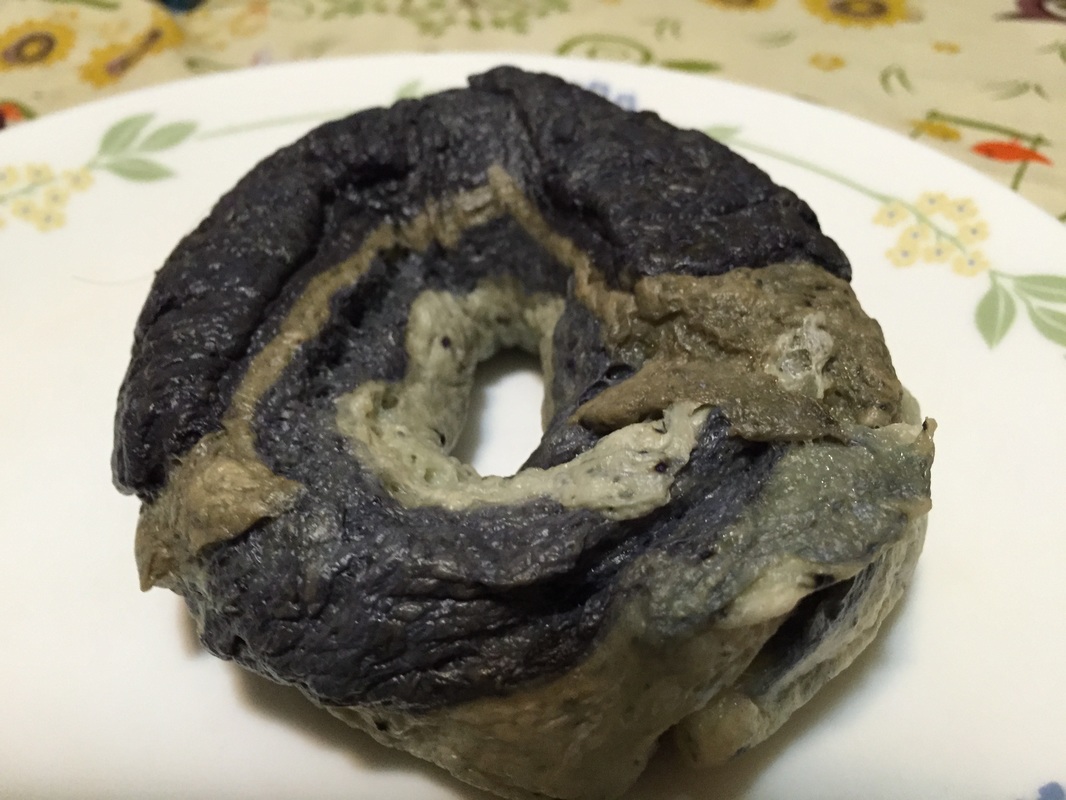
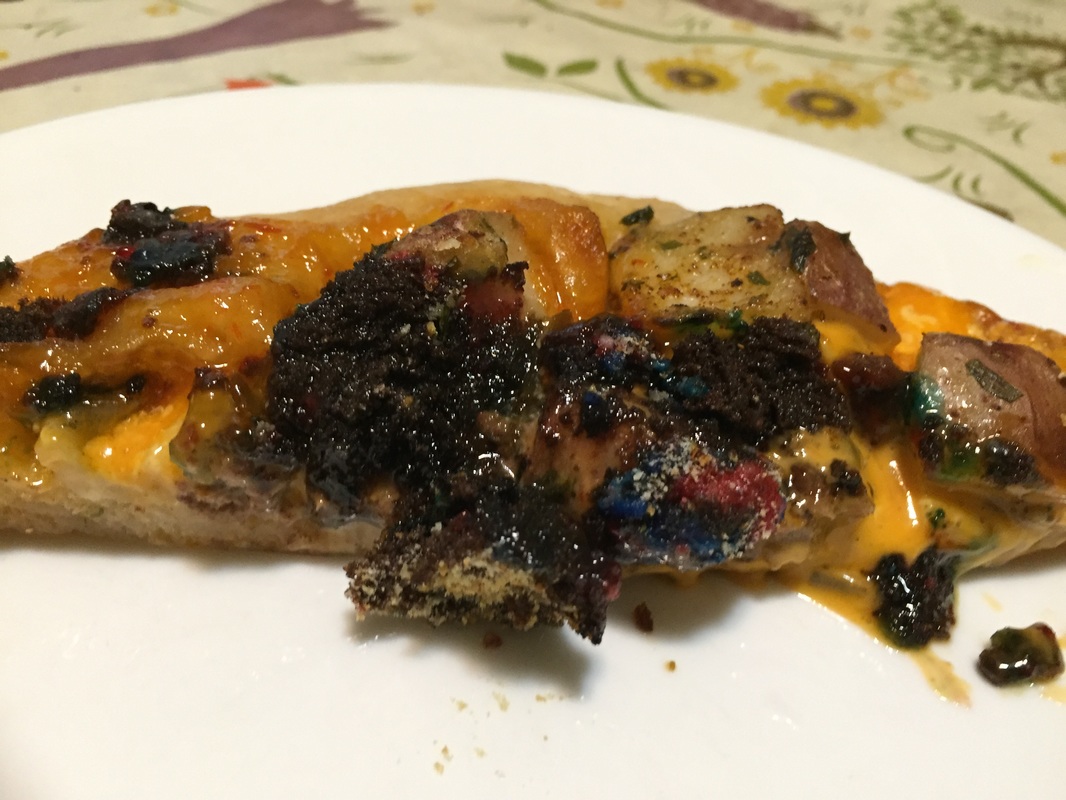
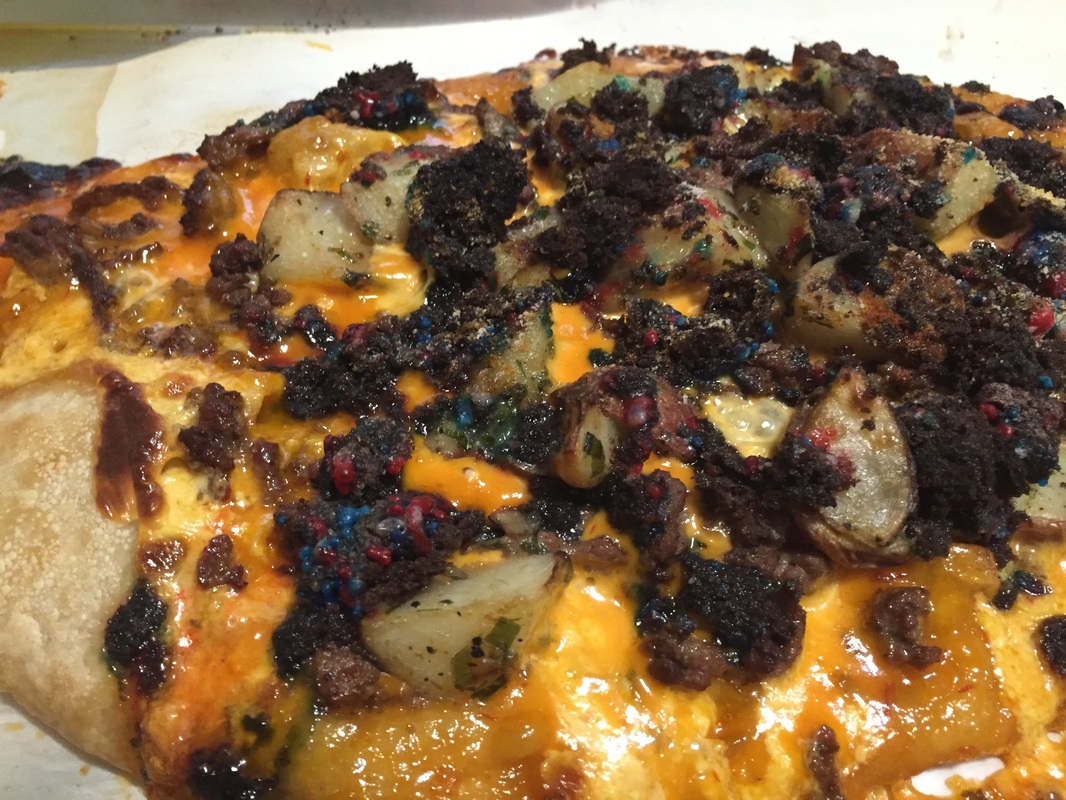
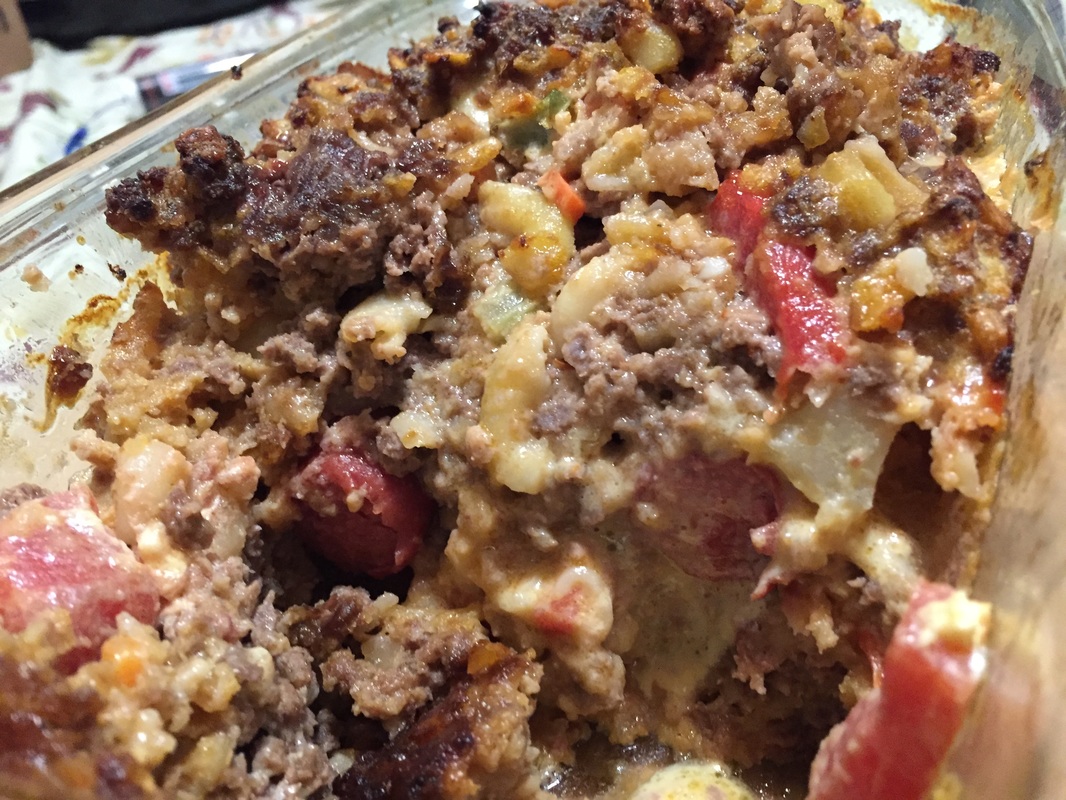
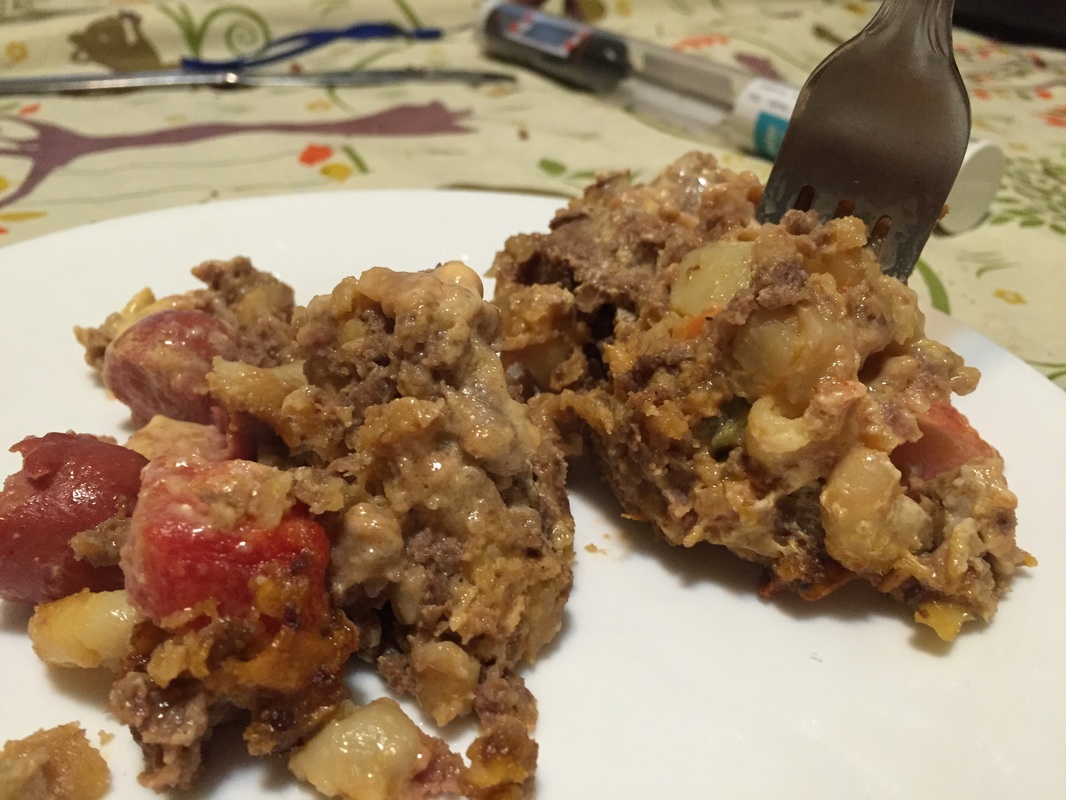
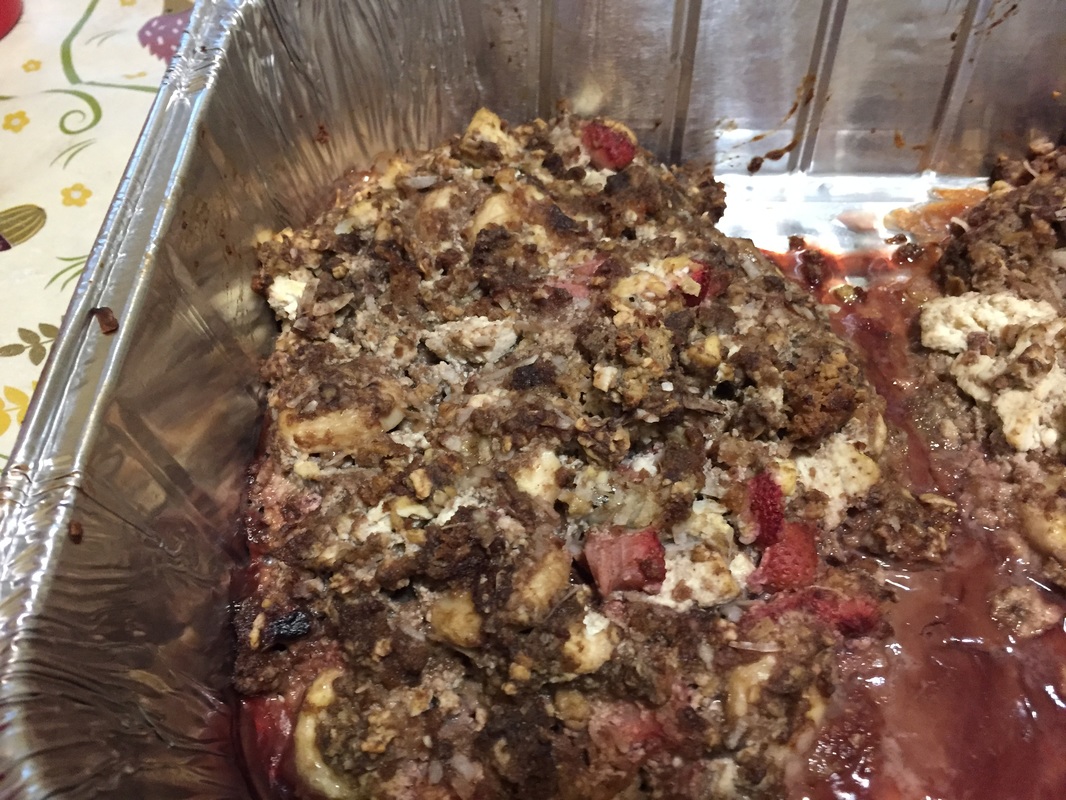
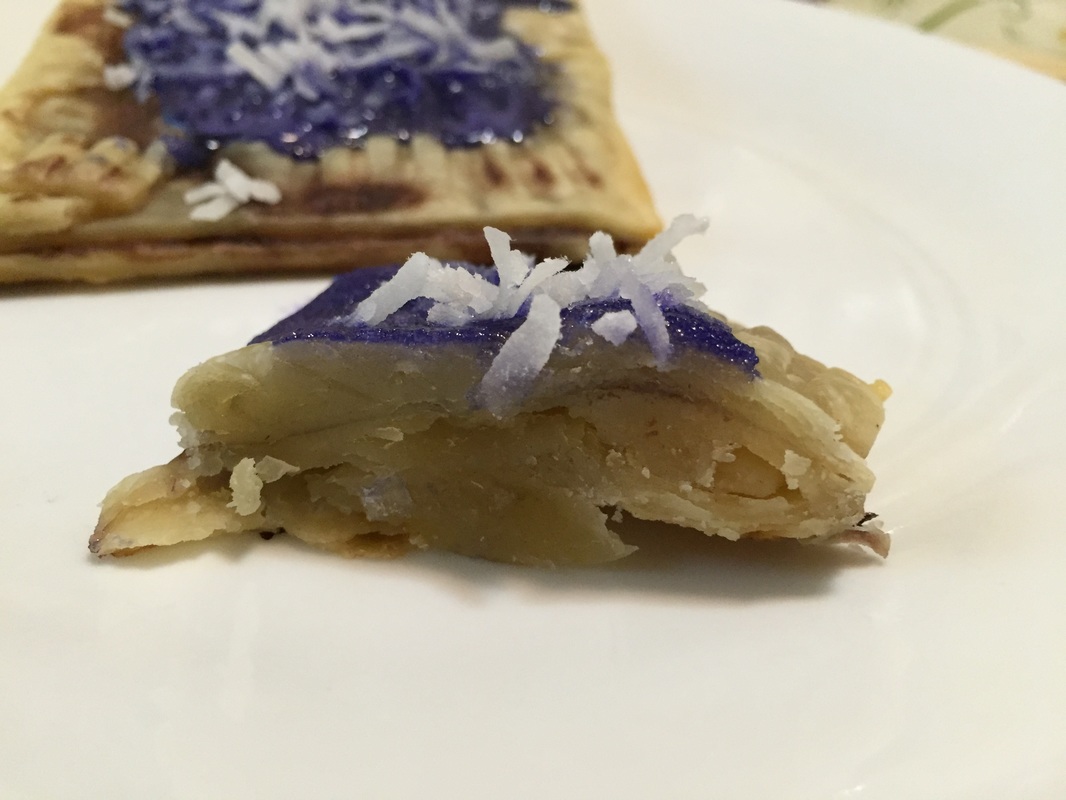
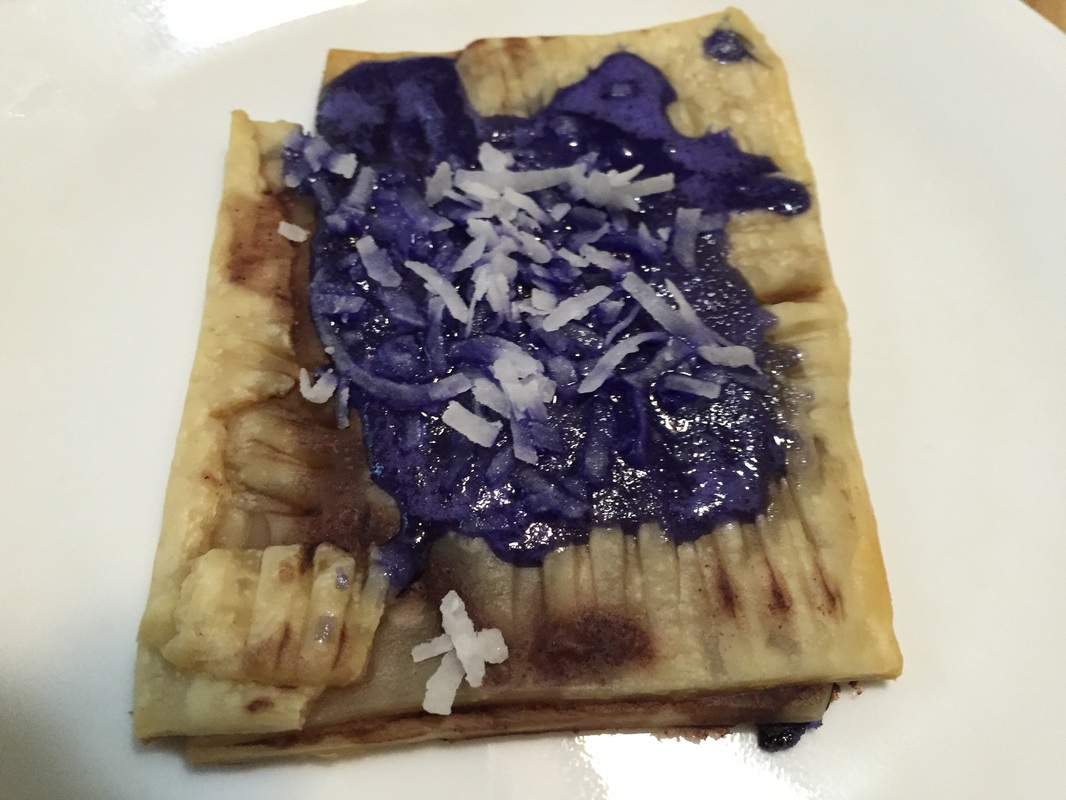
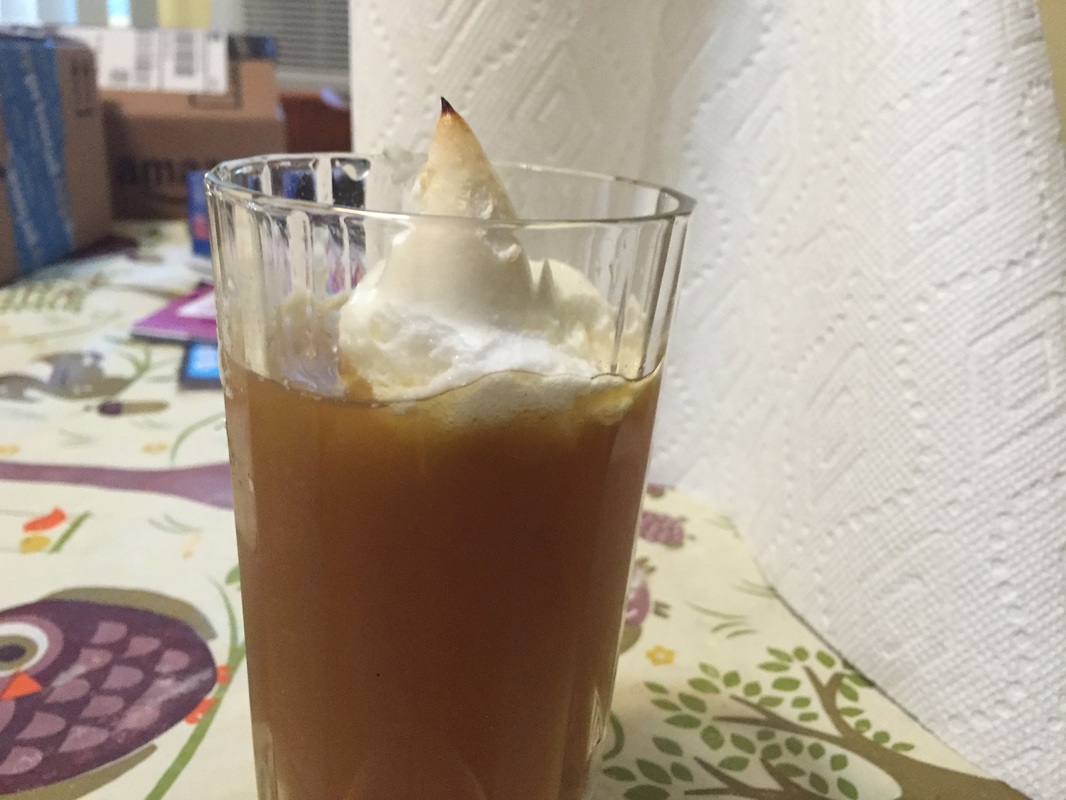 There are always certain milestones in a YouTube channel's existence- first 50 sbscribers, 100, 200, 300, 400, 500, 1000, 2000... This channel has reached over 200 subscribers! So in honor of us reaching that milestone, here's a 200-year old recipe(see what I did?) for you! It's called Roman Punch(not to be confused with the finishing move of the WWE wrestler Roman Reigns- that's actually called a Superman Punch. As you can see, I'm a big pro wrestling fan!). When I looked at an image from the page I got my inspiration from(https://food52.com/recipes/7635-nineteenth-century-roman-punch), the drink is clearly yellow. My finished product is brown- that's because I either used more orange juice than the original recipe called for, I used a mixture of molasses and pineapple juice to make a nonalcoholic version of rum and the molasses is almost a black color, and/or I FORGOT THE "CHAMPAGNE"(white sparkling grape juice)! Oh well, but the end result turned out refreshing and tasty anyway. I didn't want to make nor eat my own meringue(it's made from raw eggs people!) and I couldn't find meringue cookies at my local supermarket, but since it's summer, I found a lemon meringue pie, removed the meringue tops from the pie, and then put the meringue tops on top of the drink! You will need: For the cooking equipment: A large bowl A medium bowl Cups or glasses For the drink: 2 cups of lemonade 1 cup of orange juice 1/8 cup of lemon juice 12 ounces of pineapple juice Molasses to taste Vanilla or almond extract to taste Either meringues from the top of a lemon meringue pie, meringue cookies, or your own meringue 1. Mix the first 3 ingredients into a large bowl. 2. Mix the pineapple juice, molasses, and almond or vanilla extract in a medium bowl to your liking. This is your nonalcoholic rum. 3. Mix the nonalcoholic rum with the lemonade mixture in the large bowl. 4. Spoon the combined liquid into cups or glasses. 5. Put a meringue top, meringue cookie, or your own meringue on top of the liquid in the cup or glass. Bon appetit! NOTE: MEATLOAF PRINCESS IS NOT SPONSORED BY CRUCIAL DETAIL! Why did I say this? It's because I'm going to rave on a product I found on the Interwebs- it's called the Porthole Infuser! Doesn't sound like it has anything to do with food, but it does, trust me! It's a really quick way to infuse liquids due to the device's tight space. My dad says it's silly to have such a complicated device just to infuse water but some bartenders use it often to make cocktails. I have to admit the manual to assemble the device is a bit complicated- it's like the Ikea manuals that just have images and no text. Plus there are a lot of small screws. But if you ever lose them, you can either reorder them through Crucial Detail(the company that makes the Porthole infuser) at http://www.theportholeinfuser.com or get the replacement parts at Home Depot or Lowe's(I never thought I'd be talking about those stores on this channel). You also have to make sure the device is fully closed so no liquid leaks out. But my day job working with industrial machines(that's all I'm going to say) has prepared me to assemble the device. The infused water may look like urine(!) but it tastes like cinnamon, maple syrup, and sugar. Even my dad enjoyed his glass of infused water! Just remember to follow food safety rules when using this device. That means no infusing oil with garlic(seriously, that's what the manual said) or infusing liquid with raw meats(but that's kind of self-explanatory, or maybe not). HELPFUL LINK: Maple Water(https://www.amazon.com/DRINKmaple-Pure-Maple-Water-Ounce/dp/B00YNJQ1QG/ref=sr_1_3_a_it?ie=UTF8&qid=1469396753&sr=8-3&) You will need: For the cooking equipment: A Porthole Infuser(http://www.theportholeinfuser.com) For the food: 2 cinnamon French Toast sticks, slightly warm(you're not supposed to use hot liquids in the Porthole Infuser because that might break the glass) 3 cinnamon sticks French Toast Crunch cereal 1 cup of water 1 tbsp. of pure 100% maple syrup Enough maple water to fill the Porthole Infuser to the top(see HELPFUL LINK) 1. Lay the Porthole down with it open so you can put in the first 3 ingredients. 2. Attach both glass panes according to the Porthole's Manual. Make sure the Porthole is fully shut! 3. Mix water and pure maple syrup together. 4. Lay newspaper or paper towels down on your surface. Put Porthole on top of it. Pour the water mixed with maple syrup into the spout. If you have a cocktail funnel, use it! It'll make your life a lot more simpler(well, at least for this recipe). 5. Pour the maple water into the spout. 6. Let the water infuse for 1 hour. 7. After 30 minutes, turn the Porthole around 180 degrees. Then let the Porthole finish infusing. 8. Pour the infused water into a glass. Bon appetit! What would compel me to make such an ugly bagel? First, I'm sick of seeing rainbow bagels all over my Instagram feed, so this my satire on that trend- they are 6 shades of gray- fog, ash, slate, stone, taupe, and gun metal. And yes, gray food coloring is such a thing- here's a HELPFUL LINK: https://www.amazon.com/Nifty-Shades-Gray-Food-Color/dp/B01DEEEFL8/ref=sr_1_1?ie=UTF8&qid=1468787557&sr=8-1& Odds are this video won't go viral. :( It's basically a plain bagel colored gray even though when I showed my boss at my day job the bagel, she said it looked like a blueberry bagel. You can't have rainbow bagels without birthday cake cream cheese. Conversely, you can't have gray bagels without plain cream cheese(again the satire)! Shoutout to YoYoMax12 for providing the inspiration for this recipe: https://www.youtube.com/watch?v=_-GznMkRG_w Makes 8 bagels You will need: For the cooking equipment: Gloves to protect your hands from being stained A large bowl A baking sheet A kitchen towel Nonstick cooking spray A large saucepot Tongs Spatula For the bagels: 1 1/2 cups of warm water 2 packets of active dry yeast 1 tbsp. of light brown sugar 4 cups of all-purpose flour plus more flour to flour your surface 2 tsp. of salt Gray food coloring(see helpful link)- The Anti-Rainbow: Fog, Ash, Slate, Stone, Taupe, and Gun Metal 2 tbsp. of light brown sugar Water to boil the bagels Plain cream cheese to top the bagels 1. Put the first 3 ingredients into a large bowl. 2. Proof the yeast for 5 minutes or until the yeast is slightly foamy, which basically means DO NOT STIR THE MIXTURE! Just let the yeast do its thing and feed on the brown sugar. 3. Add the flour and salt into the large bowl. Mix all the ingredients together until you get a dough ball. If you need to, scrape the flour on the outside of the bowl into the dough ball. 4. Flour your dry countertop surface and place the dough ball onto your countertop. Knead the dough until there are no more lumps, which could take 5-10 minutes. 5. Divide the dough into 6 pieces by either cutting the dough in half and then in thirds, or vice versa. 6. Starting with the lightest shade, which is fog, place 3 drops of food coloring onto each piece. Then knead the color into the dough until the color of the dough is whatever shade of gray you're using. Tip: If you see any white spots, fold it into the colored dough and knead. Repeat this process for all 6 dough balls. 7. Place parchment paper onto a baking tray. Put all 6 colored dough balls onto the parchment paper. Let the dough balls rise on a warm surface for 45 minutes, or until the dough balls have doubled in size. 8. Flatten the dough balls with your hands, starting with the fog-colored dough ball. 9. Stack the flattened dough balls in the order of the anti-rainbow, then shape the stacked dough into a rectangle shape. 10. Put the stacked dough onto a fresh piece of parchment paper on the baking tray. Cover the stacked dough with a kitchen towel and let the dough rise on a warm surface for an additional 30 minutes. 11. Cut the dough horizontally into 8-10 pieces. 12. Flatten each cut out piece, then form it into a cylinder shape. 13. Twist the dough into a circular bagel shape. 14. Repeat steps 12 and 13 for the rest of the dough. 15. Boil water in a large saucepot. Once the water is boiling, put 2 tbsp. of light brown sugar into the boiling water. This will turn the water a yellowish-brown color, which is normal. 16. Put 2 bagels at a time into the boiling water. Let the bagels cook for 2 minutes before turning them over. 17. Turn the bagels over using tongs and let them cook for an additional minute on the other side. 18. Take the bagels out using a spatula. 19. Repeat steps 16-18 for all of the bagels. 20. Spray a baking sheet with nonstick cooking spray. Put all of the bagels onto the baking tray. 21. Bake the bagels in a 425 degree Fahrenheit oven for 20-25 minutes. 22. After the bagels are done baking, let them rest at room temperature for 10-15 minutes before cutting them in half and putting plain cream cheese on them. 23. Bon appetit! I'm sad to report that my grandma, the third person besides myself to try the food I make on this channel, passed away on July 7 at the age of 84. :( She was sick for a long time since her heart attack last February and after her heart attack, she was placed in a nursing home in North Carolina, close to her sole surviving child(she had 3 kids). Like the video I did last August after I had to put my cat Chandler to sleep, this is a eulogy video in the form of a recipe. I even included never-before seen of my grandma trying one of my recipes and her reaction! How did I come up with this crazy creation? My grandma was of Russian descent but born in the good ole US of A, so I included American cheese and Russian dressing(which was actually invented in the USA. Who figured!?). She loved my meatloaf recipes, hence the use of ground beef, breadcrumbs, paprika, and cayenne pepper. Grandma also loved French fries(I used microwaved potatoes instead) and chocolate donuts, hence the use of chocolate donut holes. I think why I made a grandma pizza in memory of my grandma isn't a coincidence. A grandma pizza is a rectangular pizza where the placement of the cheese comes before the sauce, not the other way around. It's native to Long Island, which is the region I'm from. You will need: For the cooking equipment: 2 baking trays Parchment paper A frying pan Spatula Nonstick cooking spray A rolling pin For the pizza: 6-8 ounces of ground beef Olive oil for browning the ground beef One 12 oz. pre-made pizza dough 4 slices of American cheese 1 cup of Russian dressing Microwaved potatoes Unfrosted but sprinkled chocolate donut holes Breadcrumbs Pinch of paprika Pinch of cayenne pepper 1. Pour olive oil into a frying pan and spread the oil around the pan. Heat the oil up on the stove. 2. Put the ground beef into the frying pan. Break up the beef using the sides of a spatula as it's cooking. Brown the beef until it's no longer red or pink in color. 3. Spray a baking tray with nonstick cooking spray. Alternatively, you can use a countertop and skip the use of the nonstick cooking spray. Just make sure you coat the countertop with flour. 4. Put the premade pizza dough onto the baking tray or countertop surface. Flatten the dough with a rolling pin. 5. Place parchment paper onto a 2nd baking tray(or 1 baking tray, if you flattened the dough on a countertop surface). Put the flattened pizza dough onto the baking tray lined with parchment paper. Shape the dough into a rectangular shape, which is the traditional shape of grandma pizzas. 6. Place the cheese, then the dressing on top of the dough. 7. Put potatoes on top of the dough. 8. Crumble the donut holes into smaller pieces and put them on top of the dough. 9. Put all remaining ingredients on top of the dough. 10. Bake in a 450 degree Fahrenheit oven for 20-30 minutes. 11. Bon appetit! 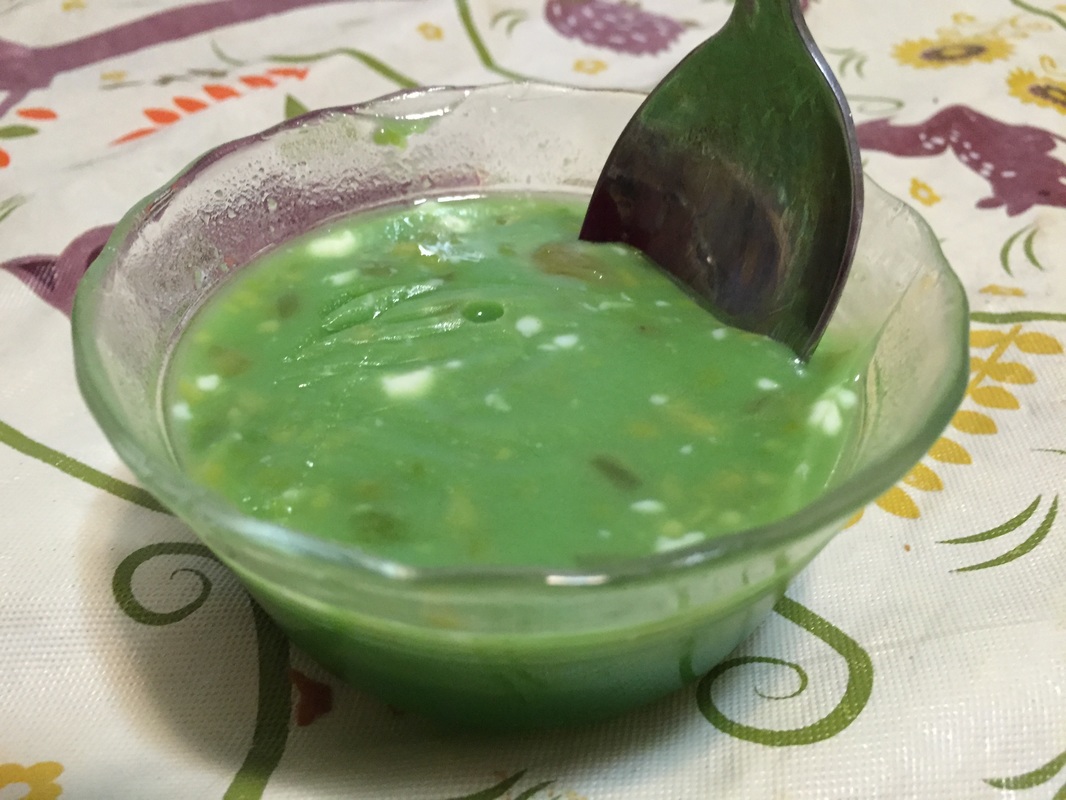 I have had bad luck with savory gelatin recipes lately- the Kimchi Juice Jello turned out to be too spicy and this Guacamole Jello turned out to be OK, but bad enough that I disposed of the remaining Guac jello. It tasted like Thanksgiving stuffing. Weird. At least it was an experiment. But here's the recipe if you do want to try it: You will need: For the cooking equipment: A large saucepot A large bowl 6-8 small bowls Plastic wrap Newspaper or paper towels to protect your tablecloth For the jello: 3 cups of water 1 large package of Lime Jello mix 2 packets of unflavored gelatin 3/4 cup of granulated sugar 1/2 cup of coconut milk 1/3 cup of mayonnaise 8 ounces of mild guacamole 1. Put the water into the large saucepot and on the stove, bring the water to a boil. 2. Once the water is boiling, turn the flame off. 3. Add the jello mix, unflavored gelatin packets, and sugar to the boiling water. Stir everything for up to 2 minutes, or until the unflavored gelatin has dissolved. Let the mixture cool off. You can tell when the gelatin mixture has cooled off when you don't see steam coming from the saucepot. 4. Mix the coconut milk, mayonnaise, and guacamole together in a large bowl. 5. Put the guacamole mixture into the gelatin mixture. Mix the two mixtures together in the large saucepot. 6. With newspaper or paper towels protecting your tablecloth, pour the now combined guacamole jello mixture into the small bowls. 7. Cover the small bowls with plastic wrap. 8. Put the bowls in the fridge for at least 4 hours to let the gelatin set. 9. Bon appetit? I may not be the best person to come up with a meatloaf based off a 4th of July party since in all honesty, I've never been to a 4th of July party. However, I've been to many barbecues. I based this meatloaf off of the Mother's Day celebration my family had, which was a barbecue. My dad was amazed when he saw all the ingredients that were going to be in this meatloaf. He said most people bring all of the items to a cookout individually, while his daughter is creative enough to put all of those items into a meatloaf! You will need: For the cooking equipment: A large bowl A loaf pan Nonstick cooking spray For the meatloaf: 2/3 tbsp. of onion powder 2 beaten and whisked eggs 1/2 cup of French-fried onions 1/2 cup of potato salad or egg salad(I used potato salad with egg, because that's what my local supermarket had for sale, without me having to wait 30 minutes on the deli line just for egg salad) 1/2 cup of macaroni salad 3 chopped up pieces of watermelon 1/2 cup of Russian dressing 1 cup of crushed BBQ potato chips 1/2 cup of unseasoned breadcrumbs 1 pound of 93% ground beef 2 beef frankfurters 2 slices of American cheese 1. Put the first 10 ingredients into a large bowl. 2. Mix the ingredients up in the large bowl until you get a cohesive, firm meatloaf mixture. 3. Spray a loaf pan with nonstick cooking spray. 4. Put half of the meatloaf mixture into the loaf pan. 5. Top that bottom layer in the meatloaf mixture with the frankfurters and American cheese. 6. Top the frankfurters and American cheese with the rest of the meatloaf mixture. 7. Bake in a 350 degree Fahrenheit oven for 60-65 minutes(it took me 70), or until the internal temperature of the meatloaf(using a meat thermometer) reaches 160 degrees Fahrenheit. 8. Bon appetit! My dad said this looks like an actual meat-based meatloaf in that it's brown. But I actually used tofu. It may look like the meatloaf held its shape but when I cut it in half, it fell apart. Not ideal and certainly not pretty, but sweet and delicious. This is the first time I've used my dad on camera. I need a second person to try my food on camera and he's the only other person living with me. You will need: For the cooking equipment: A large bowl A lasagna pan Nonstick cooking spray For the meatloaf: 2/3 tbsp. of onion powder 2 beaten and whisked eggs 1/2 cup of shredded, sweetened coconut 1/2 cup of chopped strawberries 2 chopped up bananas Enough crumbled up Acai Bread(https://www.youtube.com/watch?v=J5N5S0eo9f8) to make 1 cup 1/2 cup of granola 2 packets of acai puree, thawed Pinch of salt 1 pound of chopped, drained, crumbled up tofu 1. Put all ingredient into a large bowl. If the acai puree is still solid after being thawed out after 20 minutes, then put the solid chunks into the bowl- they'll get melted down in the oven during the cooking process. 2. Mix all the ingredients together until you get a solid, cohesive mixture. 3. Spray a lasagna pan with nonstick cooking spray. 4. Form 2 loaves from the meatloaf mixture. 5. Bake in a 350 degree Fahrenheit oven for 40-45 minutes. 6. Bon appetit! Look, I know acai berries are rare, but I've never seen acai jelly anywhere. I have seen blueberry acai jelly, but that's not the same thing. I wanted the whole acai essence, so I made my own filling. Sadly, said filling evaporated during the baking process in the oven, which is why you see the inside of a pop tart with no purple filling inside. :( You may notice in the video I used a rolling pin on the entire 1st premade pie crust. That turned out to be a bad idea, as the crust was very hard to flatten. Thus, that part is not in the written directions below. Makes 8 pop tarts of varying sizes HELPFUL LINK: Purple food coloring: http://www.amazon.com/Wilton-Set-8-Icing-Colors/dp/B0000CFMU7/ref=sr_1_2?srs=2603741011&ie=UTF8&qid=1464643598&sr=8-2& You will need: For the cooking equipment: A pizza cutter A large bowl A rolling pin Sheet of paper towel Wax paper A baking tray or cookie sheet Toothpicks Gloves to protect your hands from staining For the pop tarts: 2 premade pie crusts 1 packet of acai fruit puree, thawed 1/4 cup of acai juice For the icing: 1 cup of granulated sugar 1 tbsp. of milk, or enough to make the icing smooth and liquidy 1 tsp. of vanilla extract Purple food coloring(see helpful link) 1. In a large bowl, mix the juice into the fruit puree. Break down the solid puree bits using a spoon. 2. Roll out 1 pie crust. 3. Cut the out the edges of the pie crust. Form the cut-out edges into a ball. 4. Using a pizza cutter, cut the remaining pie crust into 6 pieces, preferably squares or rectangles. Ideally, you want the pieces to be all uniform size, but if they aren't, just match crust pieces of similar size. 5. Flatten the ball made from the cut-out edges of the pie crust using a rolling pin. Cut the flattened pie crust in half using a pizza cutter. 6. Repeat steps 2-5 for the 2nd pie crust. 7. Put a sheet of paper towel onto the surface you're working on and put 1 tbsp. of filling onto half of the larger pieces you have. Top the piece that has filling on it with a similar sized piece. Don't worry about filling oozing out. 8. Put only 1 tsp. of filing onto half of the smaller pieces you have. Top the piece that has filling on it with a similar sized piece. 9. Repeat steps 7 and 8 for the rest of the crust pieces. 10. Crimp the edges of each completed pop tart with the back of a fork. 11. Put wax paper onto a baking tray or cookie sheet and put all of the pop tarts on top of the wax paper. 12. Bake in a 400 degree Fahrenheit oven for 8-10 minutes. 13. Once the pop tarts are done baking, let them cool off at room temperature for 10 minutes. 14. Put the sugar, milk, and vanilla extract in a large bowl. Dip a toothpick into some purple food coloring and add the food coloring to the icing mixture by sticking the end of the toothpick with food coloring into the icing mixture to get the food coloring into the mixture. Remove toothpick when the food coloring is in the icing mixture! Wear gloves for this step so you don't stain your hands! 15. Add enough milk to the icing mixture to get an icing that is smooth, purple, and liquidy. I needed 1/4 cup of milk. 16. Top the pop tarts with the icing and top icing with shredded, sweetened coconut. Let the icing harden on the pop tarts for 5 minutes. 17. Bon appetit! |
Archives
October 2019
Categories
All
|


 RSS Feed