|
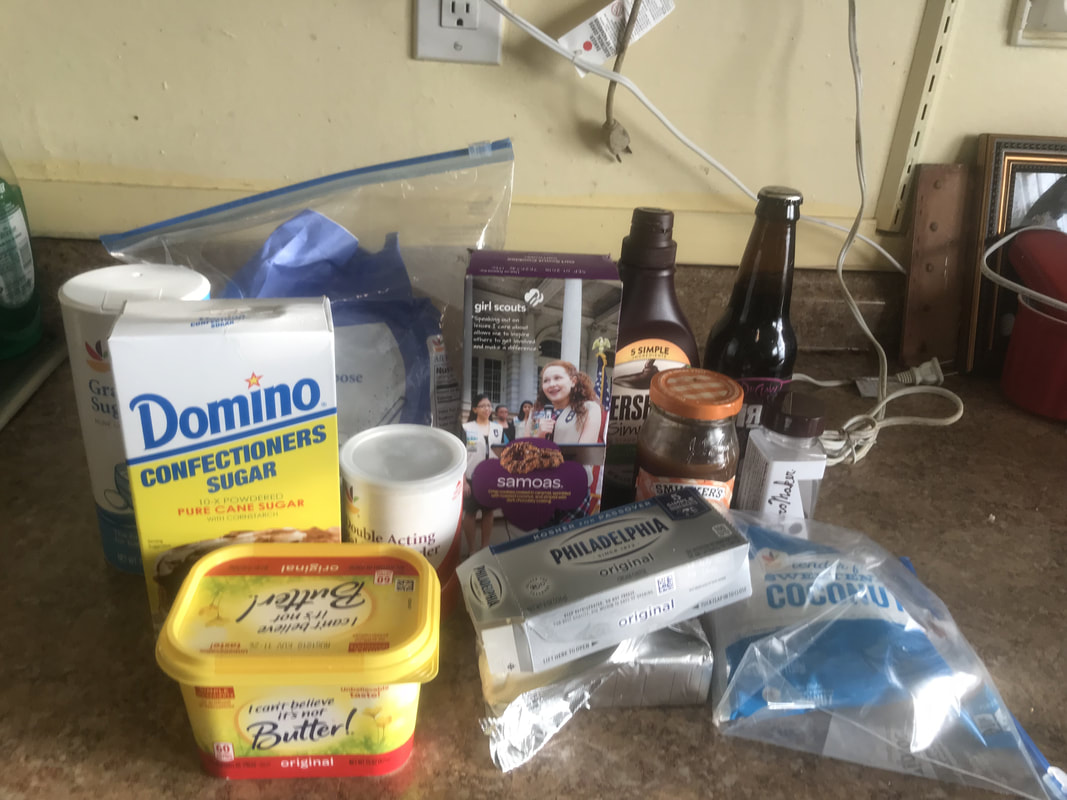
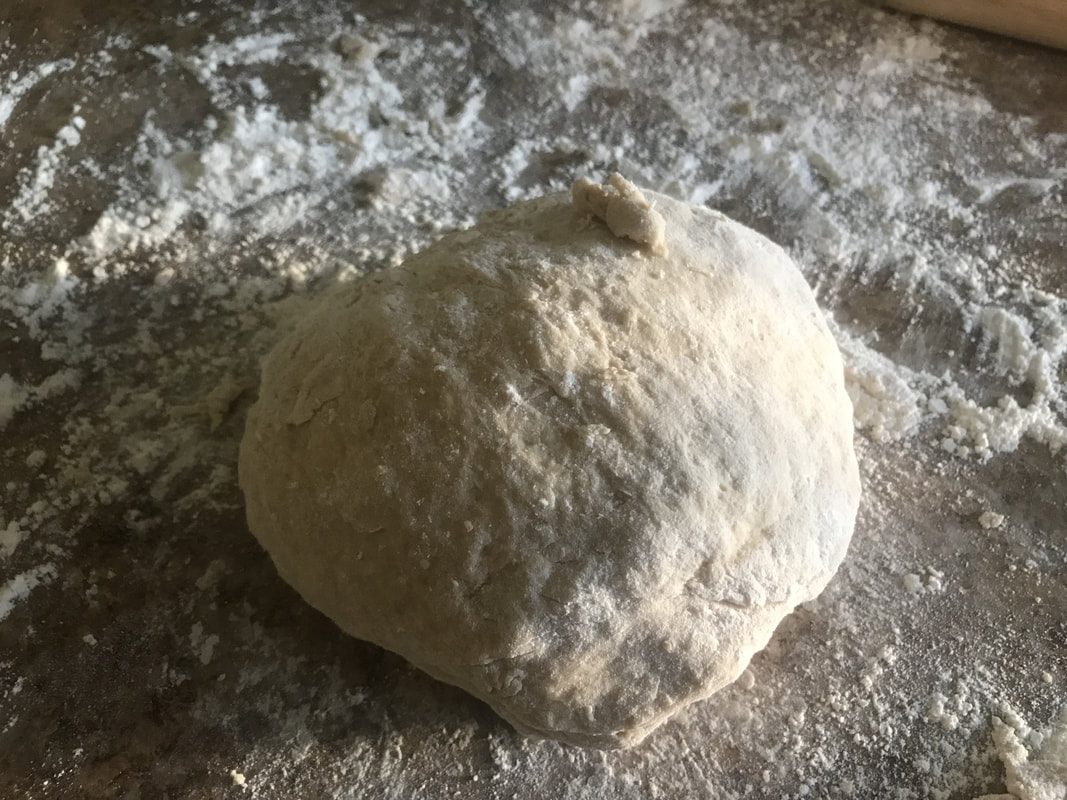
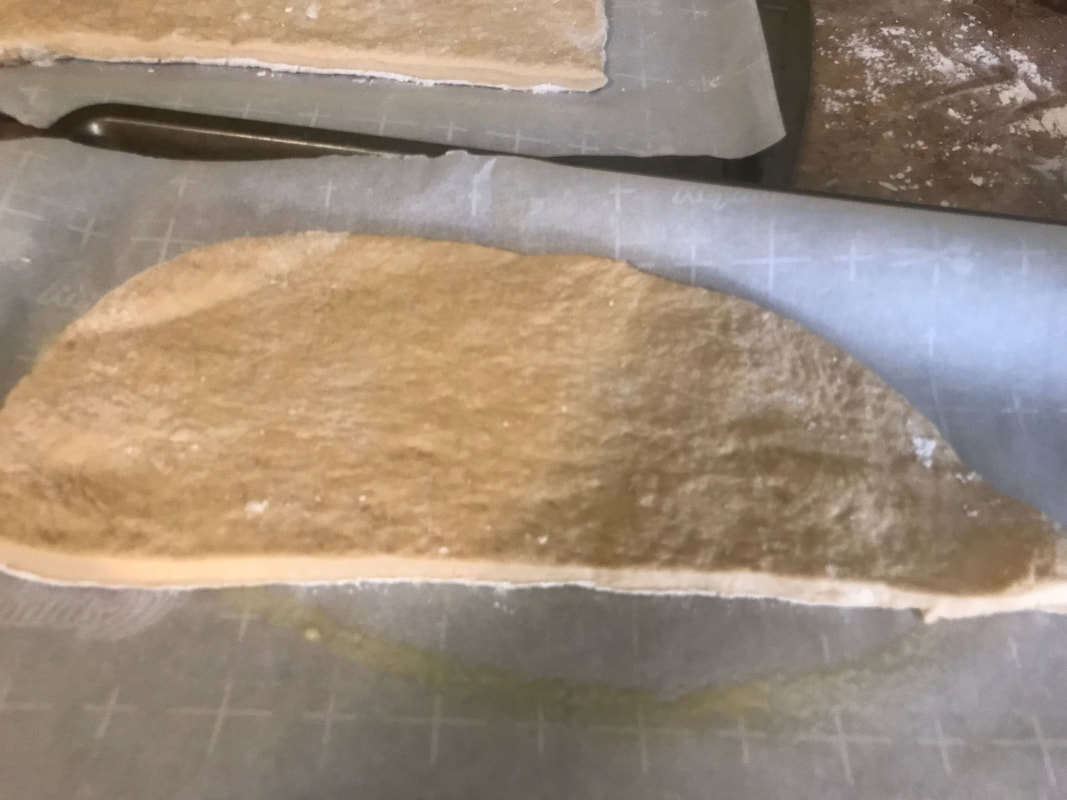
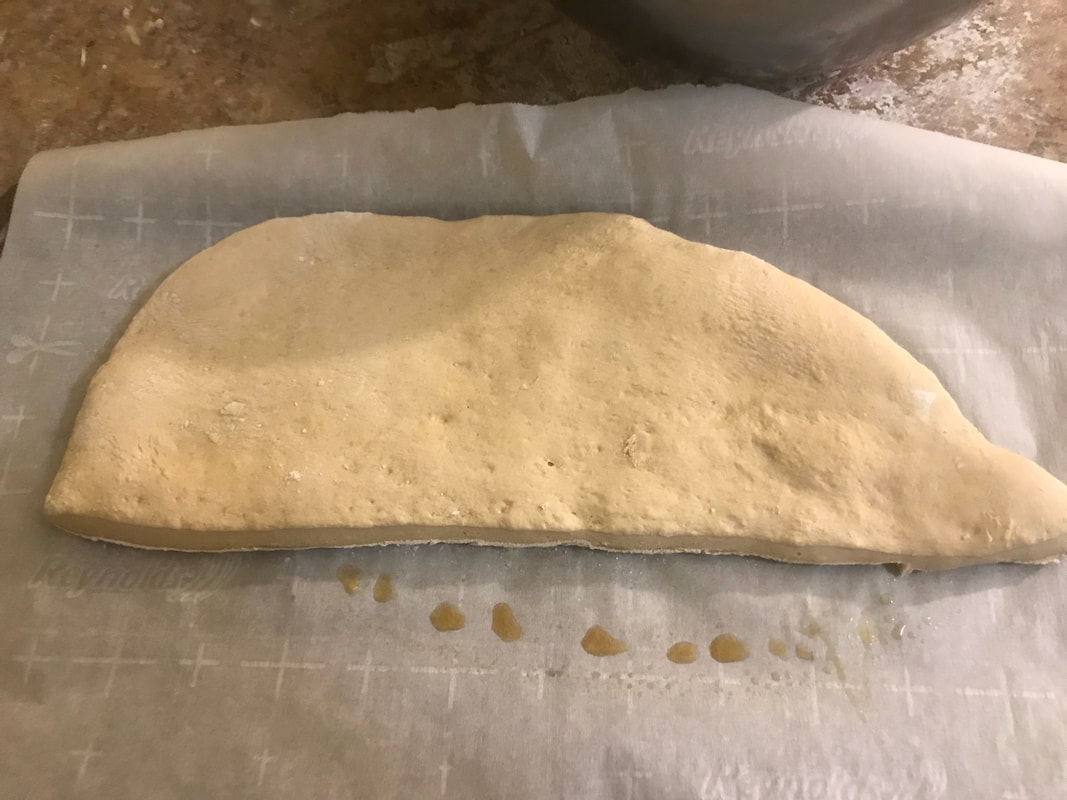
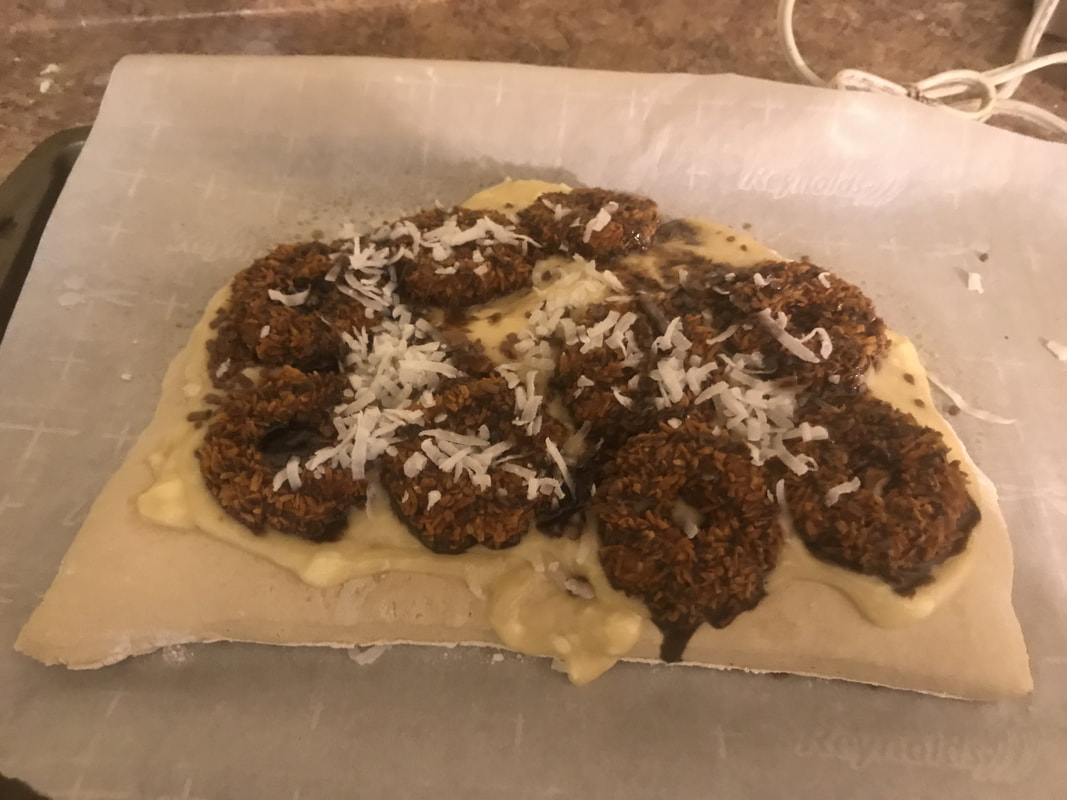
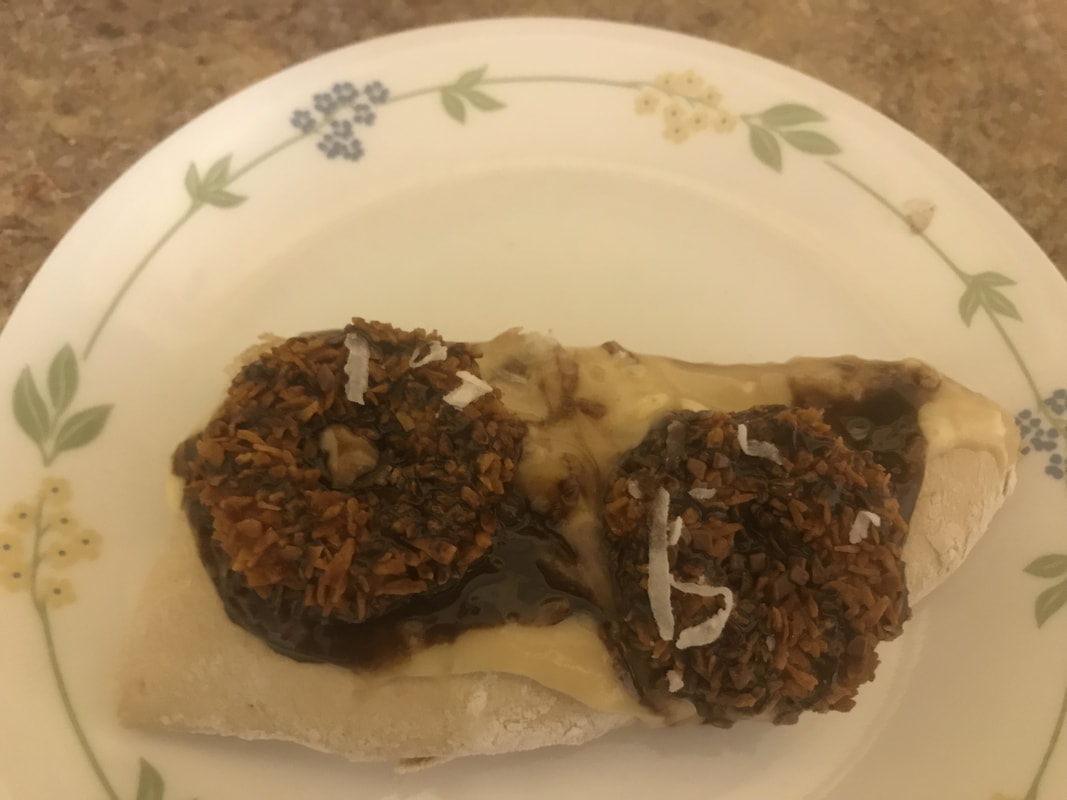
This dessert pizza has all the components of Samoa Girl Scout Cookie: chocolate, caramel, and coconut. People create recipes with Girl Scout cookies, particularly either Thin Mints, Tagalongs, or Samoas, but you've never seen one turned into a pizza- until now! The dough had a mind of its own- it kept needing more and flour just so it wouldn't stick to my hands. Then when I went to flatten it, it kept retracting to its original thick, flattened state, thus resulting in a really chewy crust. Good thing I made a ton of caramel frosting to wash that crust all down. The best pizza doughs use yeast but that takes forever and I just want to mix up all the ingredients once and forget the rest, so I used beer, which is related to yeast. But if you don't want alcohol in your pizza, you can always used milk- thanks to the baking powder, the dough's gonna rise anyway as its baking in the oven. For some reason, the softened cookies reminded me of those Lunchable dessert pizzas when I was a kid where they gave you enough stuff to make 2 pepperoni "pizzas" but only enough materials for 1 dessert "pizza". Spoiler alert: I ate the dessert pizza before the pepperoni ones. The crust reminded me of all those Friday nights when I was a teenager when my sister and I would watch DVDs from Blockbuster while waiting for some dessert pizzas from Domino's Pizza to show up later than 30 minutes(so much for that guarantee they showed on TV- the delivery guy always confused our address, which ends in "Street" with another of the exact same name a mile away that ends in "Drive". Where's good urban planning when you need it?) that had to be ordered over the phone and not through an app. And this was when Domino's solely made pizza and not other stuff along with pizza. 6 things in that paragraph do not exist today:
My dad didn't try this pizza because it has beer in it and chocolate, which keeps him up at night. Makes 6-8 slices of pizza You will need: For the cooking equipment: 2 large bowls A rolling pin Parchment paper Nonstick cooking spray 2 baking trays For the crust: 3 cups all-purpose flour 2 tsp. baking powder A litte over 1/4 cup granulated sugar 12 oz. chocolate caramel coconut beer or milk Additional flour for the countertop For the caramel frosting: 1/4 cup softened butter 8 oz. softened, plain cream cheese 1 cup confectioners' sugar Caramel sauce To top the pizza: The caramel frosting Samoa Girl Scout cookies Chocolate sprinkles Shredded coconut Chocolate syrup To make the crust: 1. Mix the dry ingredients in a large bowl before adding the beer or milk. 2. Combine all ingredients until you get a dough ball. 3. Flour your countertop or surface and pour the dough onto the floured countertop or surface. Knead the dough until it's no longer sticky. You're going to need a lot of flour so if your hands get sticky, just add flour to them and pour more flour onto the dough ball. This might take 10-15 minutes. 4. Flour a rolling pin and flatten the dough ball as much as possible. It's normal if it wants to retract to its original shape, just keep flattening it. 5. Cut the flattened dough in half. 6. Place parchment paper on 2 baking trays and spray the parchment paper with nonstick cooking spray. 7. Put each crust onto a baking tray and bake the crusts in a 350 degree Fahrenheit oven for 18-20 minutes. 8. Let the crusts cool at room temperature for 10 minutes before decorating them. To make the frosting; 1. Mix the butter and cream cheese together in another large bowl. An electric mixer would really help! Then add the confectioners' sugar and caramel sauce. 2. Mix everything until you get a frosting that's not liquidy for at least 2 minutes. If it still is, just add more confectioners' sugar to the frosting. To decorate the pizza: 1. Put caramel frosting on the crusts, leaving 1 inch on the edges uncovered. 2. Top the frosting with the Samoa cookies, the chocolate sprinkles, the shredded coconut, and the chocolate syrup, all in that order. 3. Bake the pizzas in a 350 degree Fahrenheit oven for 1-2 minutes.
0 Comments
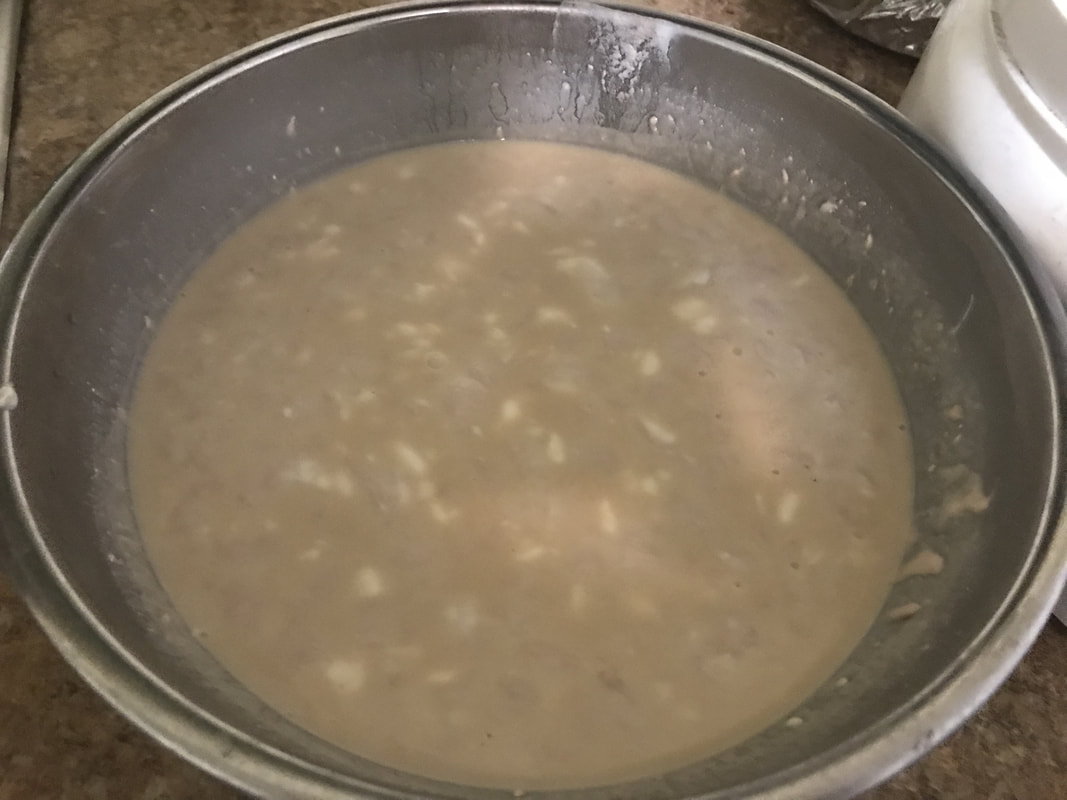
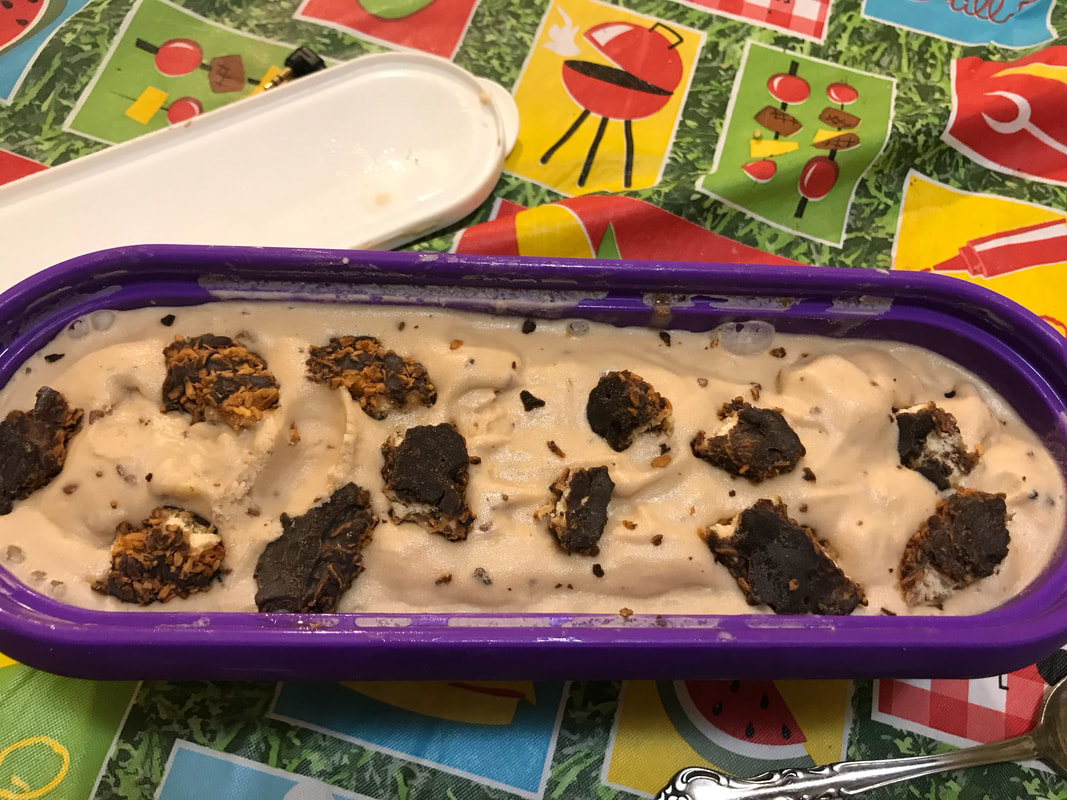
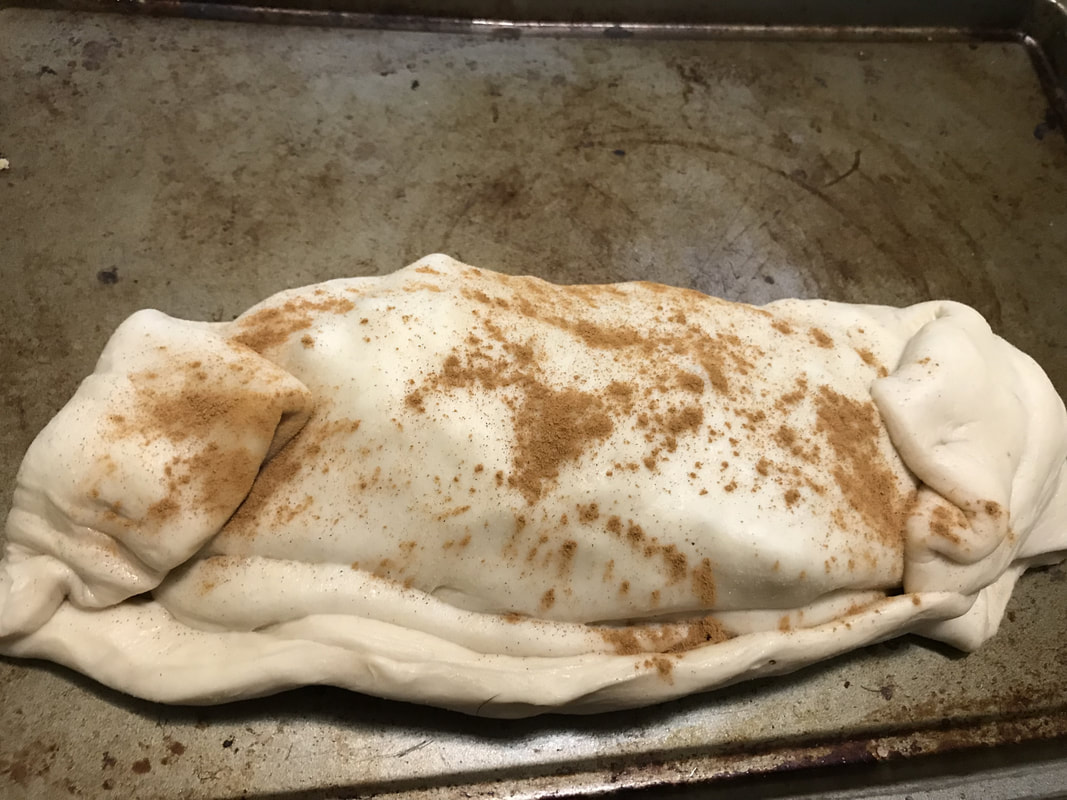
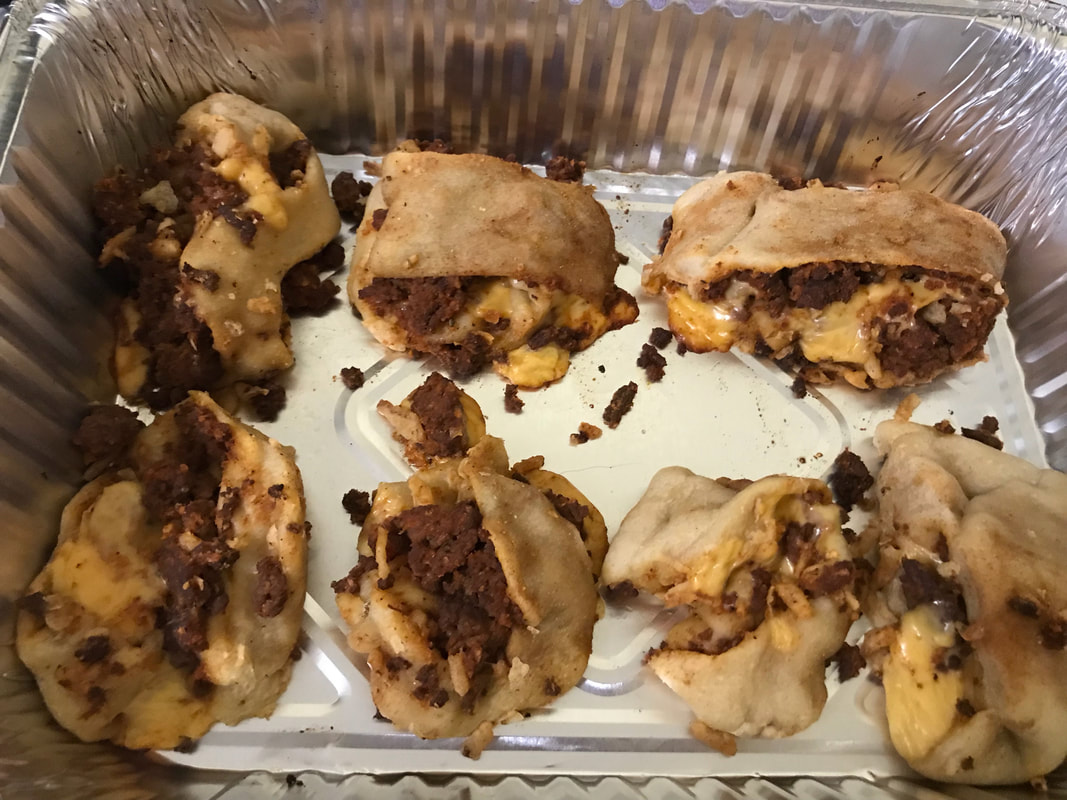
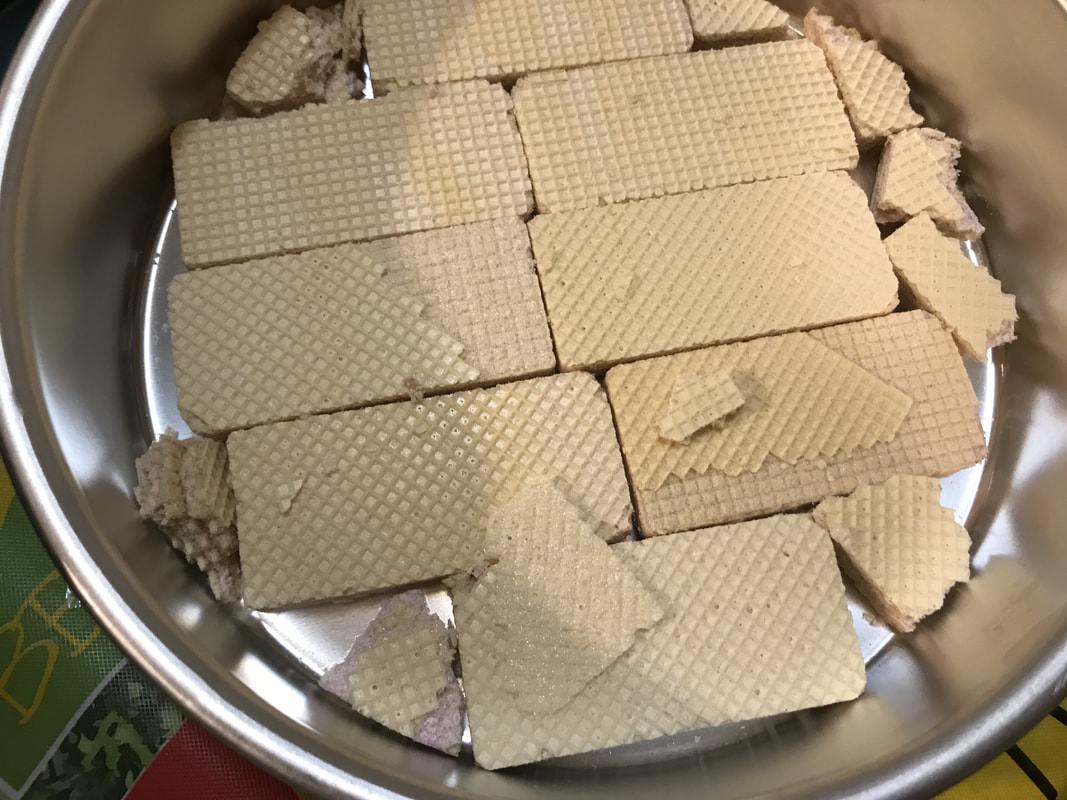
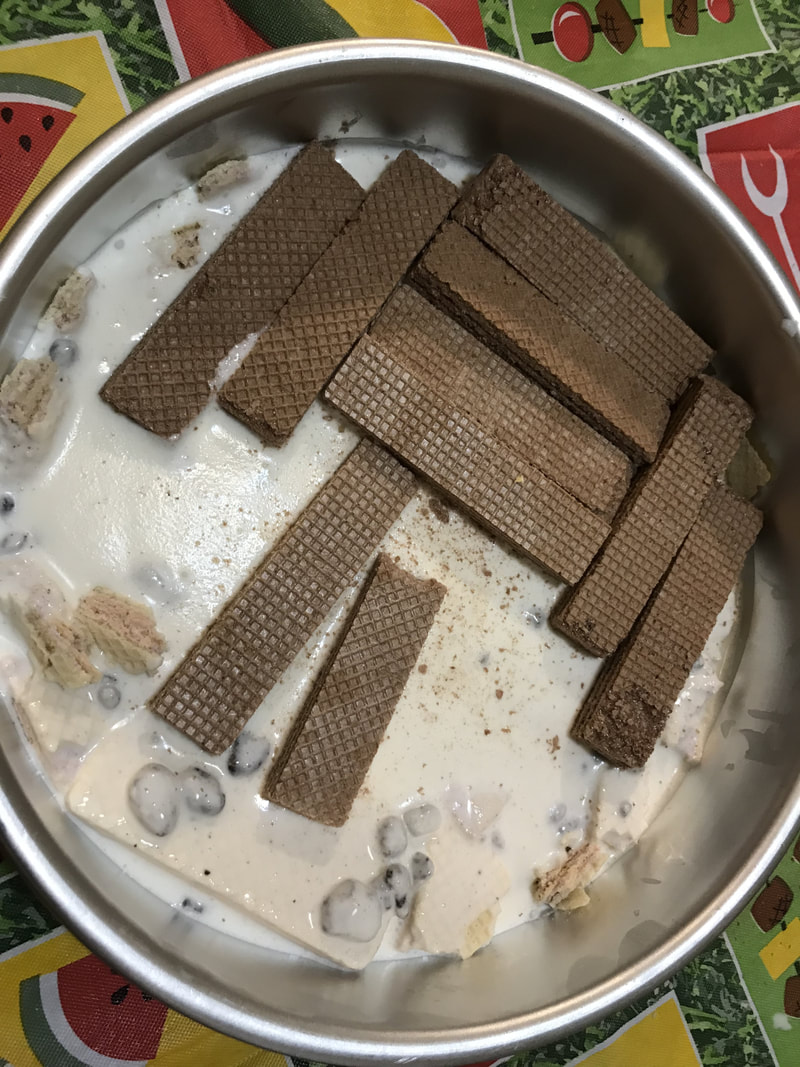
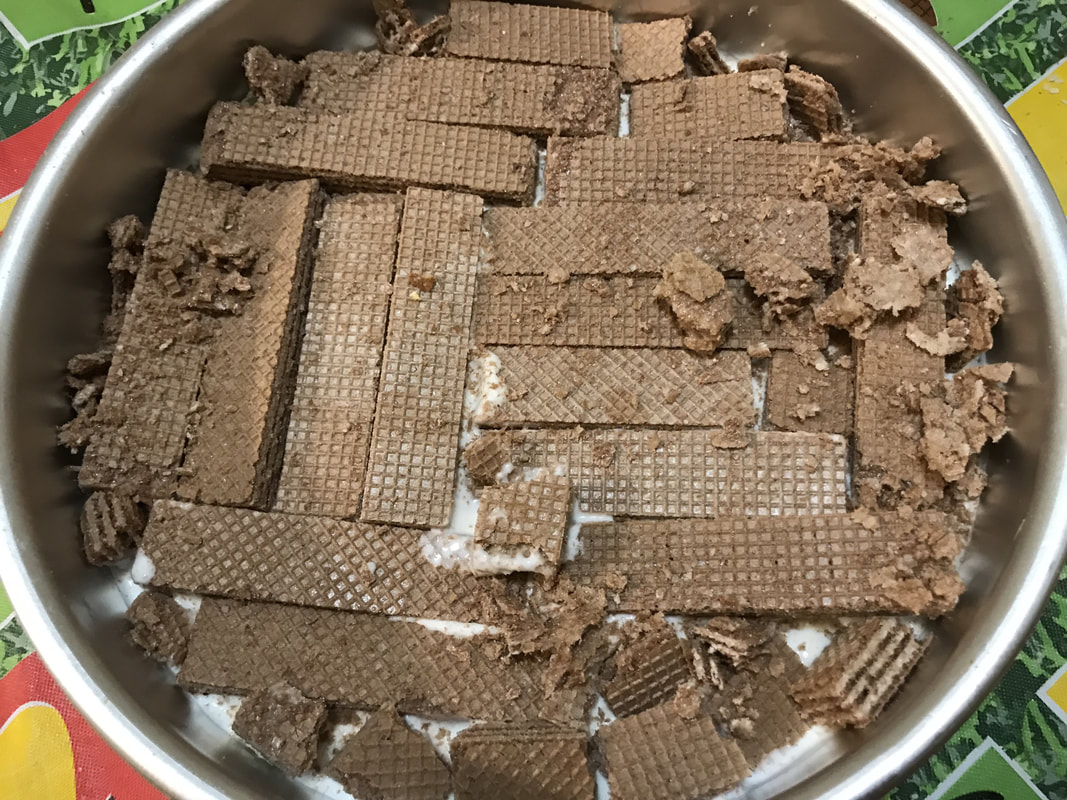
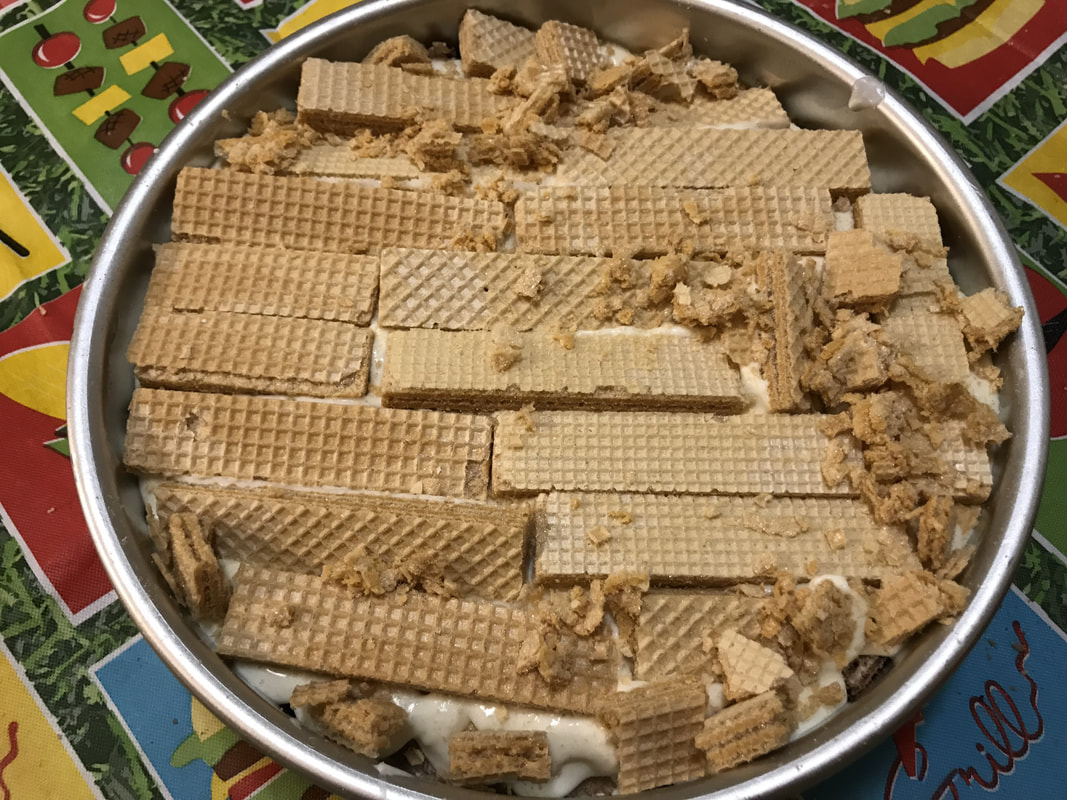
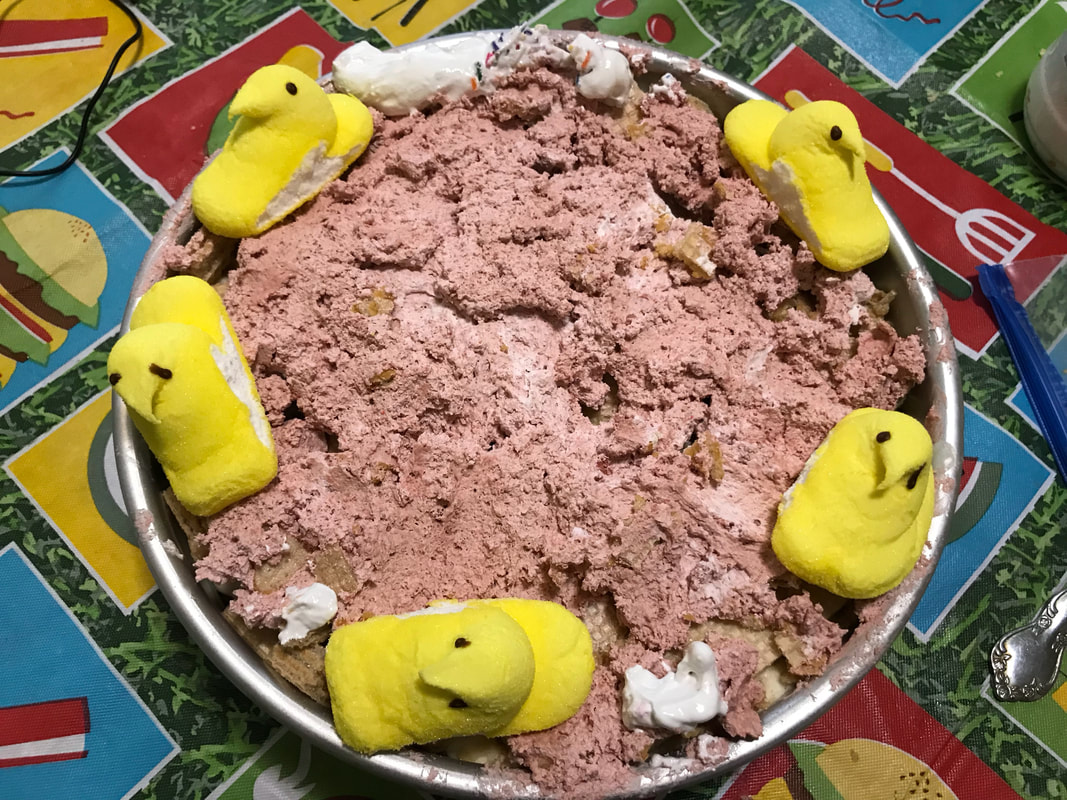
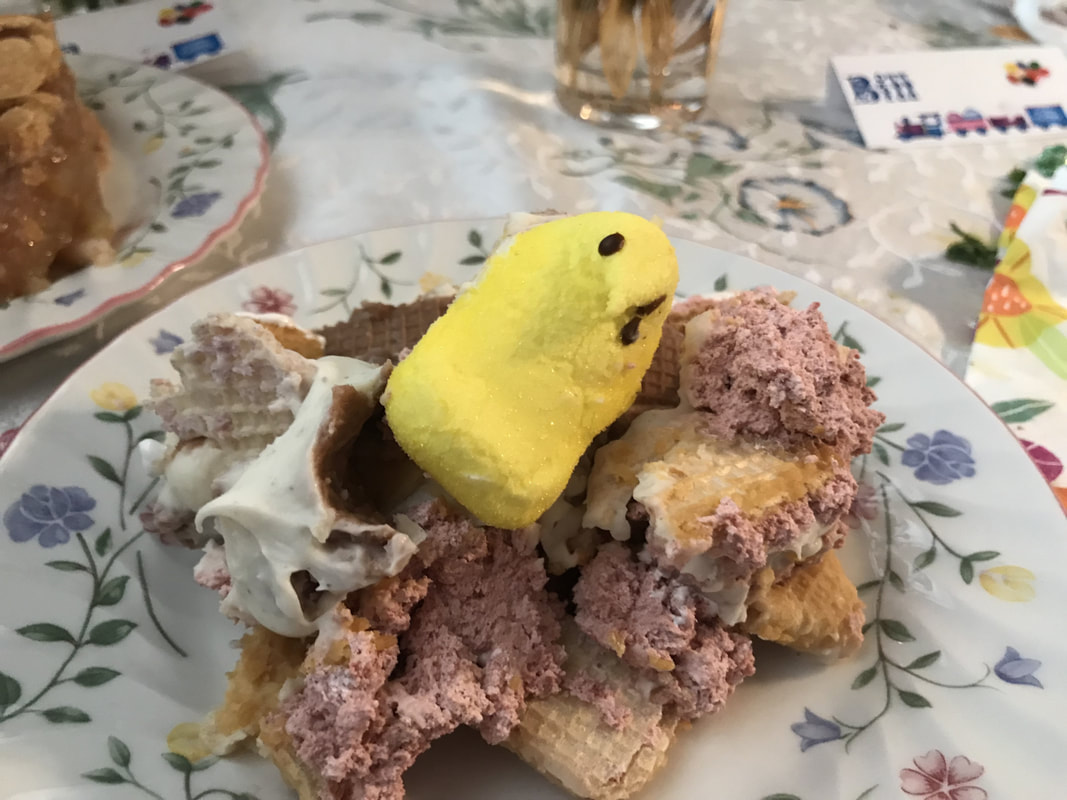
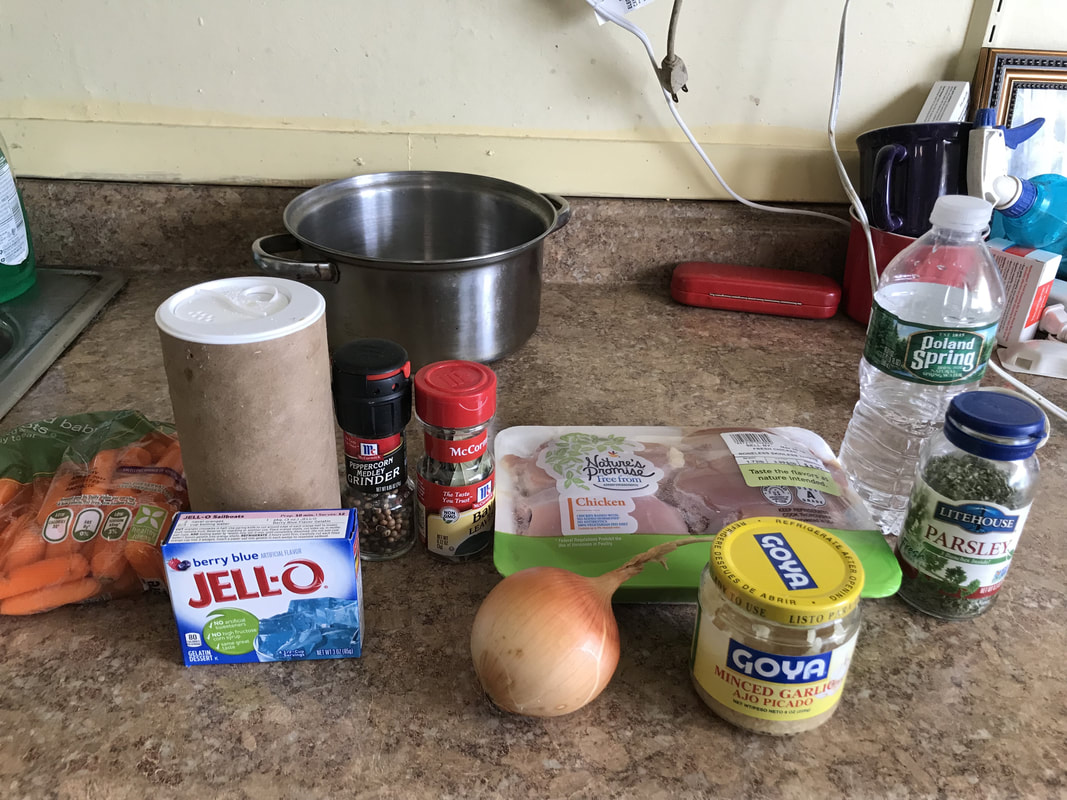
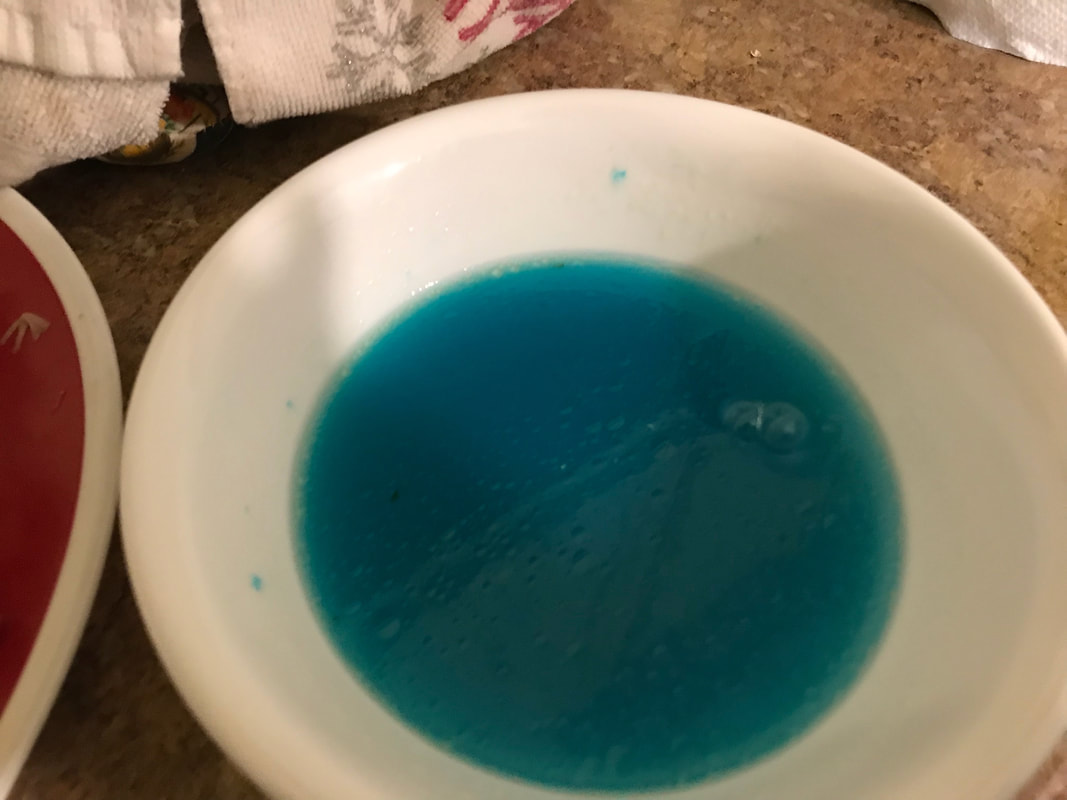
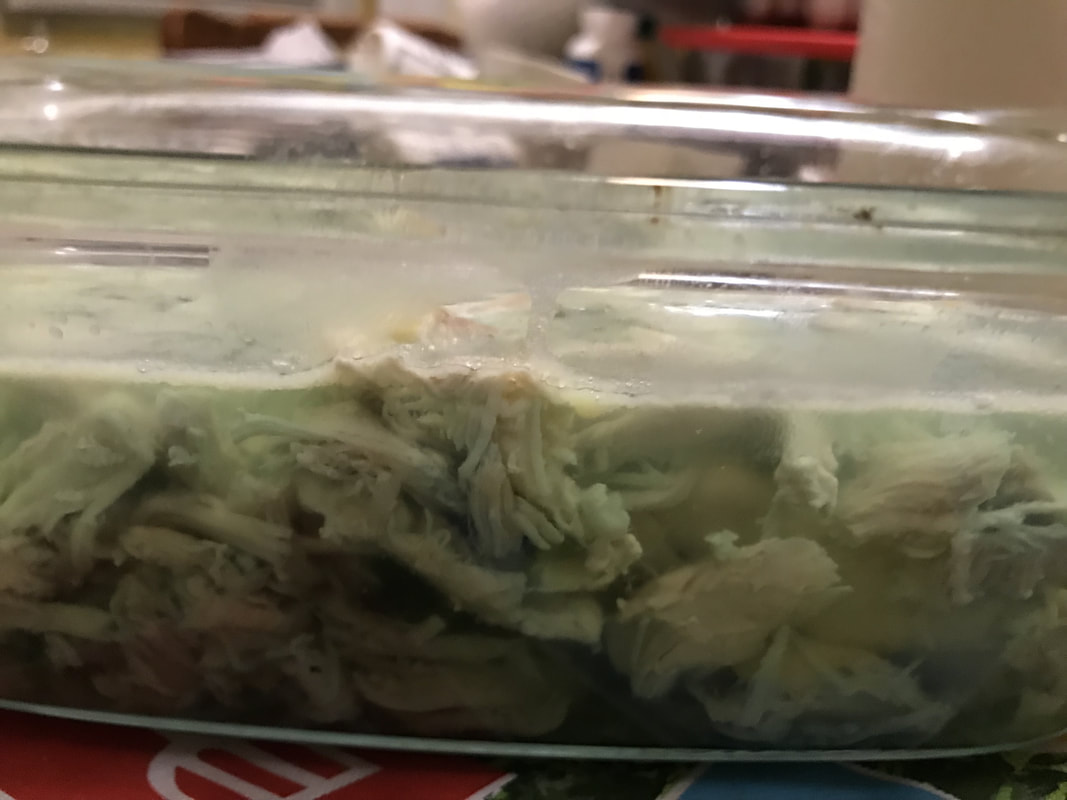
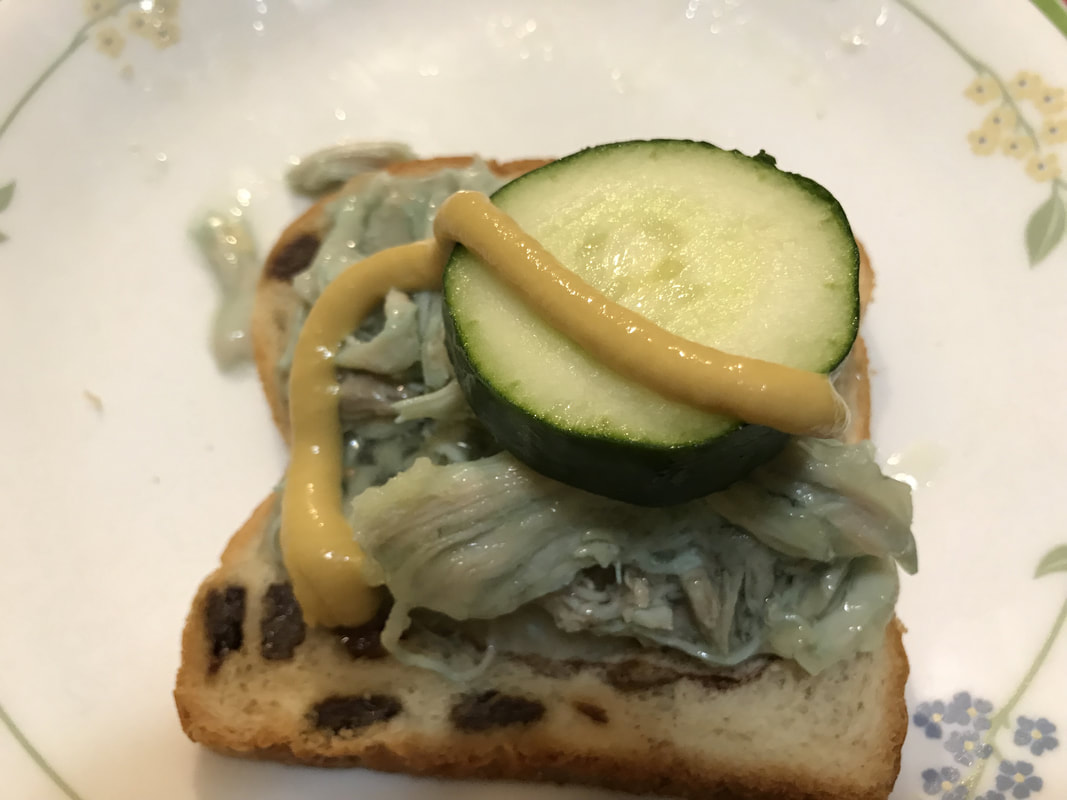
Here's a new way to enjoy those yummy chocolate caramel coconut Girl Scout cookies- in a frozen yogurt! Chocolate caramel coconut beer optional. They sell Samoa Ice Cream at my local supermarket so there was no point in making something I can just buy in its finished form. Not everyone has chocolate coconut caramel beer but with a frozen yogurt recipe, you don't have to have the beer in it. You can find chocolate yogurt, caramel yogurt, and coconut yogurt in many supermarkets these days, so I decided to combine all 3 types of yogurt and turn it into a frozen dessert! Given my experiences with making ice cream in the past, I anticipated that the frozen yogurt would be hard to scoop but I was pleasantly surprised how easy it was. The key is that you need to use yogurt with fat in it- fat-free yogurt(who eats that s--- anymore!?) will only result in a frozen dessert that's hard to scoop. And if it's hard to scoop, I'm less inclined to eat it. Ain't nobody want to wait 15 minutes for their ice cream to thaw out enough to be scoopable! The frozen yogurt tasted malty from the beer, but coconut was also another flavor detected along with chocolate. Caramel not so much. My dad didn't try this recipe due to the beer in it. Even if I forgone the beer, he still wouldn't have eaten it due to the chocolate in it. You will need: For the cooking equipment: A medium saucepot A large bowl Aluminum foil An ice cream maker An ice cream tub For the frozen yogurt: 12 oz. chocolate caramel coconut beer(optional) 8 oz. full-fat chocolate yogurt(I used Icelandic-style yogurt) 8 oz. full-fat salted caramel yogurt(I used Australian-style yogurt) 11 oz. full-fat coconut yogurt(I used French-style yogurt) 1/2 cup heavy whipping cream 1 cup granulated sugar 1 tbsp. light corn syrup Caramel sauce Shredded coconut Chocolate sprinkles At least 4 Samoa Girl Scout Cookies For the beer(optional); 1. . Pour the beer into a medium saucepot. Put the saucepot on the stove on low heat and let the beer reduce until there's only 8 ounces left. Reducing the beer cooks some of the alcohol out, which will enable the ice cream to freeze. For the rest of the frozen yogurt: 1. Put the next(or first if you're not using beer) 6 ingredients into a large bowl and mix all the ingredients up. It's ok if there's cream on top from the yogurt. 2. Put aluminum foil over the bowl and put it in the fridge for at least 2 hours, or overnight to let it chill, especially if you're using beer. 3. Put in some caramel sauce, shredded coconut, and chocolate sprinkles into the frozen yogurt base and mix all the ingredients up. 4. Turn your ice cream maker on and pour the frozen yogurt base into the bowl of the ice cream maker. Let the frozen yogurt churn for 15 minutes. 5. Break apart 4 Samoa cookies either with your hands or a knife into the smallest pieces possible. Put the chopped cookies into the churning frozen yogurt. Let the frozen yogurt churn for another 2-3 minutes. 6. Turn the ice cream maker off and pour half of the frozen yogurt into an ice cream tub. Top with more Samoa cookies(doesn't matter if they're chopped) and caramel sauce. 7. Cover the cookies with the rest of the frozen yogurt. Put the lid on the ice cream tub and place in the freezer for at least 6 hours, or overnight. This is what happens when you combine a meatloaf and a cinnamon roll- you get something that tastes like a Hot Pocket! I found my inspiration for this recipe from here. I figured if you can turn pulled pork into something like a cinnamon roll, then a meatloaf isn't a too far stretch of the imagination either. I didn't anticipate cutting the log into the rolls would be so difficult- the pizza dough was so thick. Though the rolls tasted more like pizza Hot Pockets more than meatloaf, but that was maybe because of the tomato sauce, American cheese, and pizza crust serving as the dough- you pretty much got all the components of pizza, so the meatloaf seasoning and breadcrumbs didn't really play a big part in the taste of the rolls. Guess I should've used more meatloaf seasoning. But the cinnamon was definitely noticeable and contrasted well with the savoriness of everything else. My grandpa said this dish was very good. You will need: For the cooking equipment: A large bowl A baking sheet A rolling pin A lasagna pan Nonstick cooking spray For the cinnamon rolls: 1 lb. cooked, ground beef Tomato sauce Ketchup 1 tbsp. light brown sugar Pinch of Worcestershire sauce Pinch of meatloaf seasoning Breadcrumbs 1 lb., 12" diameter pizza dough 3 slices American cheese French-fried onions Cinnamon 1. In a large bowl, mix the first 6 ingredients together. 2. Place the dough onto a baking sheet and flatten it a rolling pin(unless you're using premade pizza crust like I did, then in that case, just roll it out on the baking sheet). 3. Place half of the filling in the center of the flattened dough and discard the rest(or you can just eat it too). 4. Roll the dough vertically towards you into a log shape and pinch the ends of the roll to seal the filling. 5. Top the log with cinnamon and slice the log into rolls(pieces) using a serrated knife. 6. Spray a lasagna pan with nonstick cooking spray and place the rolls into the pan. 7. Bake the rolls in a 375 degree Fahrenheit oven for 17-22 minutes, or until the dough is fully cooked. This no-bake cake has the perfect combination of wafer cookies and pudding! I'm astounded by the variety of wafer cookie and pudding flavors out there. Pudding and wafer cookies were made for each other, so it makes perfect sense to make a cake out of them. The only wafer cake cake(not a typo) I was able to find was something called oblatne, which is a Russian wafer cake made with really thin wafer cookies, like the kind you'd find at an Eastern European grocery. Personally, I like the American version of wafers, which are thicker. It's a good thing I didn't like the sesame brown rice wafer cookies I bought from an Asian supermarket(they tasted like coffee, which I hate), otherwise I would've had to 86 the red velvet pudding layer and that's no fun- I mean it's so artificially colorful! But I probably should've bought more Cool Whip- there wasn't enough frosting to cover the top wafer layer, so I had to improvise with some Peeps and marshmallow fluff to cover the exposed layers. The wafers definitely softened having been in the fridge overnight covered by pudding, but that kind of put an extra special touch to this dish. This cake is very rich and heavy but man it's addicting! I made this cake for my family's annual Easter celebration and people ate half of the cake. The other half lasted another 6 days before it was all gone(by me)! You definitely taste the red velvet frosting obviously. The taro and dulce de leche wafers not so much. But the coconut flavor is prominent from said flavored wafers. My grandpa tried the cake and he thought it was very good. Sadly, I didn't record him eating it on camera so you're going to have to take his word for it. HELPFUL LINKS: Taro Cream Wafers: www.amazon.com/Mei-Taro-Cream-Wafers-7-05/dp/B006RPBAX8/ref=sr_1_1_a_it?ie=UTF8&qid=1523208257&sr=8-1& Red Velvet Pudding Mix: www.amazon.com/JELL-Pudding-Red-Velvet-3-4/dp/B01FLO53CY/ref=sr_1_1_a_it?ie=UTF8&qid=1523203249&sr=8-1& You will need: For the cooking equipment: A deep cake pan A medium bowl A large bowl For the cake: 7 oz. Taro Cream Wafers(see HELPFUL LINKS) 4 oz. Oreo Pudding mix 3 1/2 cups heavy whipping cream 3 1/2 tbsp. confectioners' sugar 5 oz. Coconut Wafers 3 oz. White Chocolate Pudding mix 4.5 oz. Dulce de Leche Wafers 3.4 oz. Red Velvet Pudding mix(see HELPFUL LINKS) 8 oz. Cool Whip Peeps Marshmallow fluff 1. Put a layer of taro wafer cookies into the bottom of a deep cake pan. Break apart the cookies to fill in the edges of the layer in the pan. 2. Make the Oreo pudding according to the package directions in a medium bowl. 3. Measure out 2 cups heavy whipping cream and 2 tbsp. confectioners' sugar and put both into a large bowl. Mix until thickened to get whipped cream. 4. Mix the Oreo pudding with the whipped cream and pour it on top of the taro cream wafers. 5. Top the Oreo pudding mixture with a layer of coconut wafer cookies. Break apart the cookies to fill in the edges of the layer in the pan. 7. Make the white chocolate pudding according to the package directions. 8. Measure out 1/12 cups heavy whipping cream and 1 1/2 tbsp. confectioners' sugar and put both into a large bowl. Mix until thickened to get whipped cream.. 9. Mix the white chocolate pudding with the whipped cream and pour it on top of the coconut wafers. 10. Top the white chocolate pudding mixture with a layer of dulce de leche wafer cookies. Break apart the cookies to fill in the edges of the layer in the pan. 11. In a large bowl, mix the Cool Whip and red velvet pudding mix until you get a pink frosting. Cover the dulce de leche wafers with the frosting. 12. Cover the cake with aluminum foil and place in the fridge for at least 6 hours to let it chill and set. 13. Top any remaining visible dulce de leche wafers with Peeps and marshmallow fluff. I just want to thank you all for helping us reach the 400+ subscriber mark. To celebrate this milestone, I'm going to show you how to make my version of a 400-year old meat jelly recipe, using blue Jello! It's been quite some time since I made the 300+ subscriber video, like over a year at least. Hopefully, it wont take as long to reach 500 subscribers! You're probably wondering how this really weird recipe tasted. Well, I should've used more gelatin when mixing it with the chicken broth because it was in a state between watery and solid gelatin, so cutting the end product wasn't possible. The chicken tasted watery and like it had a berry compote infused into it from the blue gelatin. It tastes better when eaten with other foods that have contrasting textures, like cucumbers, toast, and mustard. I made the chicken broth from scratch, thinking a homemade version would be clear in color, thus giving a royal blue color to the gelatin, but alas, it ended up yellow, so it would've been a lot easier if I just used store-bought chicken stock and cooked rotisserie chicken. But I'll put both versions- the easy and hard one using chicken thighs. My dad thought the chicken tasted sour and spit it out. You will need: Easy Version For the cooking equipment: A plate 2 forks A medium bowl A small bowl A loaf pan For the ingredients: 2 pounds of cooked, boneless, rotisserie chicken 3 1/4 cups store bought chicken broth 4 1/4 tsp-4 1/2 tbsp. Blue Jello powder To serve: A piece of toast A slice of cucumber Honey mustard 1. Mix 1/2 cup of the broth with the Blue Jello powder. Let it sit on the counter for 2-4 minutes to let it bloom. 2. Put the Jello mixture in the microwave for 20 seconds, or until the powder dissolves. 3. Mix the Jello mixture with the rest of the chicken broth, in a medium bowl. 4. Put the cooked, boneless, rotisserie chicken into the bottom of a loaf pan. Submerge the chicken in the combined Jello mixture. 5. Put the gelatin in the fridge for at least 4 hours to let it set. 6. Serve on toast and top with a slice of cucumber and honey mustard. Hard Version For the cooking equipment: A large saucepot A slotted spoon A colander A large bowl A plate 2 forks A strainer A medium bowl A small bowl A loaf pan For the gelatin: 2 pounds of boneless, skinless, chicken thighs Enough water to cover the top of the thighs in a large saucepot 1 chopped up onion 1 1/2 tsp. minced garlic 1 bay leaf 18 chopped up baby carrots Crushed peppercorns Parsley Pinch of salt Blue Jello powder To serve: A piece of toast A slice of cucumber Honey mustard 1. Put the thighs into a large saucepot and pour enough water into the saucepot to submerge them. 2. Bring the water to a boil and once it's boiling, reduce the heat to a simmer. Let the chicken simmer for an hour. White fat will float to the top so occasionally spoon it out with a slotted spoon. 3. Add the next 7 ingredients to the saucepot and mix everything together. Let everything simmer for another 40 minutes. 4. Pour everything in the saucepot into a colander with a large bowl underneath.Fish out the chicken and put it onto a plate. Discard everything else. 5. Pour the liquid in the large bowl into a strainer with a medium bowl underneath. This will remove the minced garlic. 6. Measure how much broth you have. For every cup you have, you need 1 1/2 tsp-1 1/2 tbsp. of Blue Jello powder per cup. 7. Mix 1/2 cup of the broth with the Blue Jello powder. Let it sit on the counter for 2-4 minutes to let it bloom. 8. Put the Jello mixture in the microwave for 20 seconds, or until the powder dissolves. 9. Mix the Jello mixture with the rest of the chicken broth, in a medium bowl. 10. Put the cooked, boneless, rotisserie chicken into the bottom of a loaf pan. Submerge the chicken in the combined Jello mixture. 11. Put the gelatin in the fridge for at least 4 hours to let it set. 12. Serve on toast and top with a slice of cucumber and honey mustard. The chicken lasts 3 days. |
Archives
October 2019
Categories
All
|


 RSS Feed