|
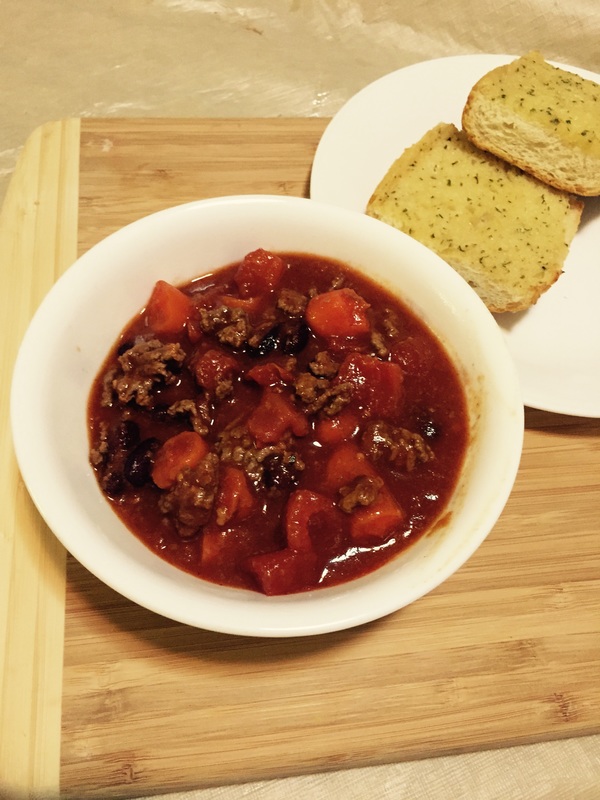
I have never been a fan of chili(it's technically called chili con carne, but us Americans just call it chili). I find it to be usually too spicy. But then I saw a "chili kit" at a local supermarket(you can get it at www.amazon.com/Hunts-Chili-Pack-44-8oz/dp/B00NDFH2OG/ref=sr_1_2?ie=UTF8&qid=1438357148&sr=8-2), which got me thinking, about a meatloaf chili. Here is the recipe: For the cooking vessels, you will need: A skillet or frying pan A large saucepan For the actual chili, you will need: 1 pound of 92% ground beef Olive oil 1 15-ouncae can of dark red kidney beans 1 15-ounce can of tomato sauce 1 15-ounce can of diced tomatoes 7 chopped boiled baby carrots 1/4 cup of whole wheat breadcrumbs(I didn't taste any breadcrumbs in the actual chili. They may have dissolved during the cooking process, so I suggest you use the breadcrumbs as a garnish for the chili instead.) Some Worcestershire sauce 2 tsp. of brown sugar A large packet of chili seasoning(or you can use chili powder, onion powder, and garlic powder) Some sort of bread to accompany the chili(I used store bought garlic bread) To brown the beef: 1. Pour some olive oil onto a frying pan or skillet. Heat said skillet up. 2. Once the skillet is heated up, break the ground beef into small pieces and put those pieces in the frying pan. Make sure you don't burn yourself as the oil may splash out of the pan and onto you! 3. Turn the beef pieces over until they are all brown. You can break the beef into smaller pieces using a spatula as the beef is cooking. 4. Put the browned beef into a large saucepan. For the chili: 1. Add the dark red kidney beans, tomato sauce, diced tomatoes, baby carrots, breadcrumbs, Worcestershire sauce, brown sugar, and chili seasoning into the large saucepan with the browned beef. 2. Stir the ingredients up. 3. Bring saucepan to a boil. Then cover it with a lid. 4. Reduce heat to a simmer for 10 minutes. 5. Bon appetit!
0 Comments
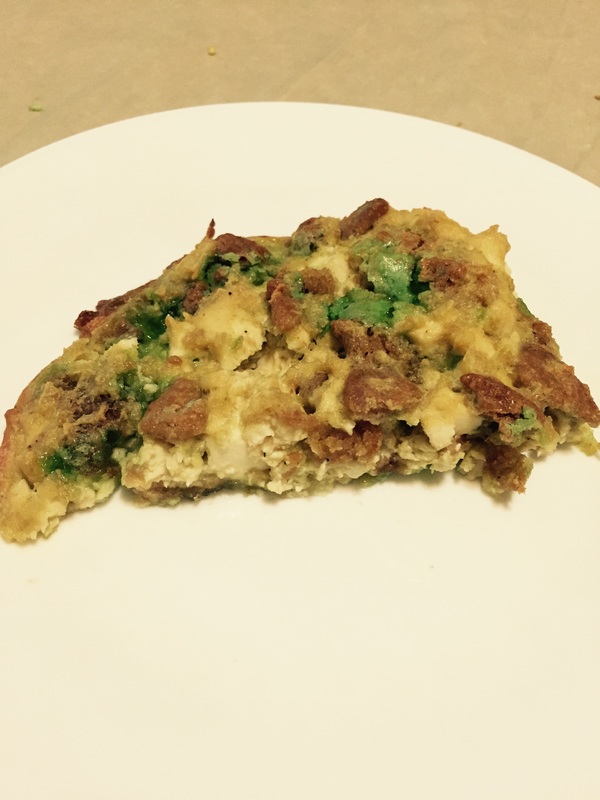
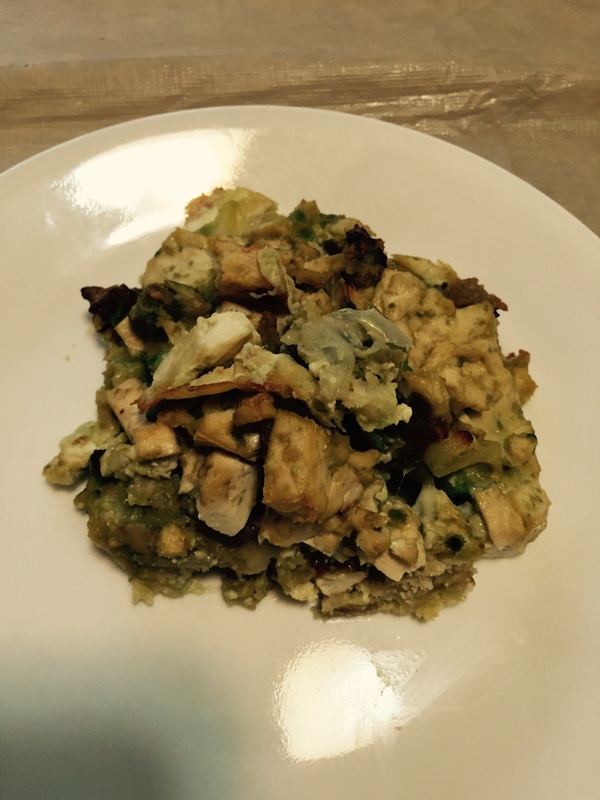
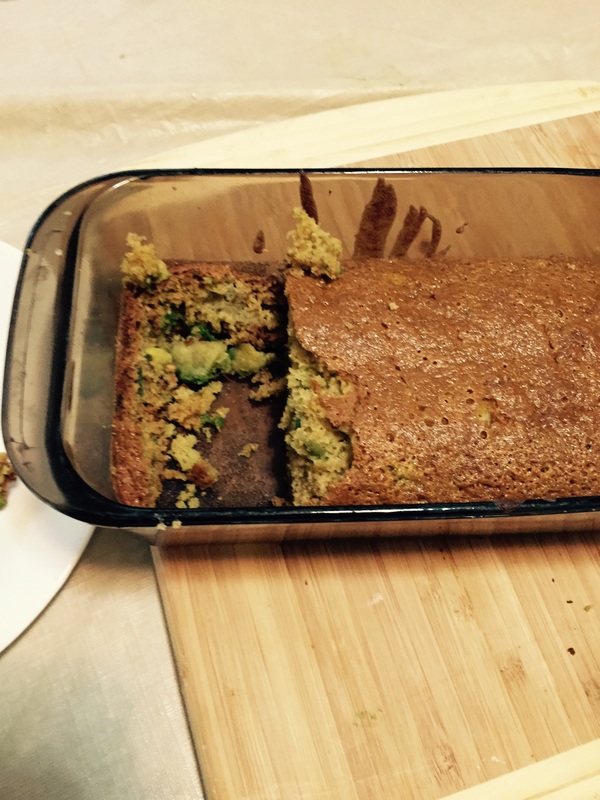
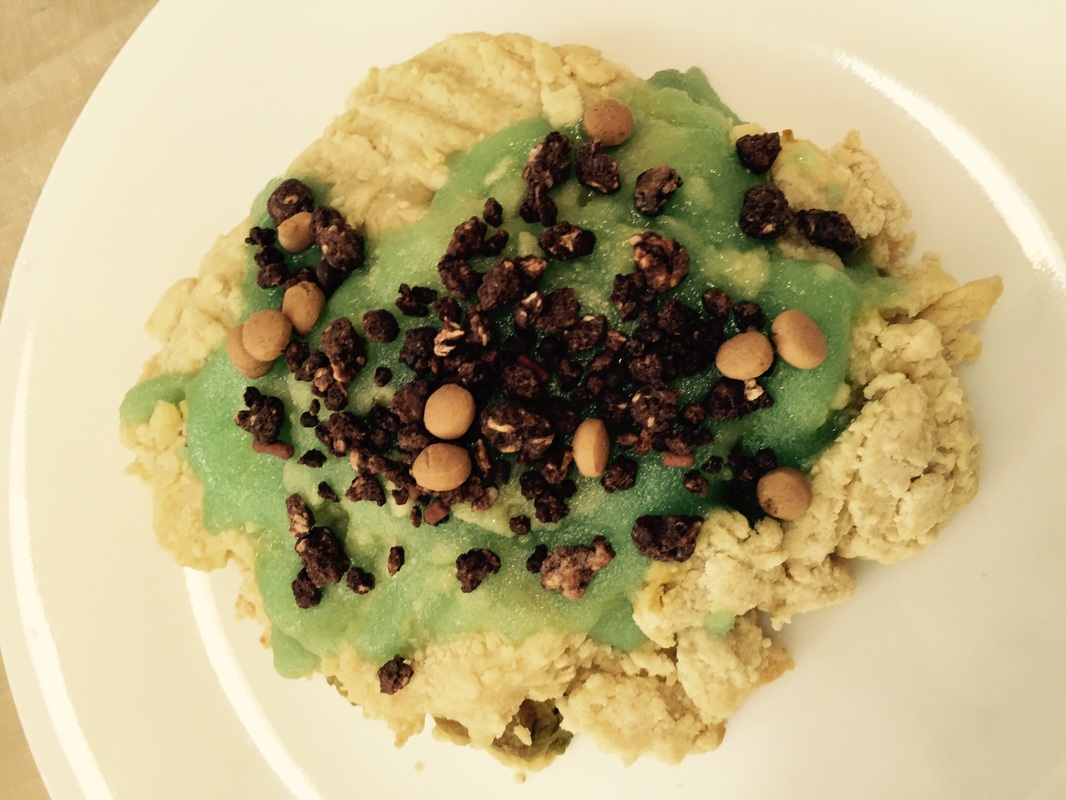
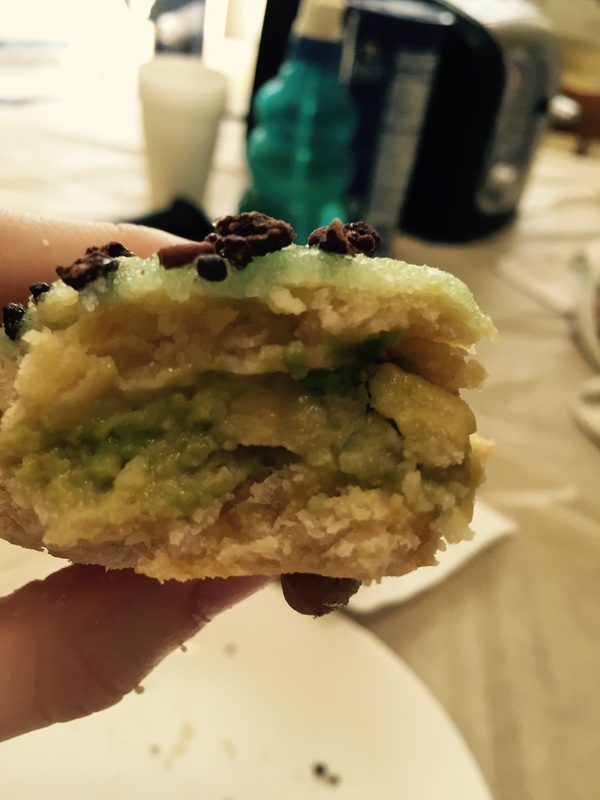
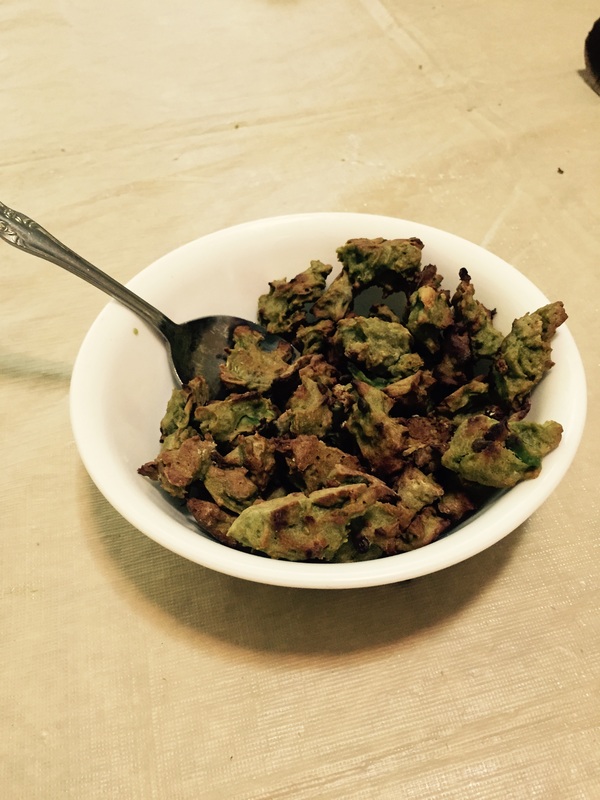
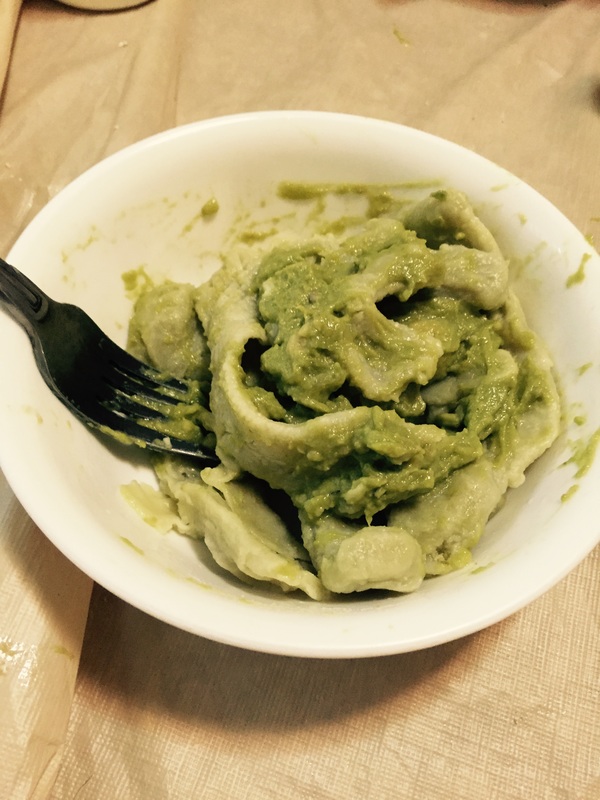
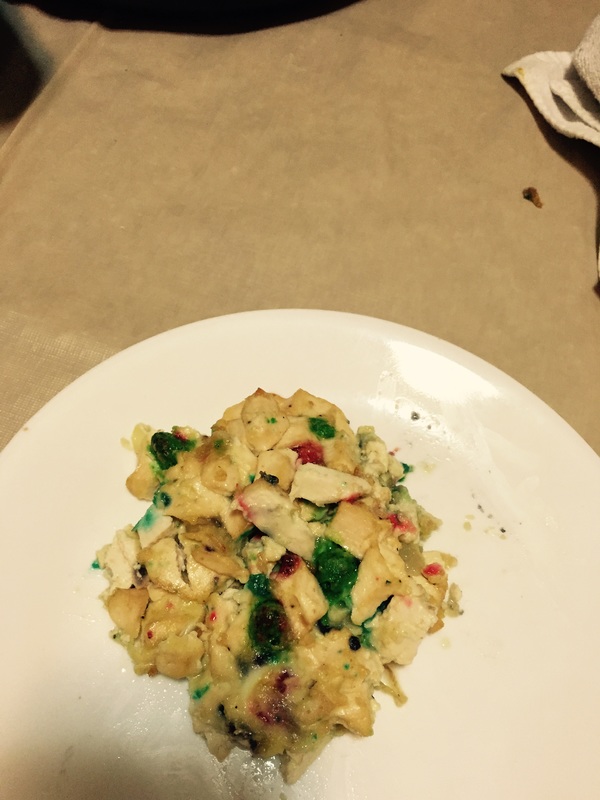
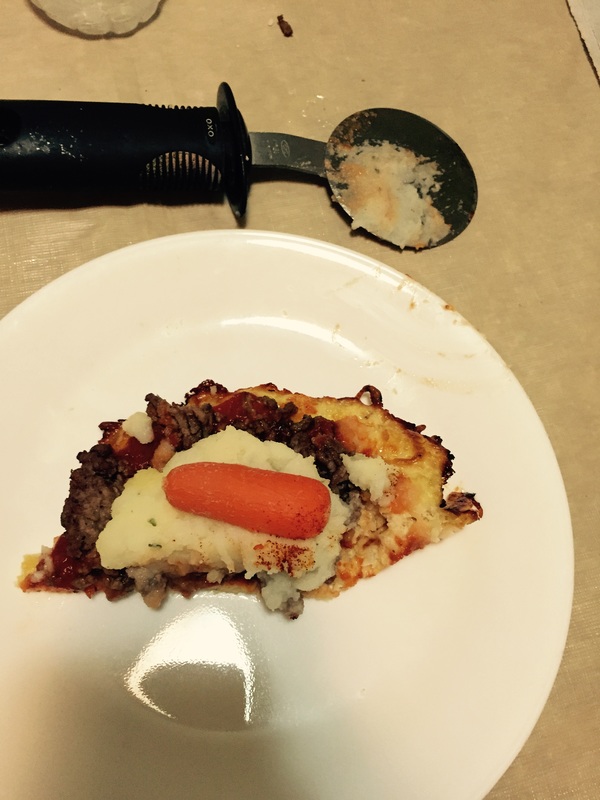
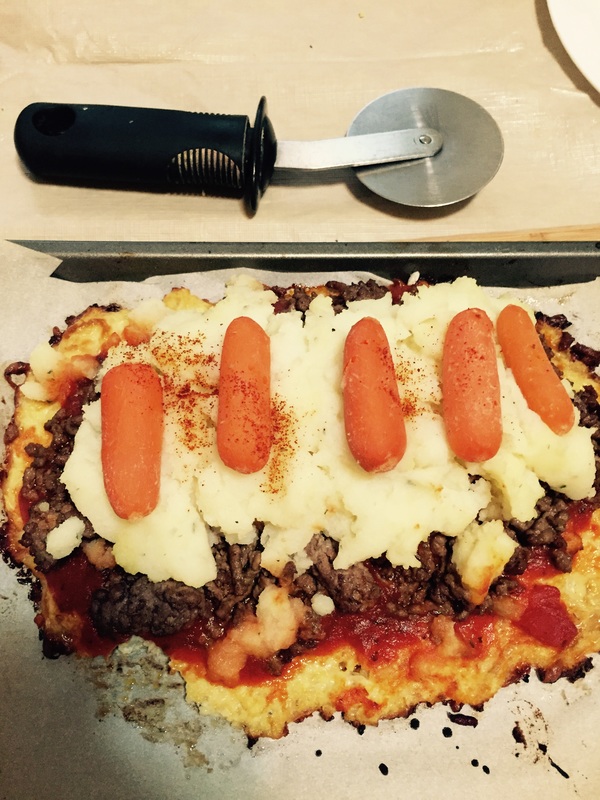
This is a pretty straightforward tofu meatloaf recipe in that the only ingredient besides the tofu, salt and pepper, eggs, and onion is Key Lime Pie Oreos. There's not much else to say about this meatloaf. You will need: A lasagna pan Nonstick cooking spray For the actual meatloaf, you will need: 1/2 a sauteed onion 2 beaten and whisked eggs 14 Key Lime Pie Oreo cookies(http://www.amazon.com/Key-Lime-Pie-Oreo-10-7oz/dp/B010RIEPSM/ref=sr_1_1?s=grocery&ie=UTF8&qid=1438183552&sr=1-1) Pinch of salt and black pepper 1 pound of chopped, drained, firm tofu 1. Wash your hands! :) 2. Put the onions and eggs in a large bowl. 3. Separate the cream from the cookie of each Oreo cookie. Crumble up the cookies into the smallest pieces you can. A food processor will also do the job. 4. Put the cream and crumbled cookies in the large bowl. 5. Add the salt, black pepper, and tofu to the large bowl. 6. Mix the ingredients up. I used my hands since there is cream in the mixture that is really thick. 7. Spray a lasagna pan with nonstick cooking spray. 8. Form 2 loaves. 9. Bake in a 350 degree Fahrenheit preheated oven for 40-45 minutes. 10. Bon appetit! I was dreading posting this video and blog post- the meatloaf I made was in my opinion the ugliest meatloaf I ever made. Plus it was kind of bland because I forgot to add salt and pepper to it. But I had to get it over with. This meatloaf was the culmination of all the previous avocado recipes I have posted both on YouTube and this website. For the cooking vessels, you will need: 1 lasagna pan Nonstick cooking spray For the actual meatloaf, you will need: 1/2 an onion, sauteed in avocado oil 2 beaten, whisked eggs 1/4 cup of chopped avocado pasta 1/4 cup of crushed avocado cereal 1/4 cup of crumbled avocado bread 1/4 cup of crumbled avocado "pop tart" 1/4 cup of avocado ranch dressing(you can get it at http://www.amazon.com/Hidden-Valley-Ranch-Avocado-Dressing/dp/B00W0EWWFU/ref=sr_1_1?rps=1&ie=UTF8&qid=1437920469&sr=8-1) 1 avocado, mashed Salt and black pepper 1 pound of chopped drained, firm tofu 1. Wash your hands! :) 2. Put all ingredients in a large bowl. 3. Mix the ingredients up so that they are distributed evenly among the mixture. 4. Spray lasagna pan with nonstick cooking spray. 5. Form 2 loaves from the meatloaf mixture 6. Bake in a 350 degree Fahrenheit oven for 40-45 minutes. 7. Bon appetit! When i was a kid, I saw one of those Banana Bread mixes the supermarket sells and I asked my mom if I could buy it. She said no because we didn't have a bread machine. We did have a loaf pan though. Fast forward to 2015 and I wanted to make Avocado Bread without all the hassle of adding yeast to the dough and waiting hours to let it rise. Then I found a recipe for an Avocado quick bread. Basically, a quick bread is a bread that rises due to putting baking soda and baking powder in the dough, instead of yeast. For the cooking vessels, you will need: A large bowl A medium bowl A small bowl A loaf pan Nonstick cooking spray For the actual bread, you will need: For the buttermilk: 3/8 cup of buttermilk or 3/8 cup of milk and 3/8 tbsp. of lemon juice Everything else: 1 1/3 cups of all purpose flour 3/4 tsp. of baking soda 1/2 tsp. of baking powder Pinch of salt 3/4 tsp. of cinnamon 3/4 tsp. of white pepper A little under a cup of granulated sugar 1/4 cup of butter pats 2 beaten eggs 2 mashed avocados If you don't have buttermilk, here's what you do: 1. Put the milk and lemon juice in a small bowl. 2. Mix the ingredients together. Then let it rest for 5 minutes. If you do have buttermilk, proceed to the rest of the steps: 1. Put the first 6 ingredients in a large bowl. 2. Mix the ingredients together until you can no longer see the spices you put in the bowl. 3. In a medium bowl, add the sugar and butter. Mix the two together until the end result is nice and fluffy. 4. Beat and whisk 1 egg at a time. Put whisked egg in medium bowl. Mix contents of medium bowl together. 5. Repeat step 4 once. 6. Mash 2 avocados and put them in the medium bowl. Mix all ingredients together so the avocados are distributed evenly. 7. Put buttermilk in the large bowl. Mix all ingredients together. 8. Put contents of medium bowl into large bowl. Mix all ingredients together until you get a somewhat solid dough(or it looks like pancake batter. That's the closest analogy I can think of) 9. Spray loaf pan with nonstick cooking spray. 10. Bake in a 350 degree Fahrenheit oven for 40-45 minutes, or until the bread passes the "toothpick test'. The "toothpick test": Take bread out of oven and poke it with a toothpick. If the toothpick comes out clean, the bread is done. 11. Let the bread cool for 20 minutes. 12. Bon appetit! Bottom image: Inside filling of my Avocado "Pop Tart" I'm surprised that it's 2015 and there still isn't an Avocado-flavored Pop Tart. Avocados are all the rage these days in the foodie world. So I decided to create my version of what an Avocado Pop Tart. The best way to make the crust isn't actually making any crust at all- it's using refrigerated store-bought pie crust. I put the word "refrigerated" in bold because I naively thought the store-bought pie crust that is usually sold in the baking aisle would work. Then I realized it breaks apart easily because it's already cooked. You literally could eat the pie crust, but then that would be a tad weird- and boring to just eat crust. I wanted to make this recipe so bad that I made my own pastry- I had all the necessary ingredients on hand- flour, butter, sugar, salt, milk, eggs. By the way, I put quotation marks around the words "pop tart" because as you can see from the picture above, it doesn't look like a traditional pop tart. But if you see the bottom image, it has filling in it, albeit the pastry is pretty thick to be considered a "pop tart". You will need: For the cooking vessels: 1 medium bowl 2 small bowls Parchment paper Baking sheet or cookie tray Nonstick cooking spray For the pastry: 2 cups of all purpose flour 1 tbsp. of granulated sugar 1 cup of butter 1/2 tsp of salt 2 tbsp. of milk 1 egg, beaten 1 egg to brush on the pastry For the paste(filling): 1 1/2 tbsp. of lemon juice 1 tbsp. of granulated sugar 1 avocado, mashed For the icing: 1 cup of granulated sugar 1 tbsp. of milk 1 tsp. of vanilla extract 2 drops of green food coloring Sprinkles For the pastry: 1. Put first 4 pastry ingredients in a medium bowl and whisk the ingredients together. 2. Work the butter into the dough using your hands until there are only pea-sized butter pieces. 3 Put the last 2 pastry ingredients in a small bowl and whisk them together. 4. Add contents of small bowl to the dough in the medium bowl. 5. Whisk the contents in a bowl using a large spoon or your hands. 6. Put the dough on a floured surface. 7. Shape the dough into a rectangle. 8. Slightly flatten the dough using either rolling pin, a beer bottle, or your hands. 9. Cut the dough into 4 smaller rectangular pieces. 10. Beat and whisk another egg. 11. Brush the whisked egg onto 2 of the 4 rectangles using a pastry brush or the back of a spoon. This will ensure the pop tart rectangles stick together. For the filling(paste): 1. Add all filling ingredients into a medium bowl(I used the same medium bowl I used in the making of the pastry after washing the bowl out). 2. Mix the filling ingredients together. For the rest of the pop tart: 1. Place avocado paste onto the two rectangles coated with egg. 2. Put the other 2 rectangles on top of the rectangles with avocado paste that was just placed. 3. Crimp the edges using the back of a fork. Make sure no filling is visible. 4. Bake in a 350 degree Fahrenheit oven for 20-25 minutes. 5. After baking the pop tarts, let them rest for 5 minutes. 6. To make the icing, add first 4 icing ingredients in a medium bowl(I used the same bowl I used for the making of the pastry and filling after washing the bowl out). 7. Mix the ingredients together until you get a green icing. 8. Pour the icing on top of the pop tarts. 9. Sprinkle the pop tarts with sprinkles(I only had German Chocolate Cake sprinkles(don't ask why) so I used those). 10. Let the pop tarts rest for another 5 minutes so the icing hardens onto the pastry. 11. Bon appetit! A few weeks ago, I saw a recipe for homemade Nutella cereal, which got me thinking, "Avocado is also creamy like avocado, so why not turn it into a cereal?' I liked the taste of my cereal. My dad, on the other hand, spit the cereal in the garbage can when he tasted it. It wasn't sweet enough for him. :( He's a traditionalist when it comes to anything regarding edible things. This is either a really great way or a really terrible way to get your kids to eat more vegetables, depending on your taste. Homemade cereal is an acquired taste, in my opinion. For the cooking vessels, you will need: 1 large bowl Parchment paper Baking sheet or cookie tray Nonstick cooking spray For the actual cereal, you will need: 1 1/4 cups of all purpose flour 1/4 cups of spinach powder(you can find that at http://www.americanspice.com/spinach-powder/) 1/4 cup of honey 2 tbsp. of milk Pinch of salt 1 egg 1 avocado 1. Put first 6 ingredients in a large bowl. 2. Break the avocado with either a knife or with your hands into smaller pieces. Put the chopped up or squished avocado into the large bowl. 3. Mix all the ingredients together until you get a green, crumbly dough. 4. Line baking sheet or cookie tray with parchment paper. 5. Spray baking sheet or cookie tray with nonstick cooking spray. 6. Form little dots from the cereal dough onto the parchment paper. You may need to make 2 batches. I had to. 7. First bake in a 350 degree Fahrenheit preheated oven for 10 minutes. 8. Take cereal out of oven. After letting it cool, turn each cereal piece over to ensure that all sides of the cereal pieces get cooked and one side doesn't get burned. 9. Put back into the oven at the same temperature(350 degrees Fahrenheit) for 12-15 minutes. 10. Bon appetit! If you type in "Avocado Pasta" in the search bar on YouTube, you will see multiple videos show up in the search results. But from the videos I've seen, it's just plain pasta with an avocado sauce on top of the pasta or it's some sort of vegetable like zucchini that has been shredded to look like pasta- with an avocado sauce on top of the "pasta". Technically, it's not avocado pasta in my opinion. So I decided to make the first ever pasta made from avocados. Specifically, I put avocados in the pasta dough by creating an avocado paste that was made along with other ingredients you need to make pasta. Yes, this is fresh homemade pasta like my mom never used to make- or anybody else in my family for that matter. For the cooking vessels, you will need: A food processor A medium bowl A rolling pin or beer bottle 3 small bowls A large pot and lid A stove to cook the pasta(duh!) For the actual pasta, you will need: 1 1/2 avocados 4 eggs 3 1/2 cups of all purpose flour Pinch of salt 1/4 cup of avocado oil 2 tbsp. of water 1. Peel the avocado and take out the large seed(s). The skin isn't used in this recipe. Heck, I don't even know if it's edible to begin with. 2. Crack 4 eggs and put the yolks in a medium bowl. 3. Add the avocados in the medium bowl. 4. Whisk the egg and avocado until you get some form of a green paste. You also don't want any unwhisked egg yolks remaining either. 5. Add flour, salt, and paste to food processor. Process the contents. 6. Add the avocado oil. Process the contents again. 7. Add the water. Process the contents again until you get a shaggy, green dough. 8. Coat a surface with flour. 9. Extract the pasta dough from the food processor and put dough on the floured surface. Watch out for the blades in the bottom of the detachable food processor bowl! I cut myself doing that. :( 10. Form one ball from the dough. 11. Knead the dough ball for 10-15 minutes, or until the dough ball is no longer sticky. If the dough ball gets stuck on the surface or your hands, just add flour to the dough ball. 12. Wrap the dough ball in plastic wrap and let it rest for 30 minutes. 13. Remove the plastic wrap and break the dough ball into smaller dough balls. The dough should be elastic by now. You know when the dough is ready to be flattened when you poke a hole in it and the hole just stays there. In other words, it doesn't detract. 14. Flatten each dough ball using a rolling pin or beer bottle. Then fold the dough, then flatten again. Repeat this process 4 or 5 times for each dough ball. 15. The pasta strips should be no more than 1/2 an inch thick. If it is thicker, just flatten it again with a rolling pin or beer bottle. 16. Cut the pasta strips into whatever shape you want using a knife. 17. Put the pasta on the edges of 3 small bowls so that the pasta doesn't stick to each other. If it does, just break them apart and sprinkle flour over the pasta. 18. Put some water in a large pot. 19. Cover large pot with lid. Then boil the water for 10 minutes or until you see steam coming out of the lid. 20. Once the water is boiling, put the pasta in the large pot to cook. The pasta will float to the surface, so you should stir the contents of the large pot every 2-3 minutes. If you think water is going to overflow out of the large pot, just lower the flame of the stove. Cook pasta for 10-12 minutes. 21. Once pasta is cooked, drain the water out of the large pot using a colander. 22. You can put tomato sauce on top of the pasta or guacamole if you really want the full avocado experience. Bon appetit! A few weeks ago, Taco Bell introduced a new product to their menu- Cap'n Crunch Donut Holes. They're basically donut holes fried in a batter consisting of Cap'n Crunch Berries and stuffed with some sort of icing that looks to me like white chocolate even though probably it isn't made from that. So I decided to turn this concept into a meatloaf. *Note: I am not sponsored by Taco Bell and neither is this recipe! For the cooking vessel, you will need: 1 lasagna pan Nonstick cooking spray For the actual meatloaf, you will need: 1/2 a sauteed onion 2 beaten eggs 6 glazed donut holes crushed into small pieces 1/2 a cup's worth of berries from Cap'n Crunch Berries cereal(I crushed some of the berries by hand in the video below but it took too long, so I suggest you put the berries in a food processor and crush them up that way) 1 bar of white baking chocolate Pinch of salt and pepper 1 pound of chopped, drained, firm tofu 1. Wash your hands! :) 2. Put first 4 ingredients in a large bowl. 3. Break the white baking chocolate into small pieces and put them in a small bowl. 4. Put the small bowl in the microwave to melt the chocolate for 25 seconds. Then stir the melted chocolate up and immediately dump into the large bowl as much as you can to avoid having the melted chocolate harden. 5. Put salt, pepper, and tofu in large bowl. 6. Mix all the ingredients together, making sure all of them are distributed evenly among the mixture. 7. Spray lasagna pan with nonstick cooking spray. 8. Form 2 loaves from the meatloaf mixture. 9. Bake in a 350 degree Fahrenheit preheated oven for 40-45 minutes. 10. Bon appetit! I forgot to take a picture of the cauliflower pizza crust itself, so I'll leave you with what it looks like on an actual pizza. I made a separate post for making the crust of my Meatloaf Pizza and the actual making of the pizza itself because otherwise it would be a 7 minute video and that's too long for most people's attention spans these days. Apparently, with the Paleo diet trend, cauliflower pizza crust has become really popular on the Internet, and I'm always up for a culinary challenge, so I made this pizza crust. For the cooking vessels, you will need: A cookie sheet or baking tray Parchment paper Nonstick cooking spray Cheese grater Large microwave-safe bowl with a lid Any large bowl(I used a metal bowl) For the crust, you will need: 1/2 a head of cauliflower 1 beaten egg 1 cup of shredded mozzarella cheese Pinch of salt 1 tsp. of onion powder 1 tsp. of cayenne pepper 1. Grate the cauliflower head into small pieces that look like shredded mozzarella cheese using a cheese grater. A head of a cauliflower is too big to comfortably grate against a cheese grater, so I suggest you break the cauliflower into small pieces. 2. Once you grated 1/2 a head of a cauliflower, put the shredded cauliflower into a large microwave-safe bowl and put the lid on top of the bowl. 3. Heat in the microwave for 7-8 minutes to soften it up. 4. Put the shredded cauliflower in a different large bowl. 5. Add the last 5 ingredients into the large bowl. 6. Mix the ingredients up. 7. Put parchment paper on a cookie sheet or baking tray. 8. Spray nonstick cooking spray onto the parchment paper. 9. Form a crust from the mixture in the large bowl. 10. Flatten the crust so that the crust looks like pizza crust. You can do this using your hands or with a rolling pin or beer bottle. 11. Bake in a 425 degree Fahrenheit preheated oven for 10-12 minutes. 12. Now put whatever toppings you like and take it from there. Meatloaf is my favorite food, in case you haven't figured out by now. But I also love pizza. So I combined the two into a Meatloaf Pizza. The crust is made from cauliflower because it's a lot easier to make that than a pizza dough using flour. The cauliflower pizza crust is good for those on a Paleo diet. The Meatloaf Pizza itself- not so much due to the instant mashed potatoes, which is technically a processed food. For the cooking vessels, you will need: A cookie sheet or baking tray Parchment paper For the sauce you will need: 1/2 a cup of tomato sauce 1 tsp. of light brown sugar 1 tsp. of Worcestershire sauce 1 tsp. of ketchup For the actual pizza, you will need: Cauliflower pizza crust(see my "Cauliflower Pizza Crust" post) 4 ounces of browned ground beef 1/2 a packet of cooked instant mashed potatoes 5 boiled baby carrots 1 tsp. of paprika For the sauce: 1. Mix all the ingredients together until all of them are distributed evenly among the sauce. For the actual pizza: 1. Put baked cauliflower pizza crust on parchment paper that's been sprayed with nonstick cooking spray. 2. Spread the sauce(which is also good for a meatloaf glaze) on top of the crust. 3. Put the browned ground beef on top of the sauce. 4. Put the cooked instant mashed potatoes on top of the browned ground beef. 5. Put the boiled baby carrots on top of the cooked instant mashed potatoes. 6. Put the paprika on top of the entire pizza. 7. Bake in a 425 degree Fahrenheit preheated oven for 10-12 minutes. 8. Bon appetit! |
Archives
October 2019
Categories
All
|
 RSS Feed